All Posts By:

patrickdulmage

Chili/ Vegetarian

Vegetarian Chili

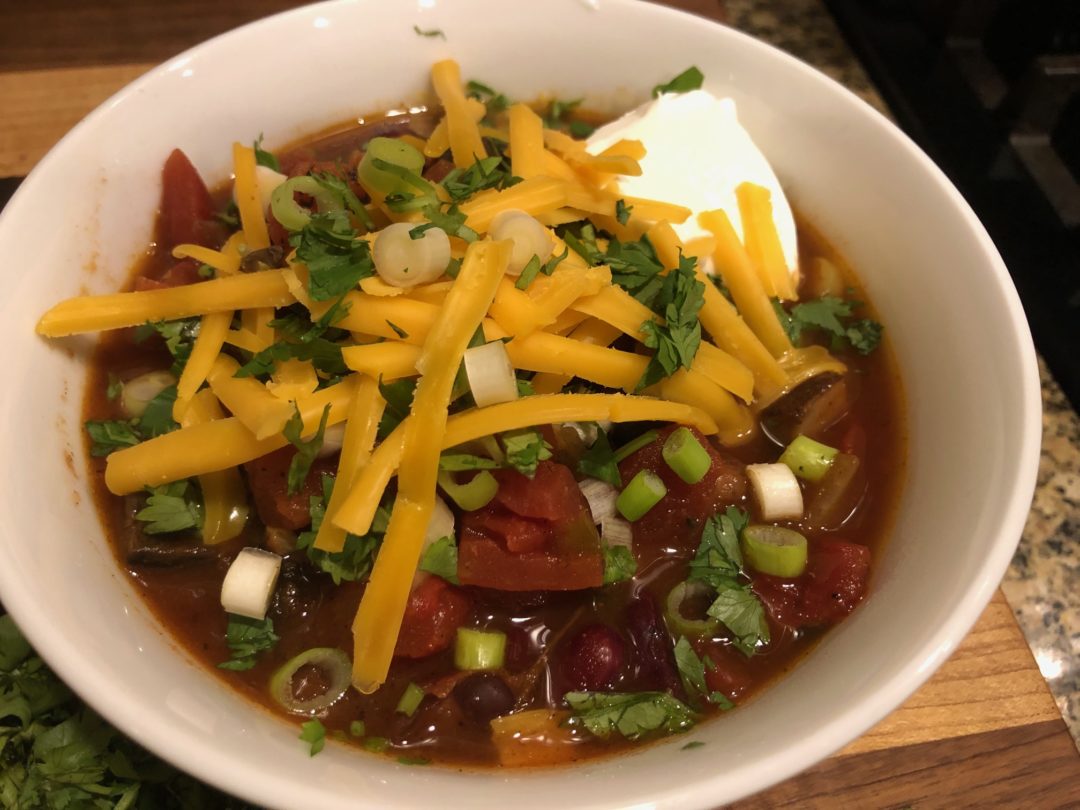
On the menu tonight – Vegetarian Chili! After I made the Diner Chili, Audrey wanted some of my vegetarian chili. Who am I to hold out? So of course I’d make a batch of my vegetarian chili! This one is also really easy to make. The trick to making just about any dish is the preparation. I roasted the jalapeno and poblano peppers yesterday. Today, all I had to do was dice the onion and mushrooms. There wasn’t much to do with the other ingredients except measure them out.

This dish is totally vegan. We usually add some sour cream and maybe a little shredded cheese to top it, but if that’s not your thing – don’t. This is a super hearty and flavorful chili, even if you eat meat I invite you to try this dish. I’ll eat this in a bowl, but if you really want to guild the Lilly put it over a baked potato or in a sour dough bowl – you’ll be living large!

Vegetarian Chili

1 Star2 Stars3 Stars4 Stars5 Stars (No Ratings Yet)
Loading...
Chili
By Patrick Dulmae Serves: 8-12
Prep Time: 15 minutes Cooking Time: 1 hour Total Time: 1 hour 15 minutes

Vegetarian Chili

Ingredients

  • 1 28 oz can diced tomatoes
  • 2 14 oz cans fire roasted diced tomatoes (Hunts or Muir Glen preferred)
  • 1 can kidney beans – drained & rinsed
  • 1 can tri-color beans– drained & rinsed
  • 1 Vidalia onion diced
  • 2 jalapenos, seeded and roasted
  • 4 cloves garlic, minced
  • 8 Baby Bella Portabella mushrooms, diced
  • 1 poblano pepper, seeded and roasted
  • 2 tsp Cumin
  • 1 tsp Coriander
  • 3 tbsp Chili powder
  • 1 tbsp Tomato paste
  • 3 tbsp Extra Virgin Olive Oil
  • ¼ tsp Cayenne Pepper
  • Kosher salt
  • Shredded cheddar cheese for topping
  • Chopped cilantro for topping
  • Sour Cream for topping

Instructions

1

Pre-heat oven to 350 degrees.

2

Once the oven gets to temp, roast the jalapeno and poblano peppers approximately 45 minutes. Alternatively, if you have a gas cook top, roast the peppers directly on one of the burners, then put in a zip lock bag. Once the peppers cool cut into a small dice.

3

In a large pot, add the olive oil, onion, garlic, tomato paste, and spices (to bloom).

4

Once the onions are translucent, add the tomatoes and roasted peppers.

5

Low simmer for 1 hour. If you can wait, let it cool and refrigerate overnight and serve the next day. Chili is always better the next day. 

Notes

Serve with some grated cheddar cheese, finely chopped green onion, finely diced Vidalia onion, and sour cream. Can be served in a bowl, bread bowl, or over a baked potato.

Beef/ Chili

Diner Chili

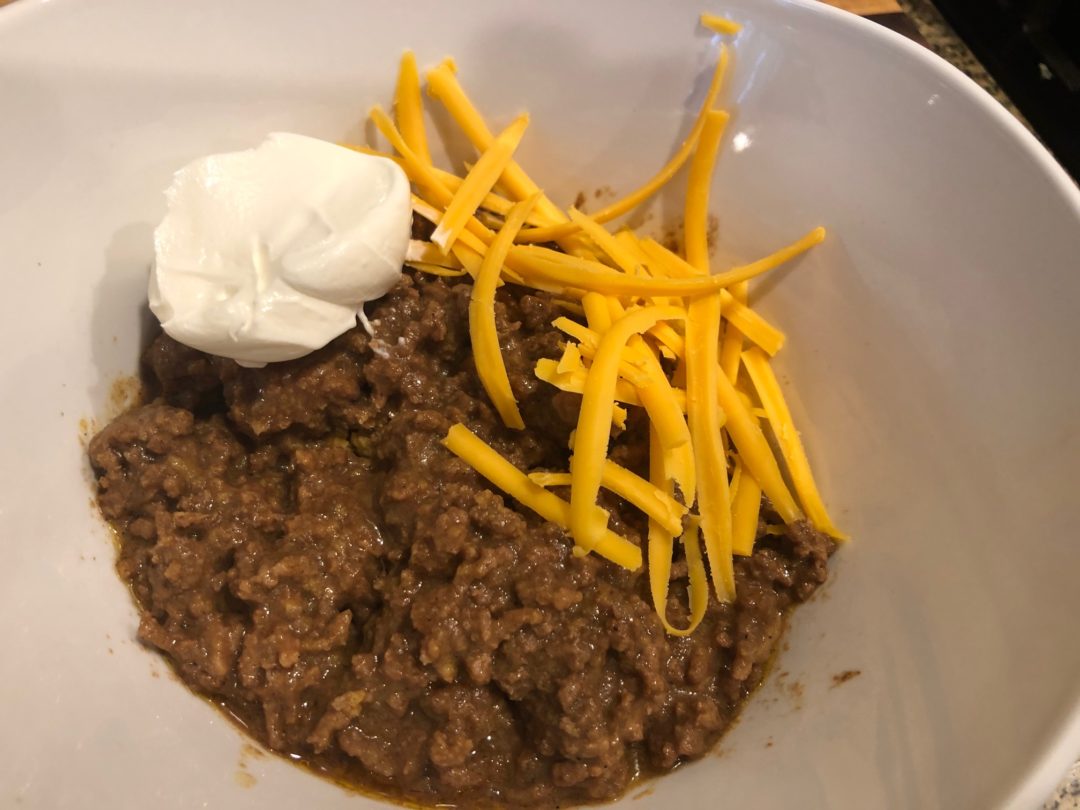
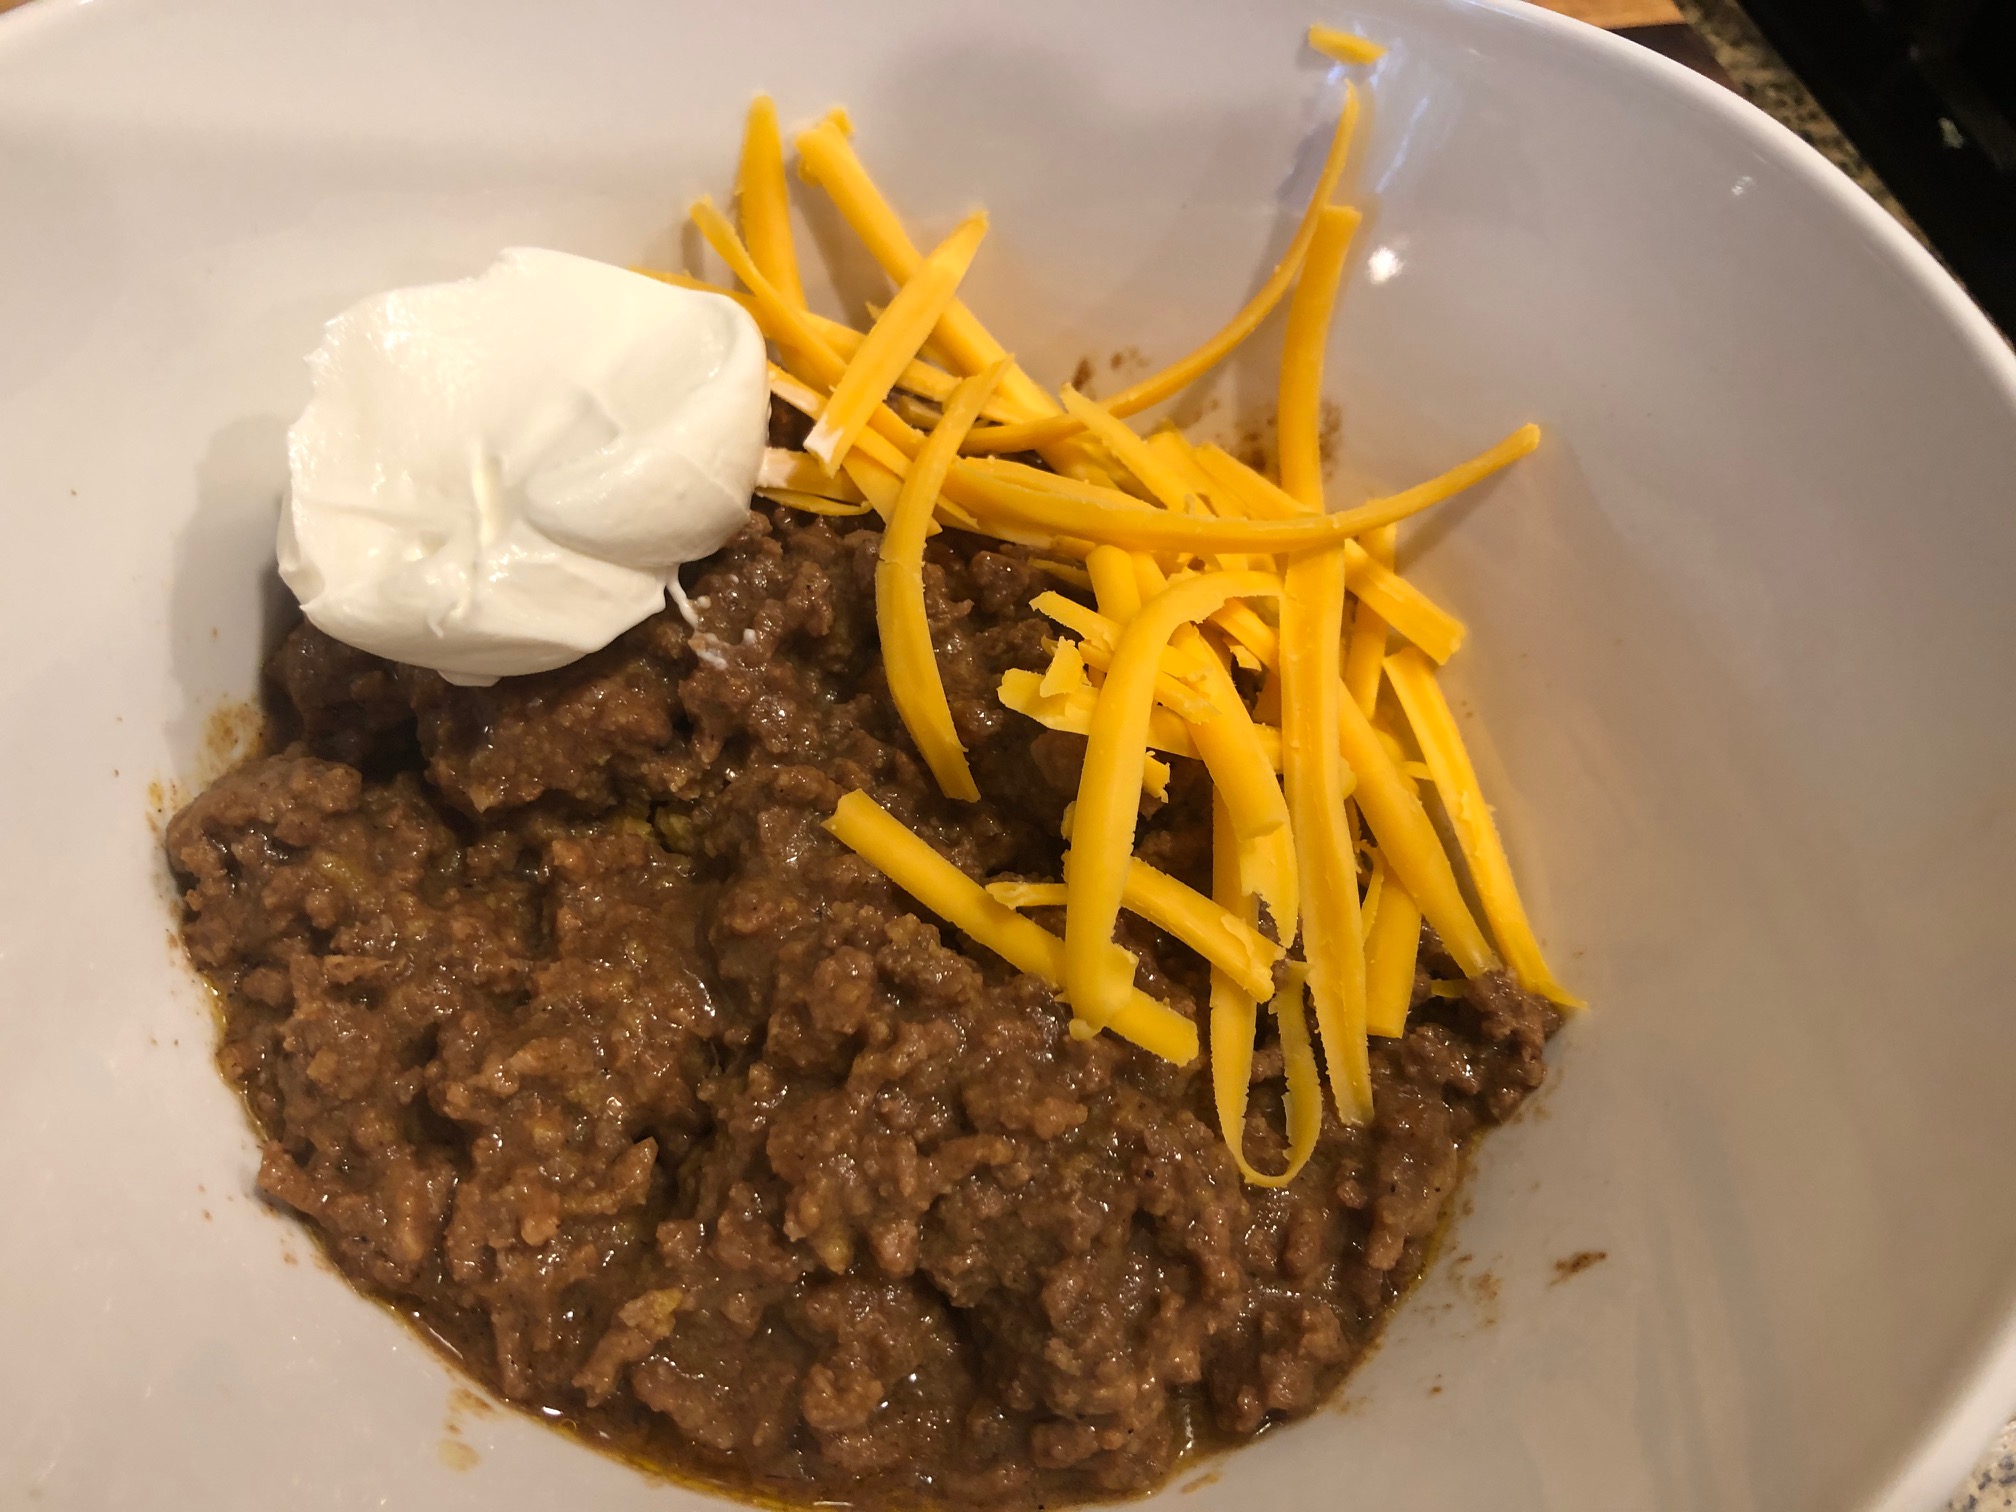
On the menu tonight – Diner Chili! I’ve been making chili a LONG LONG time. I’ve made it with beans, without beans. I’ve made it with beef, ground beef, and chicken. I’ve even made meatless chili! Chili is the one of the things that helped me capture Audrey’s heart, it was the first meal I made for her. That’s a story for another day. Today, I’m in search of the BEST chili recipe EVER! I’ve got cookbooks dedicated to chili. I’ve got chili recipes from every state. I decided to make a Diner-style chili. So, there aren’t any beans in this version. The inspiration for this batch of chili is Ben’s Chili Bowl. I’ve never had Ben’s Chili Bowl chili, so I won’t call this a clone. I found several recipes online that claim they are good/close clones and after reviewing them here’s my version.

This recipe couldn’t be easier. There aren’t a lot of veggies to chop. Once you gather all the ingredients, you pretty much dump them all in a pot and cook it. It’s great in a bowl with your favorite toppings or served over beans. I hope you’ll try making your own version of this Diner Chili!

Diner Chili

1 Star2 Stars3 Stars4 Stars5 Stars (No Ratings Yet)
Loading...
By Patrick Dulmage Serves: 6-8
Prep Time: 15 minutes Cooking Time: 45 minutes Total Time: 1 hour

Diner Chili

Ingredients

  • 2 lbs ground beef (80/20)
  • 3 Tbsp Chili Powder (New Mexico chili powder)
  • ½ tsp Curry powder
  • 1 tbsp Dehydrated Onions
  • 2 tbsp Masa Harina
  • 1 tsp Garlic Powder
  • 1 tsp Sea Salt
  • 1 tsp Cumin
  • 2 tbsp Beef Bouillon
  • 1 Bay Leaf
  • 1 tbsp tomato paste
  • 2 cups water

Instructions

1

Put water, beef and spices in large pot

2

Bring to a boil, then reduce heat to simmer

3

Simmer for about 45 minutes

Notes

Chili is almost always better the next day. If you can wait, let the chili cool, refrigerate, and serve it the following day.
This chili is perfect for chili dogs! Some recommended toppings: Grated Cheddar cheese, Finely diced onion (preferably Vidalia), Sour cream, Fritos (original)

Chicken

Chicken Pot Pie

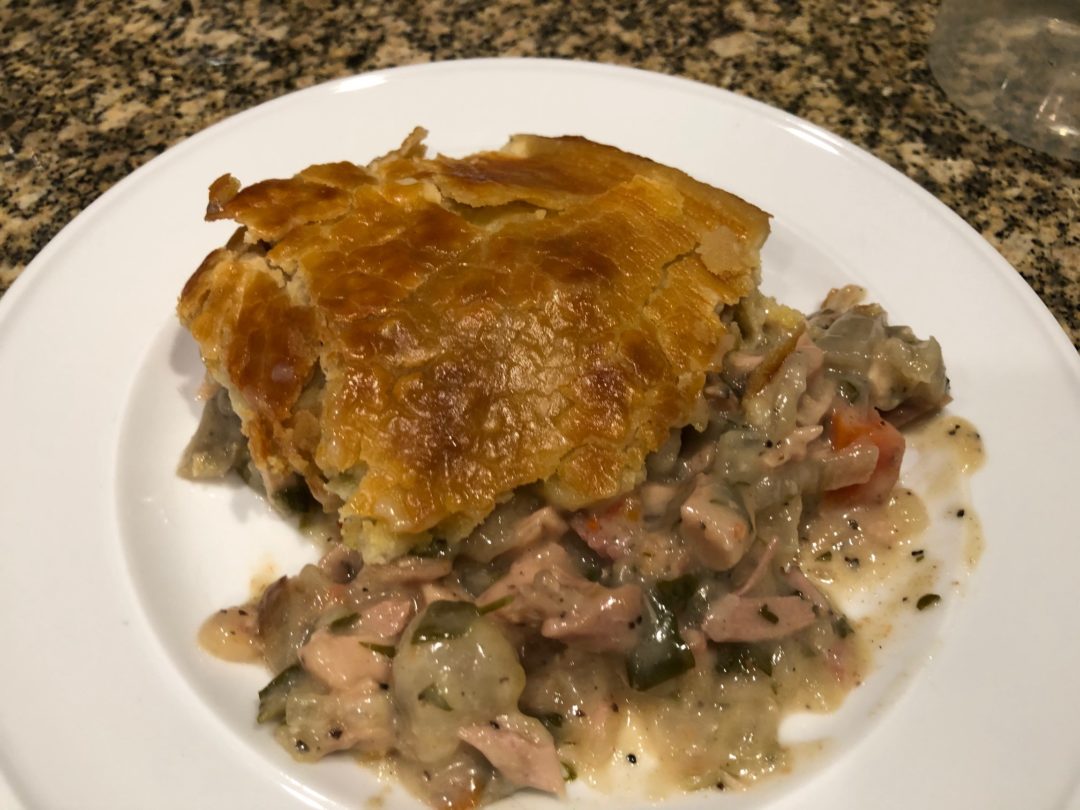
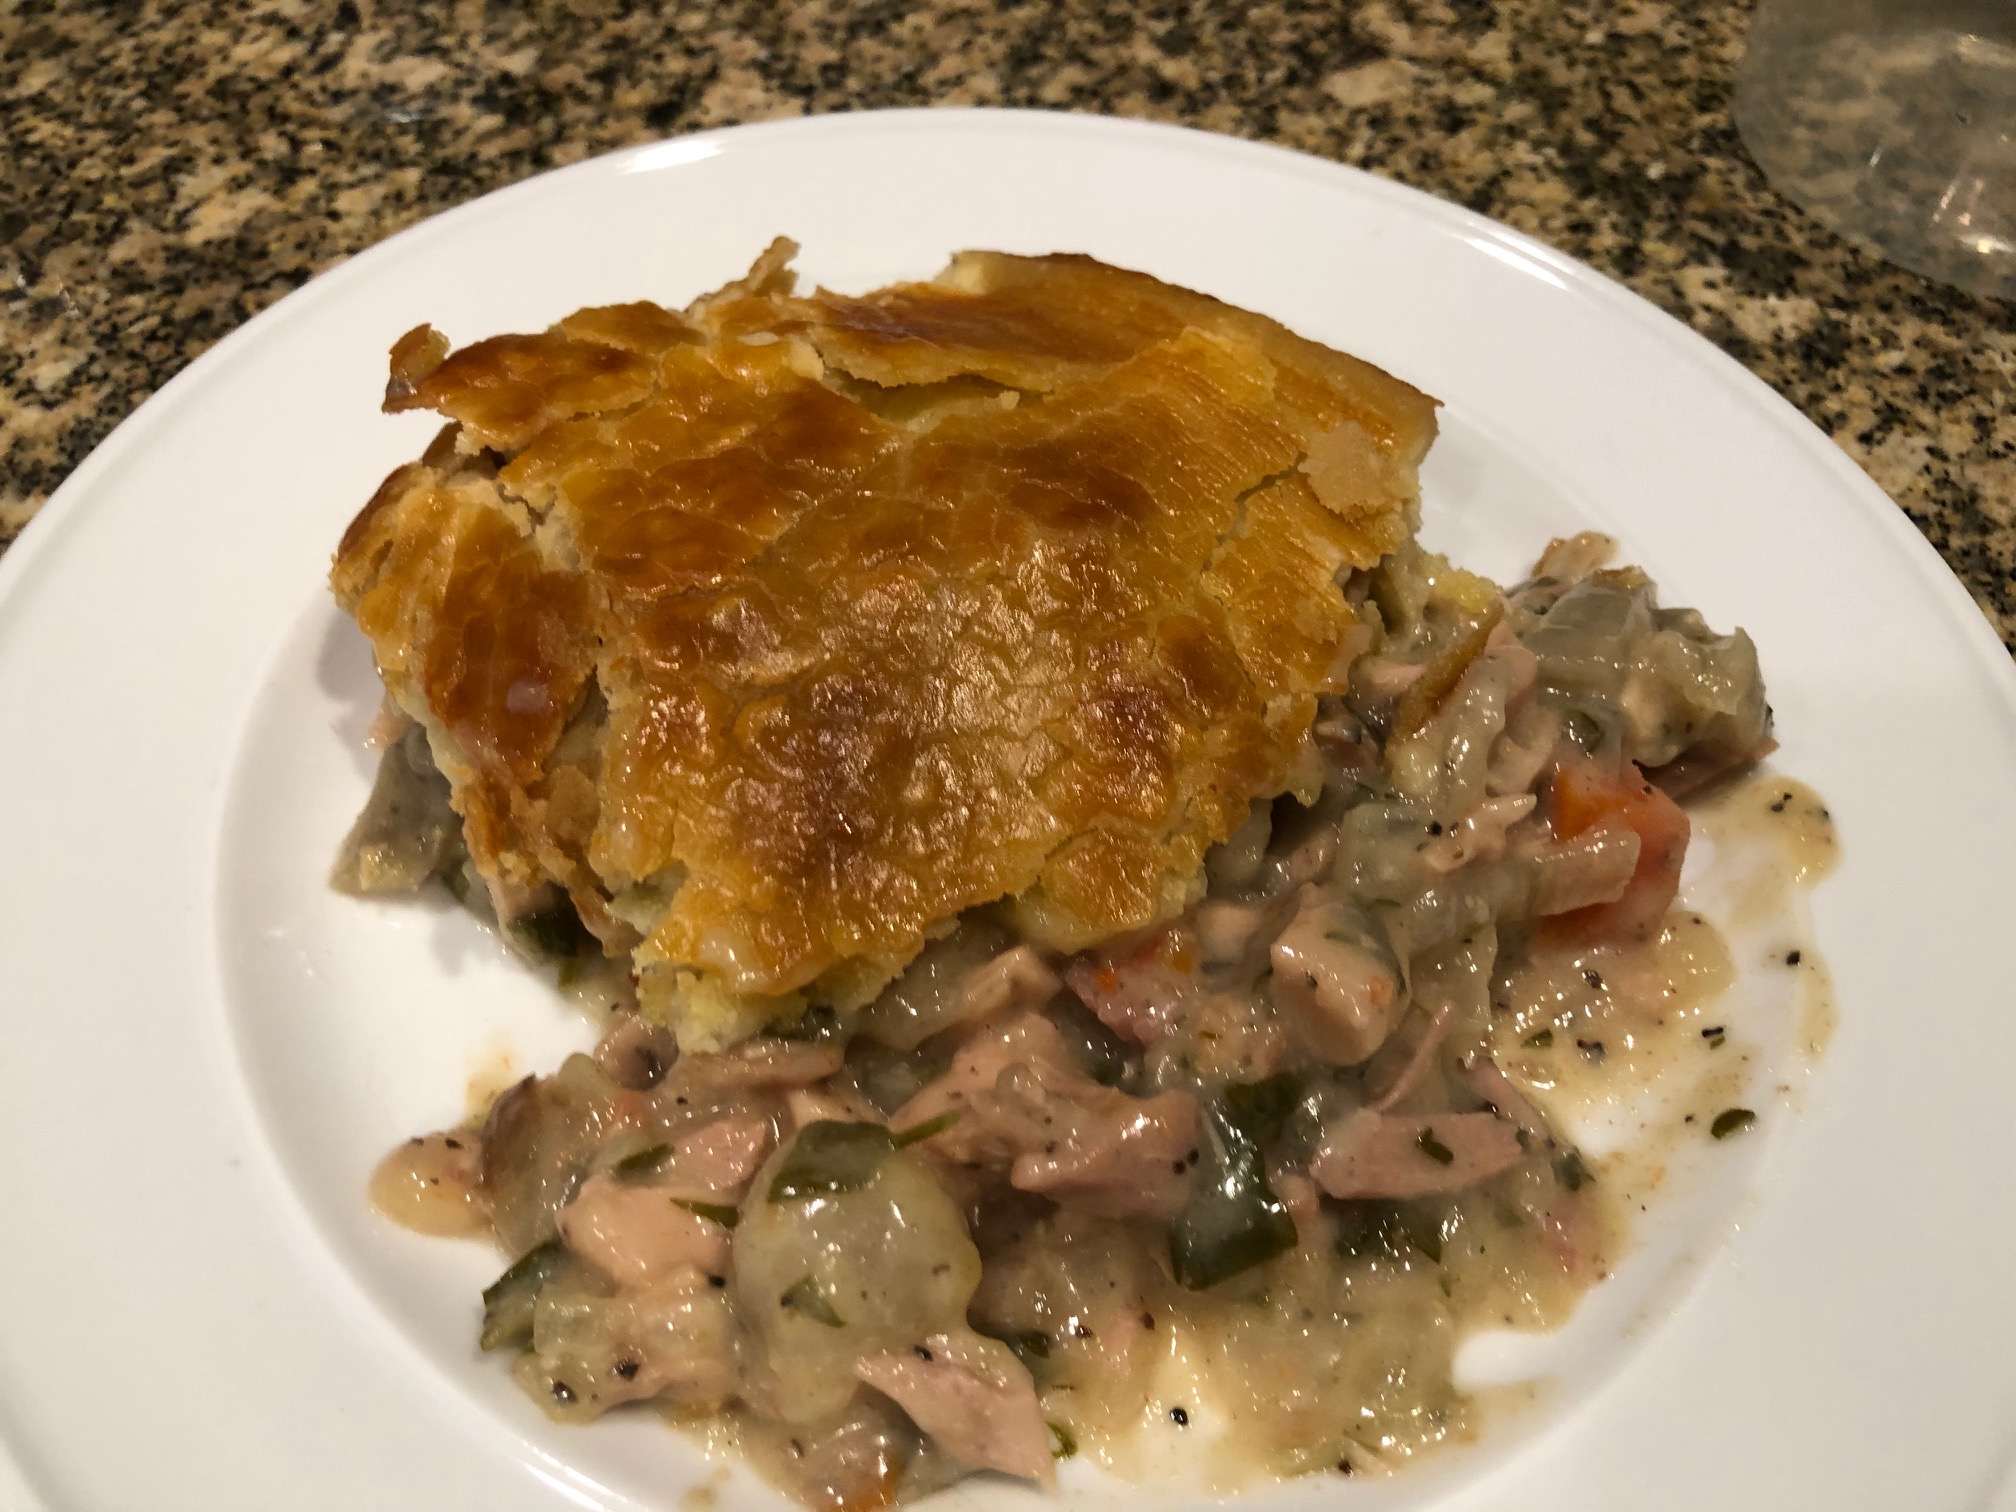
On the menu tonight – Chicken Pot Pie! There aren’t many dishes more comforting than Chicken Pot Pie. I researched a lot of recipes and tried Ina Garten’s recipe. The only liberties I took with her recipe was the chicken and the way I cooked the veggies. Her recipe calls for chicken breast and I used chicken thighs. I roasted the carrots and onion with the chicken thighs. Otherwise, I stayed pretty true to her recipe and it was AWESOME.

In making this recipe, there is enough food to take half and freeze for ready to go meals at a later date. You can make one big pot pie, as I did, or you can make several smaller pies. The thick, creamy sauce is so rich and delicious. Every bite is like a big hug from your grandma. The next time it gets a little chilly outside, make this pot pie.

Chicken Pot Pie

1 Star2 Stars3 Stars4 Stars5 Stars (No Ratings Yet)
Loading...
By Patrick Dulmage Serves: 8-10
Prep Time: 30 minutes Cooking Time: 55 minutes Total Time: 1 hour 30 minutes

Chicken Pot Pie

Ingredients

  • 3 whole chicken breasts (bone-in, skin-on) or 6 chicken thighs (bone-in, skin-on)
  • 3 tablespoons Olive oil
  • Kosher salt
  • black pepper
  • 5 cups chicken stock
  • 2 chicken bouillon cubes
  • 1 1/2 sticks of butter (12 tablespoons)
  • 2 cups chopped onions (yellow or Vidalia)
  • 3/4 cup all purpose flour
  • 1/4 cup heavy cream
  • 2 cups diced carrot (blanched for 2 minutes)
  • 1 10 oz pkg frozen peas
  • 1 1/2 cup frozen small whole onions
  • 1/2 cup minced parsley leaves
  • 1 pkg pie crust or home made

Instructions

1

Pre-heat oven to 350 degrees.

2

Place the chicken, whole onions, and carrots on a baking sheet.

3

Rub with olive oil, then season with salt and pepper.

4

Roast the chicken and veggies for 35-40 minutes or until cooked.

5

Set aside until cool enough to handle, then remove from the bone. Discard the skin and bones.

6

Cut the chicken into large pieces.

7

In a small sauce pan, heat the chicken stock and dissolve the bouillon cubes in the stock.

8

In a large pot or Dutch oven, melt the butter and saute the diced onions over medium-low heat until translucent.

9

Add the flour and stir constantly for 2-3 minutes.

10

Add the chicken stock slowly, stirring constantly to avoid lumps.

11

Stir until thick.

12

Add about 1/2 teaspoon of pepper. Check the sauce to see if it needs salt. The stock and bouillon have a lot of salt, so check if it needs any more.

13

Add the chicken and the rest of your veggies, and mix well.

14

If you're making the pastry, now is the time to start that. If you are using a packaged pie dough you can start assembling the pie.

15

Pour the filling into the vessel(s) of choice, then cover with the pie dough.

16

Brush the top of the pie with an egg wash (1-2 scrambled eggs and a tablespoon or two of water) to give the dough that golden color.

17

Press the sides of the dough down around the edges of the vessel and cut a few slits in the top of the crust.

18

Sprinkle with sea salt or kosher salt and a few turns of freshly ground pepper.

19

Place on a baking sheet and bake for 1 hour at 375 degrees or until the top is golden brown.

Chicken

Chicken Shawarma

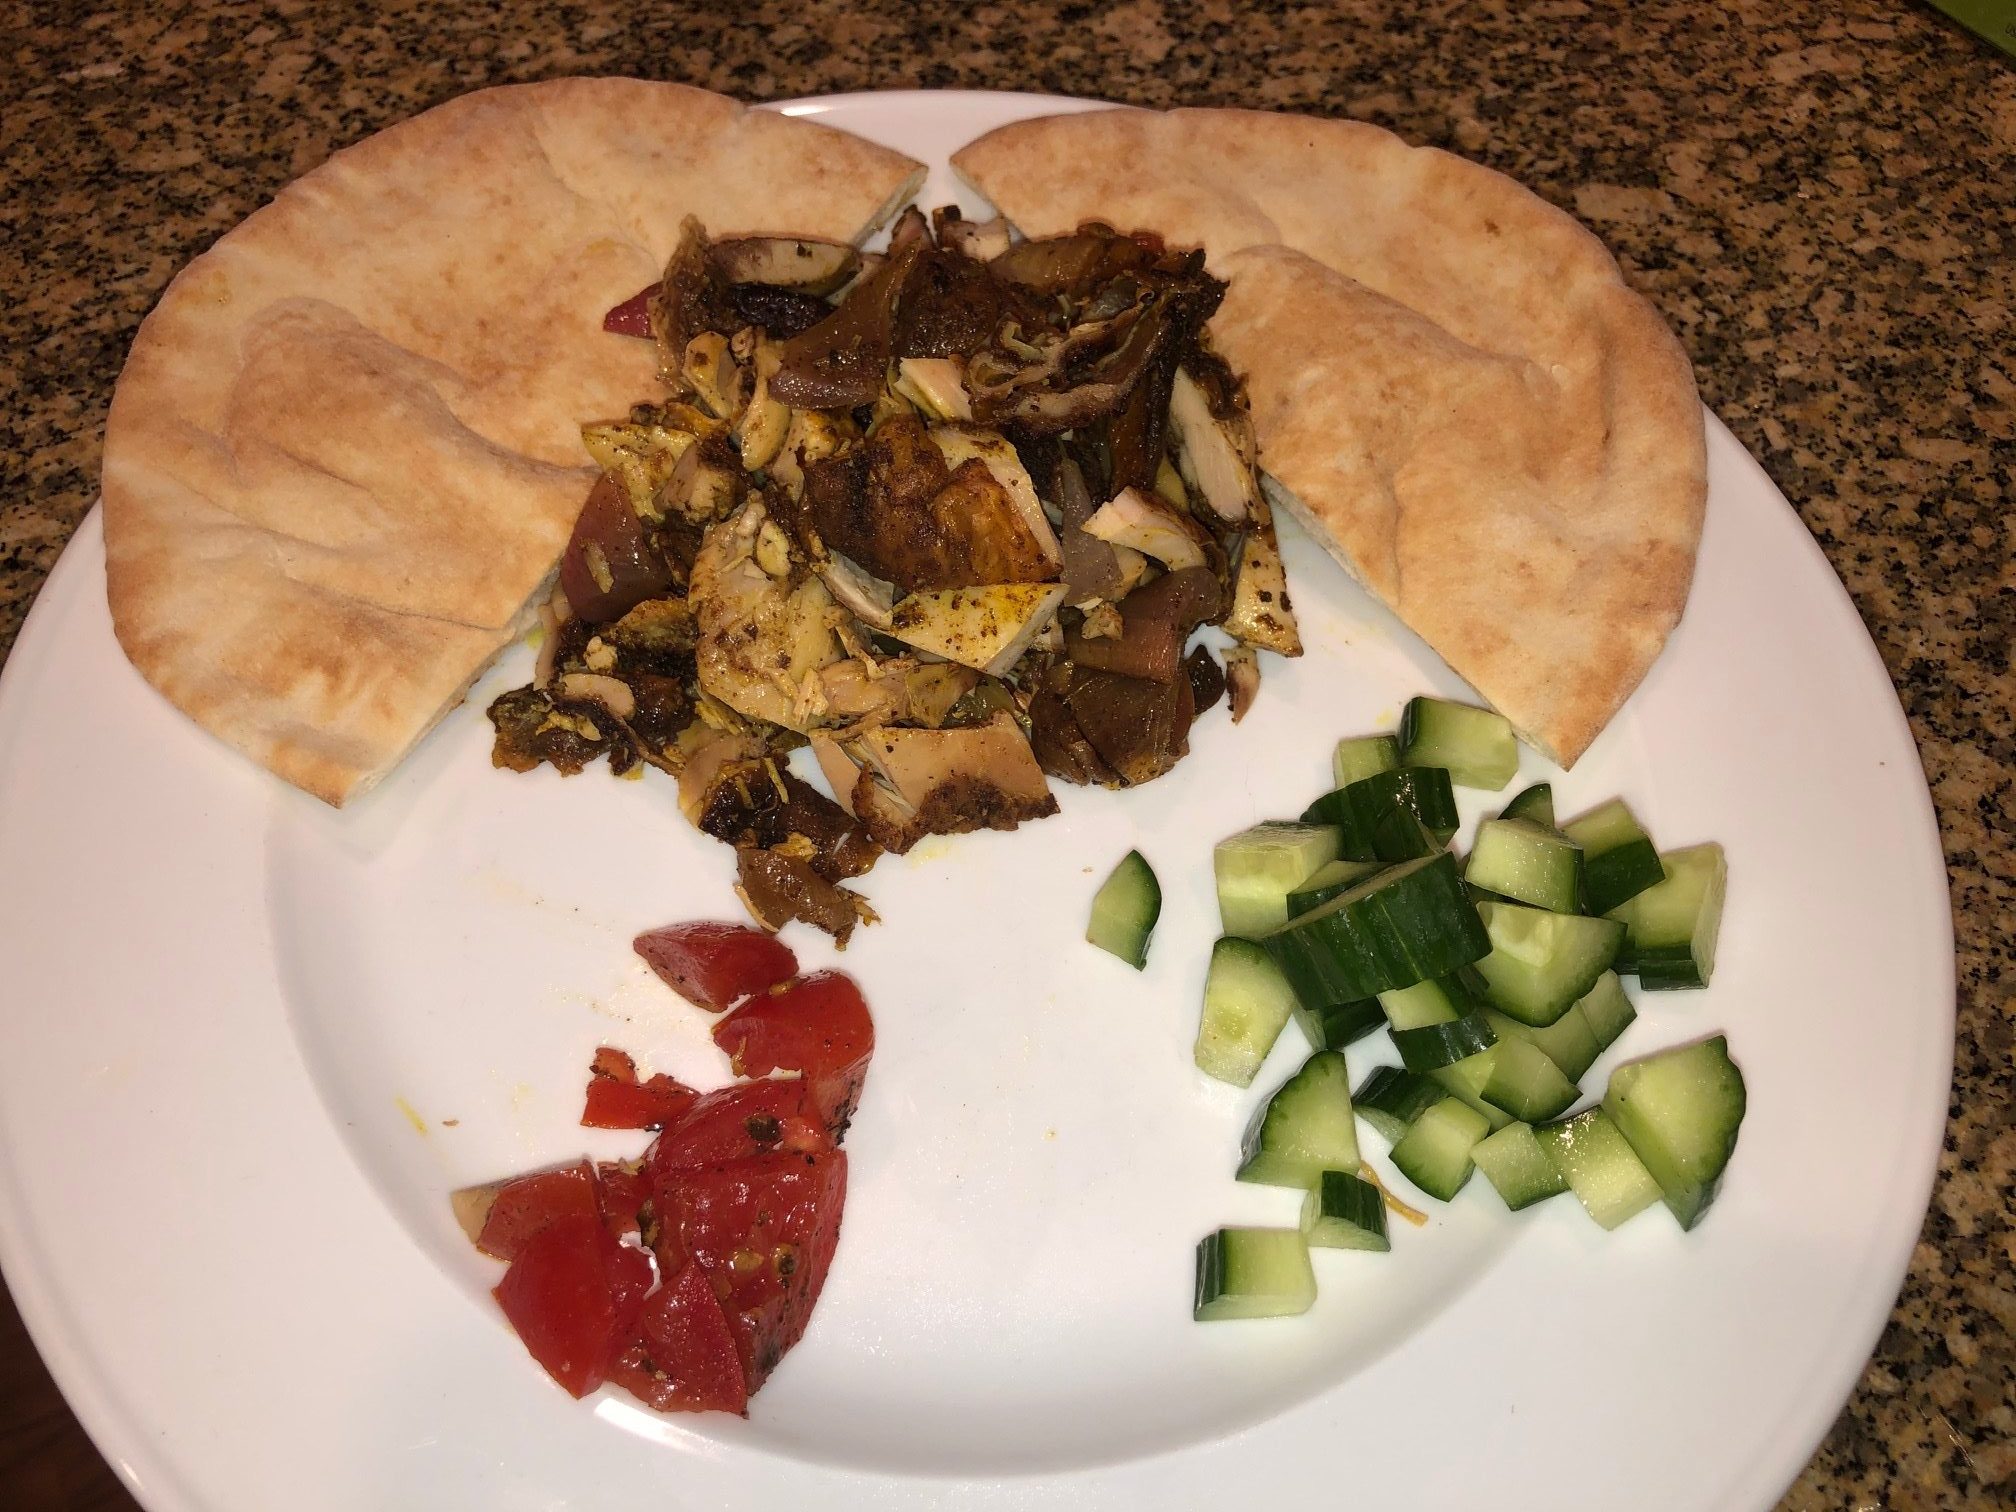
On the menu tonight – Chicken Shawarma! What the heck is Shawarma you ask? It is a really popular Middle Eastern dish cooked on a vertical rotisserie. As the meat cooks, it’s sliced off and served on pita bread accompanied with cucumber, tomato, and tahini sauce among other things. It is SOOO Good! There are so many spices that add a depth of flavor you aren’t going to find at your local fast food joint.

Not many of us have a vertical rotisserie, so you can make this either on the grill or in the oven. Check out the recipe below and make your version of Shawarma!

Chicken Shawarma

1 Star2 Stars3 Stars4 Stars5 Stars (1 votes, average: 5.00 out of 5)
Loading...
By Patrick Dulmage Serves: 4-6
Prep Time: 30 minutes Cooking Time: 1 hour Total Time: 1 hour 30 minutes

Chicken Shawarma

Ingredients

  • 4 chicken thighs (with or without bone and skin)
  • 2 red onion, quartered and then separate the layers
  • 2-4 Portobello mushrooms, cut into 1/8 or 1/4 wedges
  • 8 oz Shitake mushrooms
  • 4 cloves of garlic
  • 1 lemon (zested and juiced)
  • 6 – 8 tablespoons Olive oil
  • 1 teaspoon ground cumin
  • 1 teaspoon smoked paprika
  • 1 teaspoon allspice
  • 1 tablespoon sumac
  • 1 teaspoon turmeric
  • ½ teaspoon cinnamon
  • 1/8 teaspoon cayenne pepper
  • 1 tablespoon kosher salt
  • 1 tablespoon pepper
  • For Serving:
  • Pita bread, warmed/toasted
  • Tomato cubed
  • ½ cucumber (preferably seedless), cubed
  • Tahini (for spreading on the pita)
  • Tzatziki sauce

Instructions

1

In a large mixing bowl, combine the olive oil, lemon zest and juice, and the spices. Mix well.

2

Add the chicken, onion and mushrooms to the bowl and mix to coat them.

3

Transfer to a one gallon zip lock bag and put in the fridge for at least two hours, overnight would be better.

4

You can prepare this a couple of ways, on a vertical rotisserie (if you have one!), on skewers and grilled, or on a sheet pan in the oven. Preheat the rotisserie, grill, or oven. If cooking in the oven, preheat to 450 degrees.

5

If cooking on the grill or rotisserie, begin skewering the mushrooms and onions, alternating Portobello, onion, shitake. Keep them tight on the skewer. Skewer the chicken separately as it will take longer to cook. Or simply grill the chicken pieces whole and then slice later.

6

Once on the grill, be sure to turn the skewers every 3-4 minutes to ensure each side gets grilled. Remove after each side has been grilled and veggies are cooked through.

7

If cooking in the oven, simply put the chicken on a small sheet pan. Spread the mushrooms and onions evenly on a large sheet pan. Bake for 20 minutes, then remove and flip the veggies with a spatula.

8

Cook for an additional 15-20 minutes and remove the veggies.

9

Let the chicken continue to cook an addition 15-20 minutes.

10

While the veggies are cooking, warm the pita. If you’re grilling, toss the pita in any open spot. I love those toasty, charred bits from grilled pita. Otherwise put in the oven or microwave oven to warm through.

11

Cut the pita in half and then spread a little tahini inside.

12

Fill the pita halves with the mushroom/onion mixture along with some cucumber and tomato.

13

Top with a little tahini sauce and enjoy!

Notes

Tahini sauce is as simple as taking some tahini paste, adding some water, and lemon juice.

Vegetarian

Mushroom Shawarma

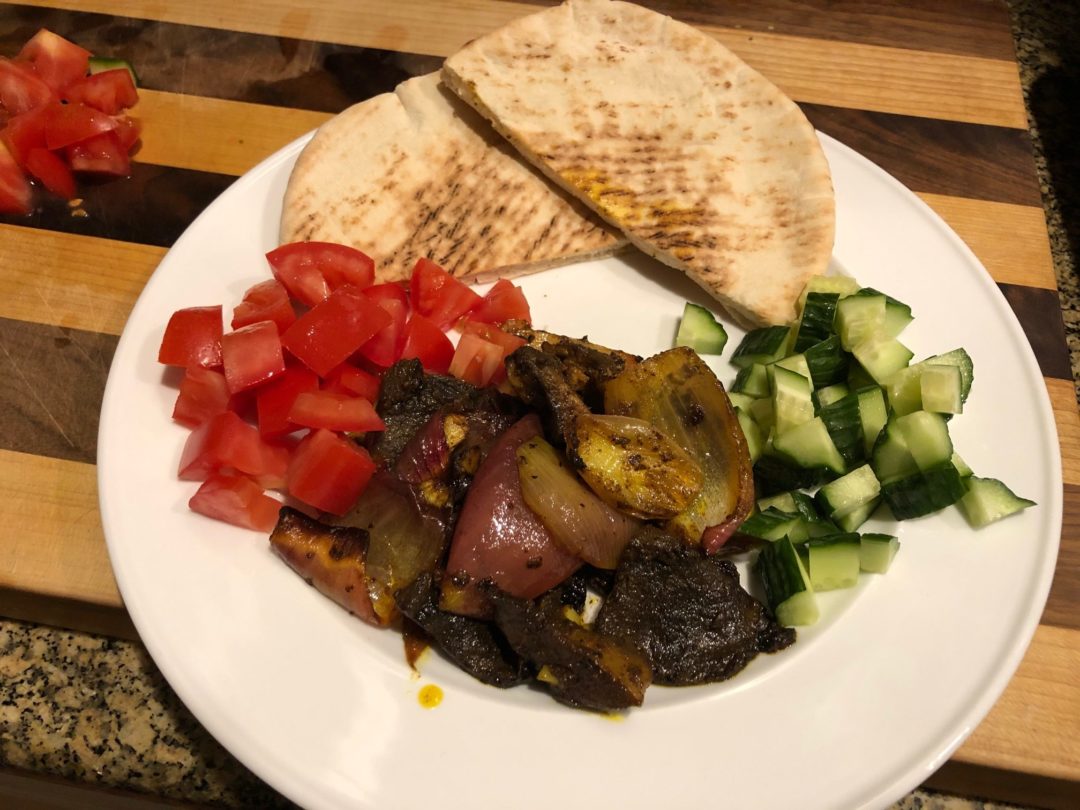
On the menu tonight – Shawarma! I made two versions of Shawarma, mushroom and chicken. This is the mushroom version. The first time I heard about Shawarma was on Food Network. I found a local place that served it and I was hooked! Now that I’m cooking more, I decided I would try to make my version and I have to say… it turned out pretty amazing. To quote my wife – “I could LIVE off of this!”

If you aren’t sure what Shawarma is, Shawarma is a dish in Middle Eastern cuisine consisting of meat cut into thin slices, stacked in a cone-like shape, and roasted on a slowly-turning vertical rotisserie or spit. Originally made of lamb or mutton, today’s shawarma may also be chicken, turkey, beef, or veal. Prior to cooking, the meat is marinated in a mixture of spices. As it cooks on the rotisserie, pieces are cut off and served with pita bread.

Mushroom Shawarma

1 Star2 Stars3 Stars4 Stars5 Stars (2 votes, average: 4.50 out of 5)
Loading...
By Patrick Dulmage Serves: 4
Prep Time: 2 hours to 1 day Cooking Time: 35 minutes Total Time: 2 hours 35 minutes

Mushroom Shawarma

Ingredients

  • 1 red onion, quartered and then separate the layers
  • 4-6 Portobello mushrooms, cut into 1/8 or 1/4 wedges
  • 8 – 16 oz Shitake mushrooms
  • 4 cloves of garlic
  • 1 lemon (zested and juiced)
  • 6 – 8 tablespoons Olive oil
  • 1 teaspoon ground cumin
  • 1 teaspoon smoked paprika
  • 1 teaspoon allspice
  • 1 tablespoon sumac
  • 1 teaspoon turmeric
  • ½ teaspoon cinnamon
  • 1/8 teaspoon cayenne pepper
  • 1 tablespoon kosher salt
  • 1 tablespoon pepper
  • For Serving:
  • Pita bread, warmed/toasted
  • Tomato cubed
  • ½ cucumber (preferably seedless), cubed
  • Tahini (for spreading on the pita)
  • Tzatziki sauce

Instructions

1

In a large mixing bowl, combine the olive oil, lemon zest and juice, and the spices. Mix well.

2

Add the onion and mushrooms to the bowl and mix to coat them.

3

Transfer to a one gallon zip lock bag and put in the fridge for at least two hours, overnight would be better.

4

You can prepare this a couple of ways, on a vertical rotisserie (if you have one!), on skewers and grilled, or on a sheet pan in the oven. Preheat the rotisserie, grill, or oven. If cooking in the oven, preheat to 450 degrees.

5

If cooking on the grill or rotisserie, begin skewering the mushrooms and onions, alternating Portobello, onion, shitake. Keep them tight on the skewer.

6

Once on the grill, be sure to turn them every 3-4 minutes to ensure each side gets grilled. Remove after each side has been grilled and veggies are cooked through.

7

If cooking in the oven, simply spread the mushrooms and onions evenly on a large sheet pan. Bake for 20 minutes, then remove and flip the veggies with a spatula.

8

Cook for an additional 15-20 minutes.

9

While the veggies are cooking, warm the pita. If you’re grilling, toss the pita in any open spot. I love those toasty, charred bits from grilled pita. Otherwise put in the oven or microwave oven to warm through.

10

Cut the pita in half and then spread a little tahini inside.

11

Fill the pita halves with the mushroom/onion mixture along with some cucumber and tomato.

12

Top with a little tzatziki sauce and enjoy!

Notes

While you can marinade the vegetables 2 hours, I recommend overnight to fully develop the flavors.

Beef

Meatloaf

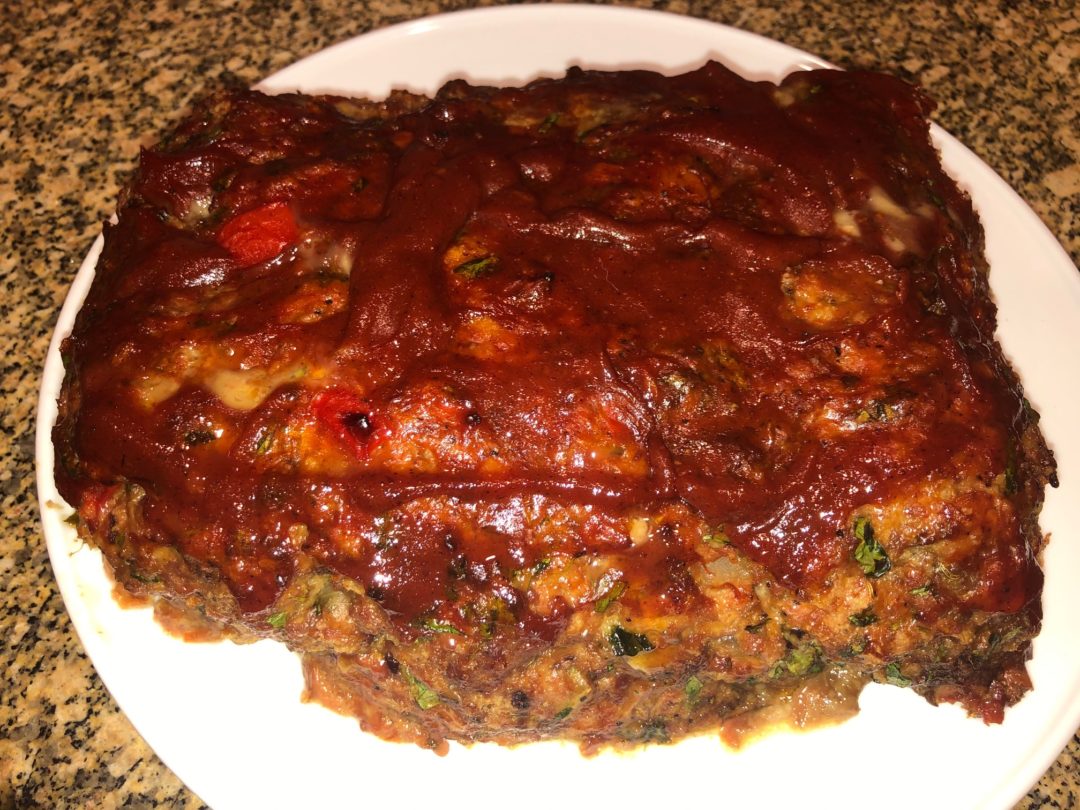
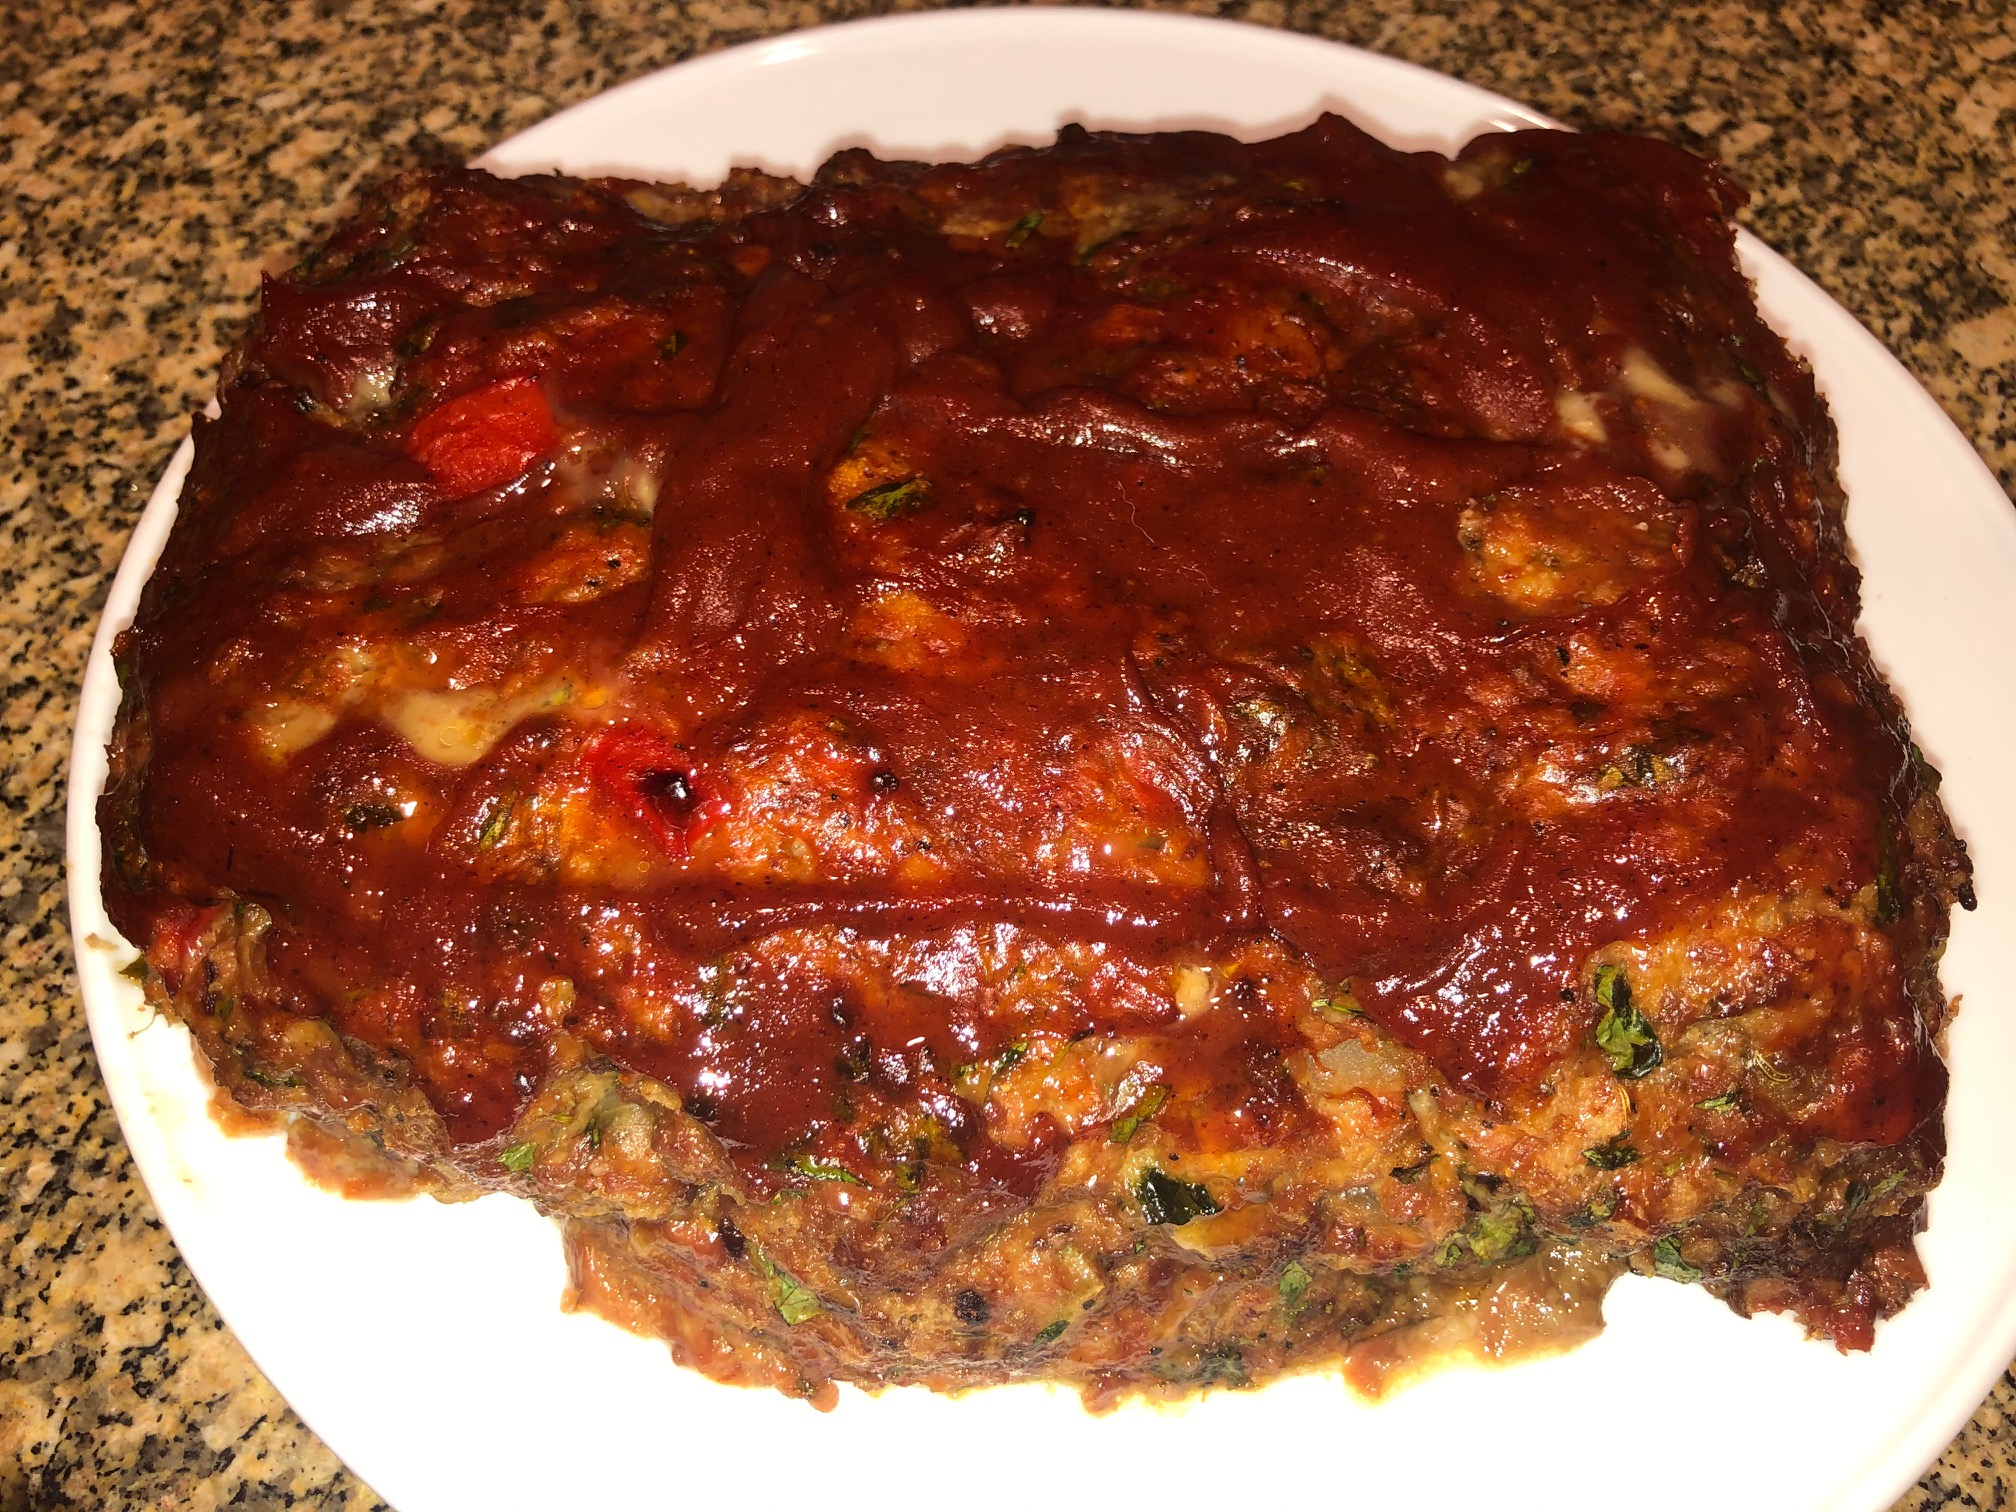
On the menu tonight – Meatloaf! When I was a kid, one of my favorite dishes was the meatloaf my grandmother made. When I was older and started cooking, I asked how she made it. She used three meats – beef, veal, and sausage. A lot of the recipes today, almost all of them really, call for only ground beef. Sometimes two different cuts of beef, but still only beef. When I used the different types of meat, the taste and texture was a lot closer to what I remember as a kid. While my version still isn’t as good as grandma’s, it’s pretty darn tasty.

Meatloaf

1 Star2 Stars3 Stars4 Stars5 Stars (No Ratings Yet)
Loading...
By Patrick Dulmage Serves: 8
Prep Time: 30 min Cooking Time: 1 hr 30 min Total Time: 2 hrs

Meatloaf

Ingredients

  • 1lb ground beef
  • 1 lb sweet Italian sausage
  • 1 lb veal (or substitute more ground beef)
  • 1 onion, diced
  • 1 bell pepper (any color)
  • 1 cup panko bread crumbs
  • ½ cup milk
  • 2 heads garlic, roasted and mashed into a paste
  • Salt & Pepper
  • 1 cup ketchup
  • ¼ cup steak sauce
  • 1 tablespoon Montreal Steak Seasoning
  • 3 eggs, beaten
  • 1 bunch Italian parsley, chopped

Instructions

1

Heat olive oil in a large skillet over medium heat

2

Saute the onions and bell pepper until very soft and browned – about 10-12 minutes

3

Preheat oven to 350 degrees

4

Mix the breadcrumbs, milk and roasted garlic in a bowl. Set aside

5

In another bowl, mix the ketchup, steak seasoning, and steak sauce.

6

In a bowl, combine the meats, parsley, eggs, pepper-onion mixture and two thirds of the meatloaf sauce.

7

Mix well, but don’t overwork.

8

Add Salt & Pepper to taste

9

Place mixture into a greased pan or form into a loaf.

10

Bake until internal temperature is 155 degrees – about 1 ½ hours

11

Remove from the oven and adjust oven for a low broil.

12

Brush the top of the loaf with half of the remaining sauce and return to oven for 2-3 minutes.

13

Let rest for 20 minutes before slicing.

Seafood/ Side Dishes/ Vegetarian

Crab Salad

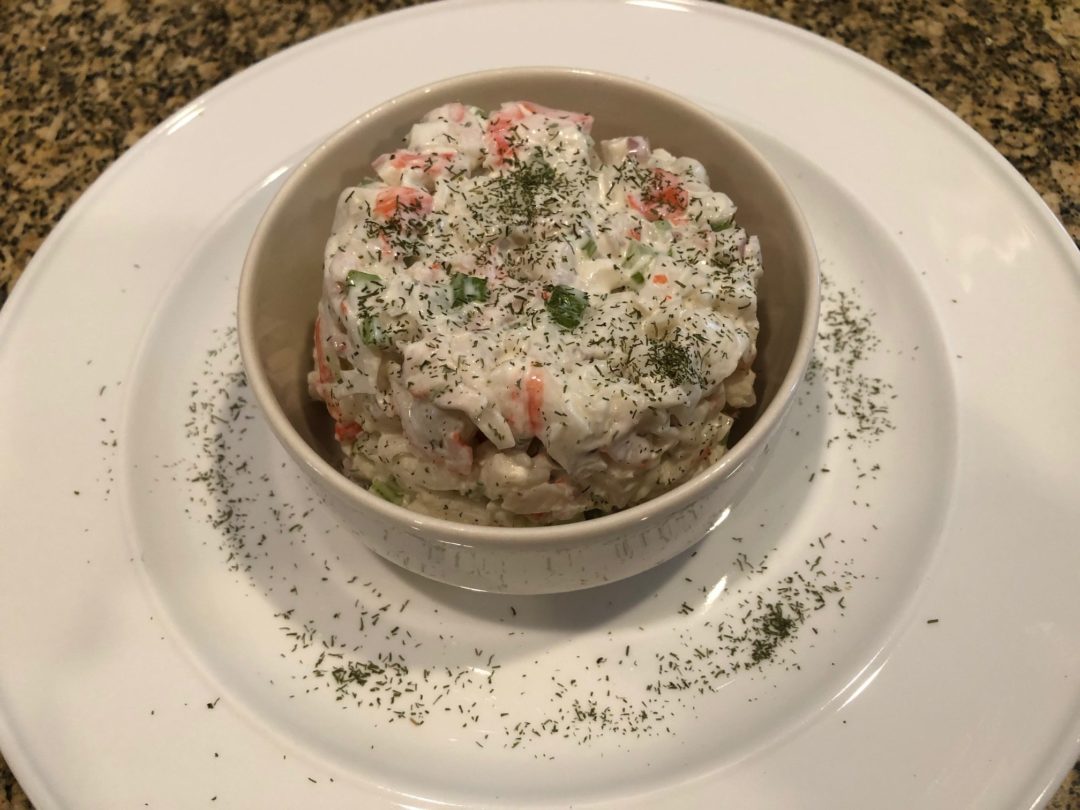
On the menu tonight – Crab Salad! This is a take on the fake crab… krab? salad you see at the grocery store. It’s so quick and easy to make. Once you make the salad, you can take it any number of ways. It’s great on its own, as a side dish, on a roll, or to fill an avocado. No matter which option you pick – it will be delicious!

I love making this because it is so easy to make and there is always some leftover for another meal. As many times as I’ve made this, I changed it up a little this time. I added the zest of a lemon and the juice of half of the lemon. That lemony flavor really brightened it up.

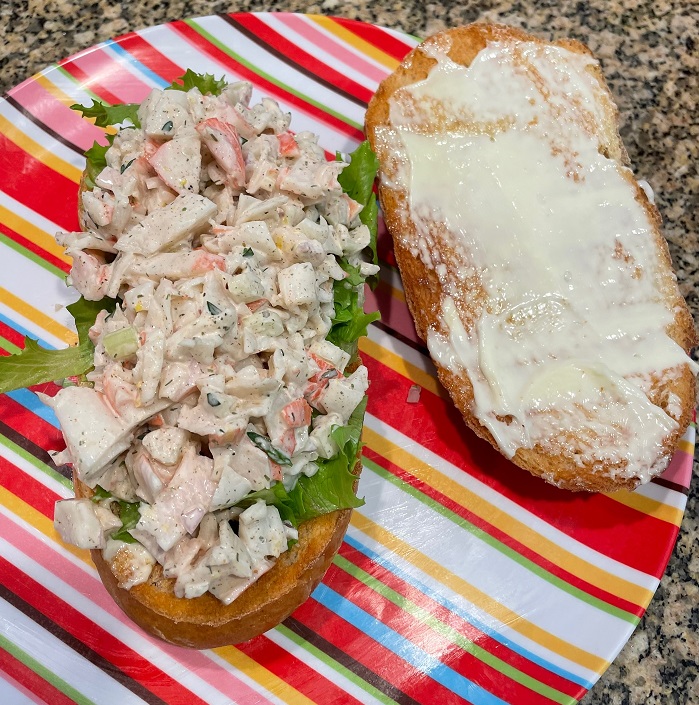
Crab Salad Sub

I hope the next time you’re having a cookout or picnic, you’ll make some of my crab salad. Put some if it out on its own and make a few mini-subs. Mini-subs are hotdog buns used as the roll. I like to toast them, let them cool off, spread some mayonnaise on each side, add some chopped lettuce, and top with the crab salad. YUM! They are small enough you can have one of those AND a burger!

Try my crab salad and let me know what you think.

Crab Salad

1 Star2 Stars3 Stars4 Stars5 Stars (No Ratings Yet)
Loading...
By Patrick Dulmage Serves: 4
Prep Time: 15 minutes Cooking Time: 0 minutes Total Time: 15 minutes

Crab Salad

Ingredients

  • 1 lb imitation crab meat
  • ½ - 1 shallot minced
  • 1 celery stalk finely diced
  • ½ cup mayonnaise (full fat please, the no fat and low fat products add sugar and other junk)
  • ½ cup ranch dressing
  • 1 teaspoon dill
  • Lemon zest from 1 lemon
  • Lemon juice from half of the lemon
  • ¼ teaspoon white pepper
  • ¼ teaspoon kosher salt

Instructions

1

Prepare the celery and shallot

2

Break apart the imitation crab meat into a medium mixing bowl

3

Add the celery, shallot, and other ingredients

4

Gently fold the ingredients together and let mixture rest in the refrigerator for at least 30 minutes

Vegetarian

Roasted Pepper and Goat Cheese Enchiladas

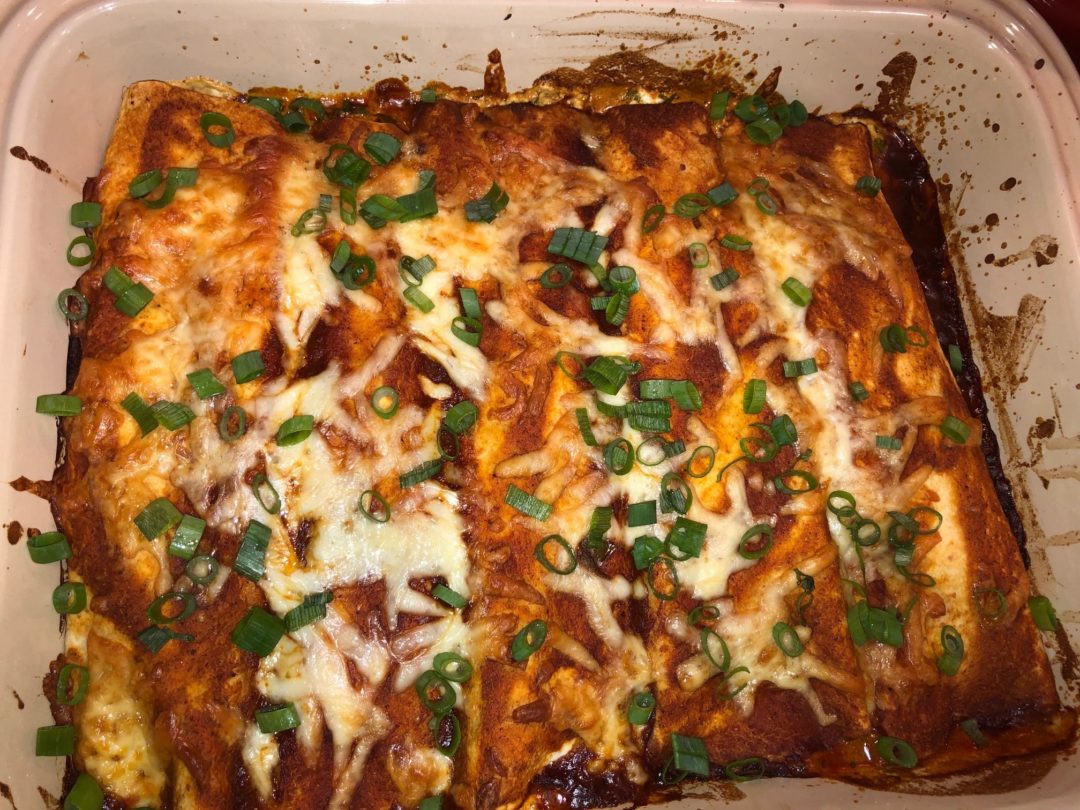
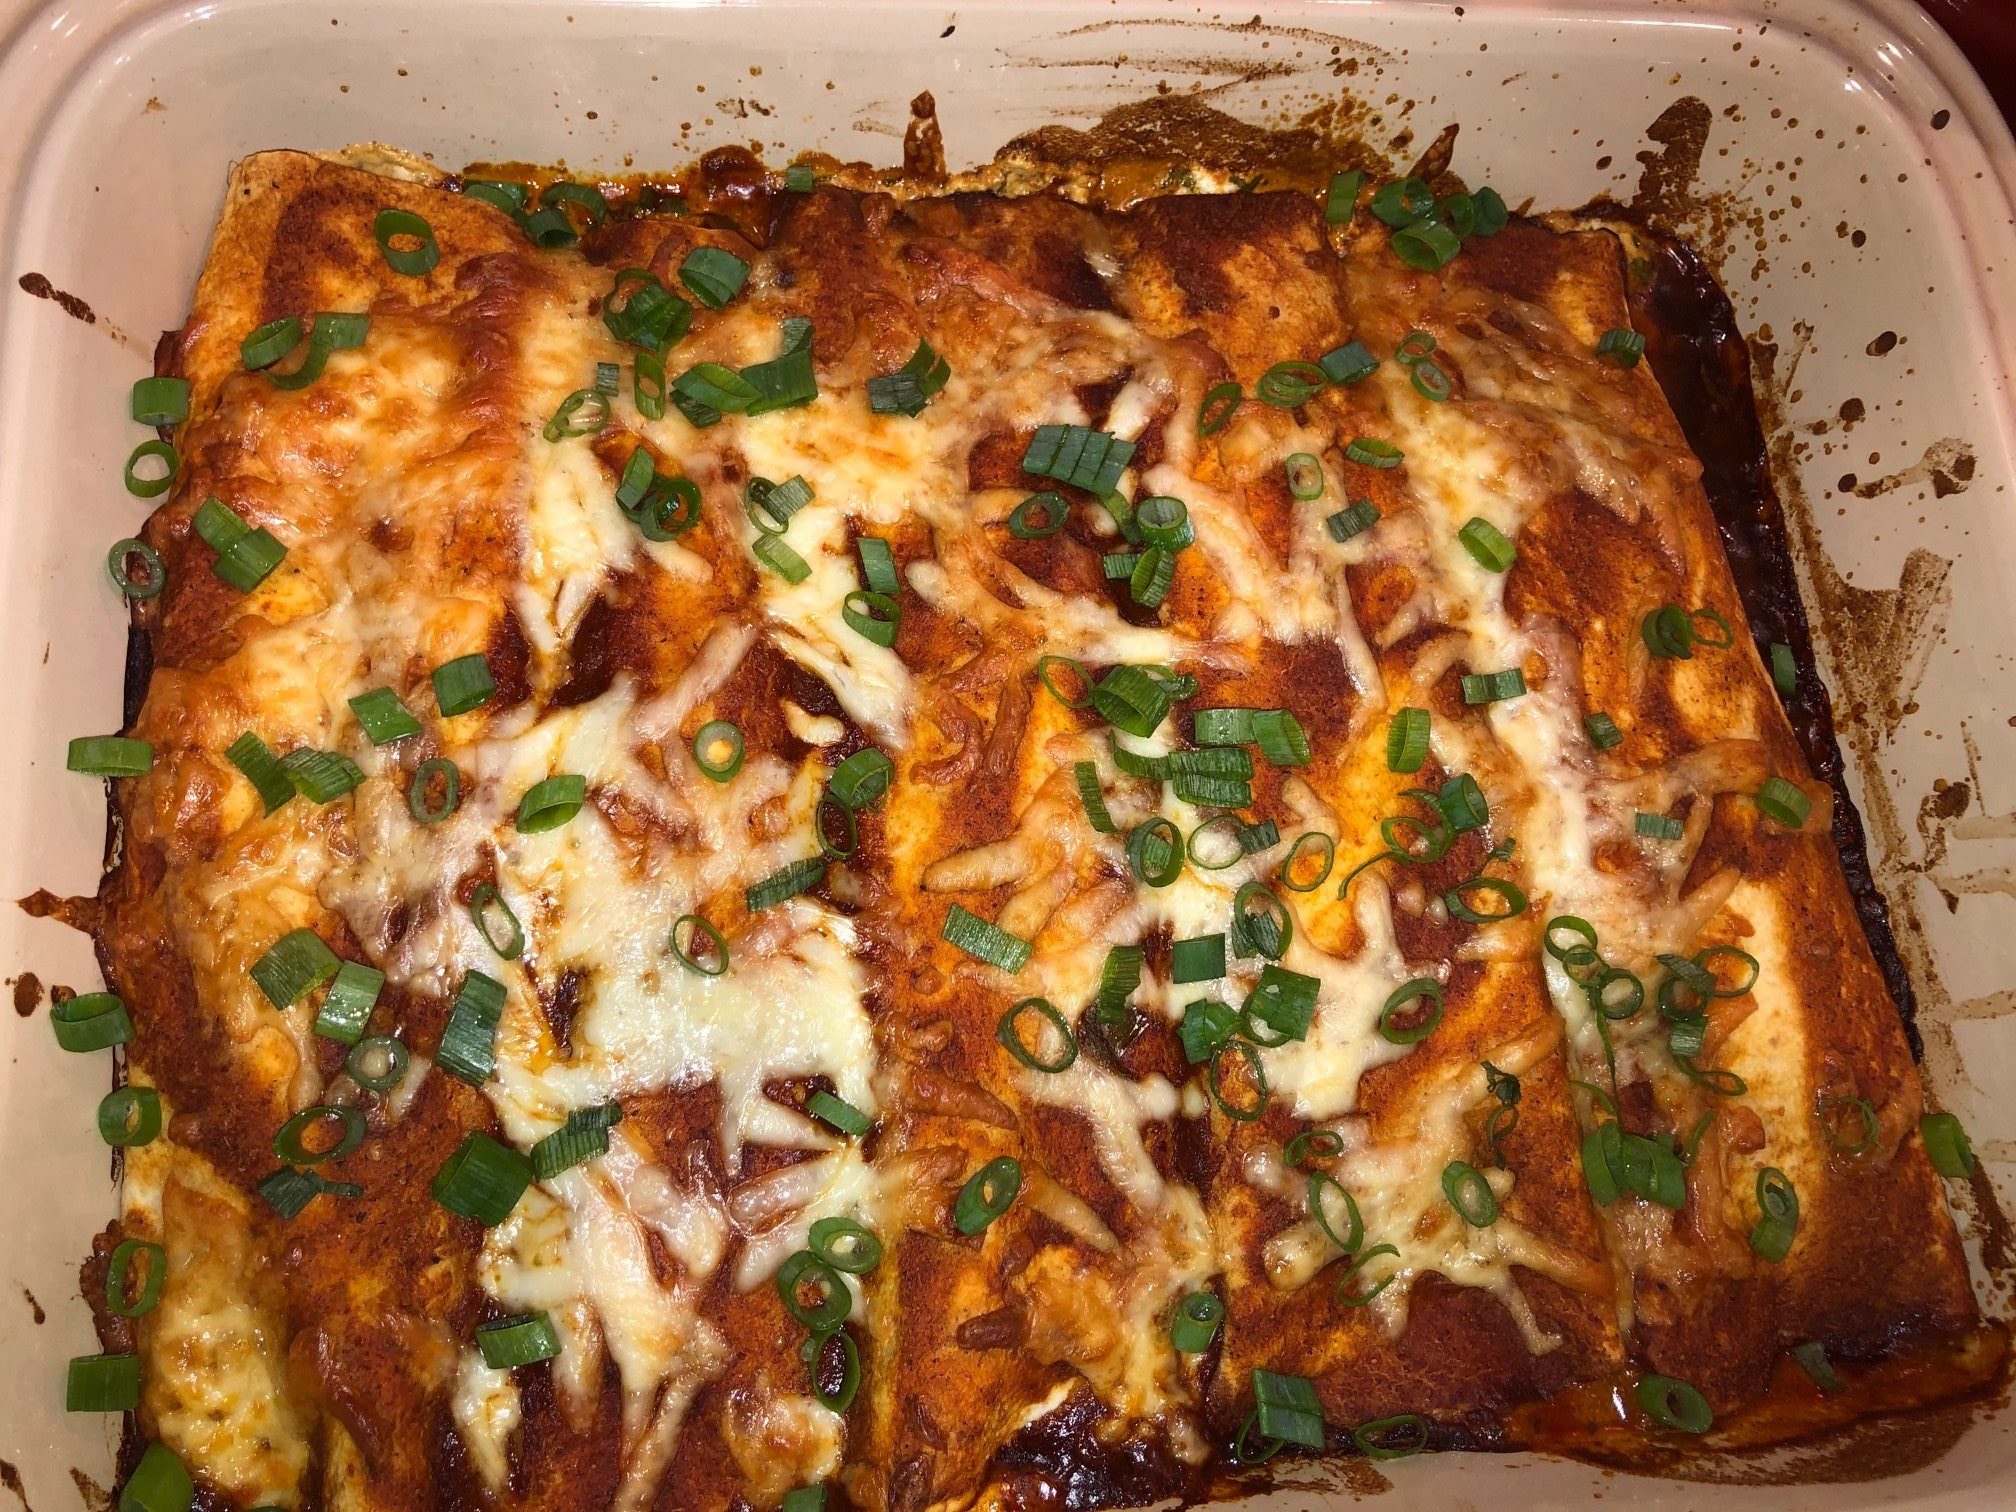
On the menu tonight – Roasted Pepper and Goat Cheese Enchiladas! This was inspired from a Bobby Flay recipe I found online. I roasted Anaheim and red bell peppers and mixed it with a DELICIOUS goat cheese mixture. This turned out to be one of the best cheese enchiladas I’ve ever had!

I had some left over canned enchilada sauce from the last time I made enchiladas, so I used that. Next time I make this dish, I’m going to make my own enchilada sauce. While it isn’t one of the quickest meals to make, it was well worth the effort. I hope you will try it let me know how your version turned out.

Roasted Pepper and Goat Cheese Enchiladas

1 Star2 Stars3 Stars4 Stars5 Stars (No Ratings Yet)
Loading...
Vegetarian
By Patrick Dulmage Serves: 8-12
Prep Time: 30 minutes Cooking Time: 1 hr 30 minutes Total Time: 2 hours

Roasted Pepper and Goat Cheese Enchiladas

Ingredients

  • 12 Flour Tortillas
  • 8 ounce grated Monterey Jack Cheese
  • 2 red bell peppers
  • 3-4 Anaheim peppers
  • 1 onion, chopped
  • 3 tablespoons chopped fresh cilantro leaves
  • 4-5 green onions, chopped
  • Sour cream for garnish
  • 28 oz can enchilada sauce
  • Filling:
  • 1 ¼ lb. Goat cheese
  • 3 cloves garlic, coarsely chopped
  • ¼ cup grated cotija cheese
  • 2 tablespoons lime juice
  • Kosher Salt & freshly ground pepper

Instructions

1

Preheat oven to 475 degrees.

2

Cut the Anaheim and bell peppers in half. Take out the seeds and ribs, then put them on a sheet pan. Drizzle some olive oil on them and mix to coat.

3

Roast the peppers for 35-40 minutes, then set aside to cool. Once cooled, chop the peppers.

4

In a medium pan, cook the onion with butter until lightly browned. Set aside to cool.

5

While the peppers roast, prepare the filling. In a food processor, add the goat cheese, cotija cheese, chopped garlic, and lime juice.

6

Pulse until thoroughly combined.

7

Fold the cilantro leaves into the cheese mixture.

8

In a 13x9 baking dish, spoon in enough enchilada sauce to cover the bottom of the dish.

9

Heat up the tortillas in the microwave oven for about 30 seconds to make them more pliable.

10

Take a tortilla and dip in the enchilada sauce to coat.

11

Spoon about 3 tablespoons of the goat cheese mixture on the tortilla.

12

Sprinkle about 3 tablespoons of grated Monterey jack cheese on the tortilla.

13

Add about 3 tablespoons of the onions and roasted peppers on top of the cheeses.

14

Roll the tortilla and put in the baking dish.

15

Repeat with the rest of the tortillas and ingredients.

16

Sprinkle some Monterey jack cheese on top along with the chopped green onions.

17

Bake the enchiladas for about 40 minutes at 350 degrees. If you want a golden crust on top, put under the broiler for the last 5 minutes of cooking.

18

Let the enchiladas rest for about 5 minutes after cooking.

19

Garnish with some additional green onions and sour cream.

Seafood/ Vegetarian

Salmon Piccata

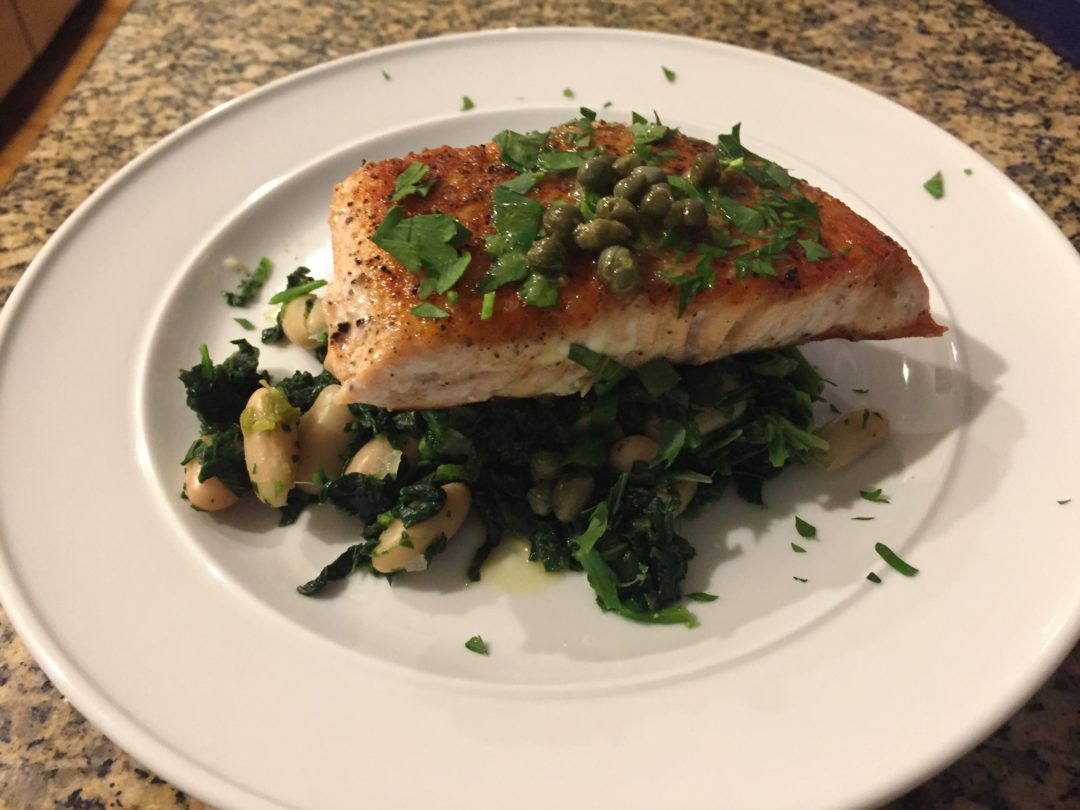
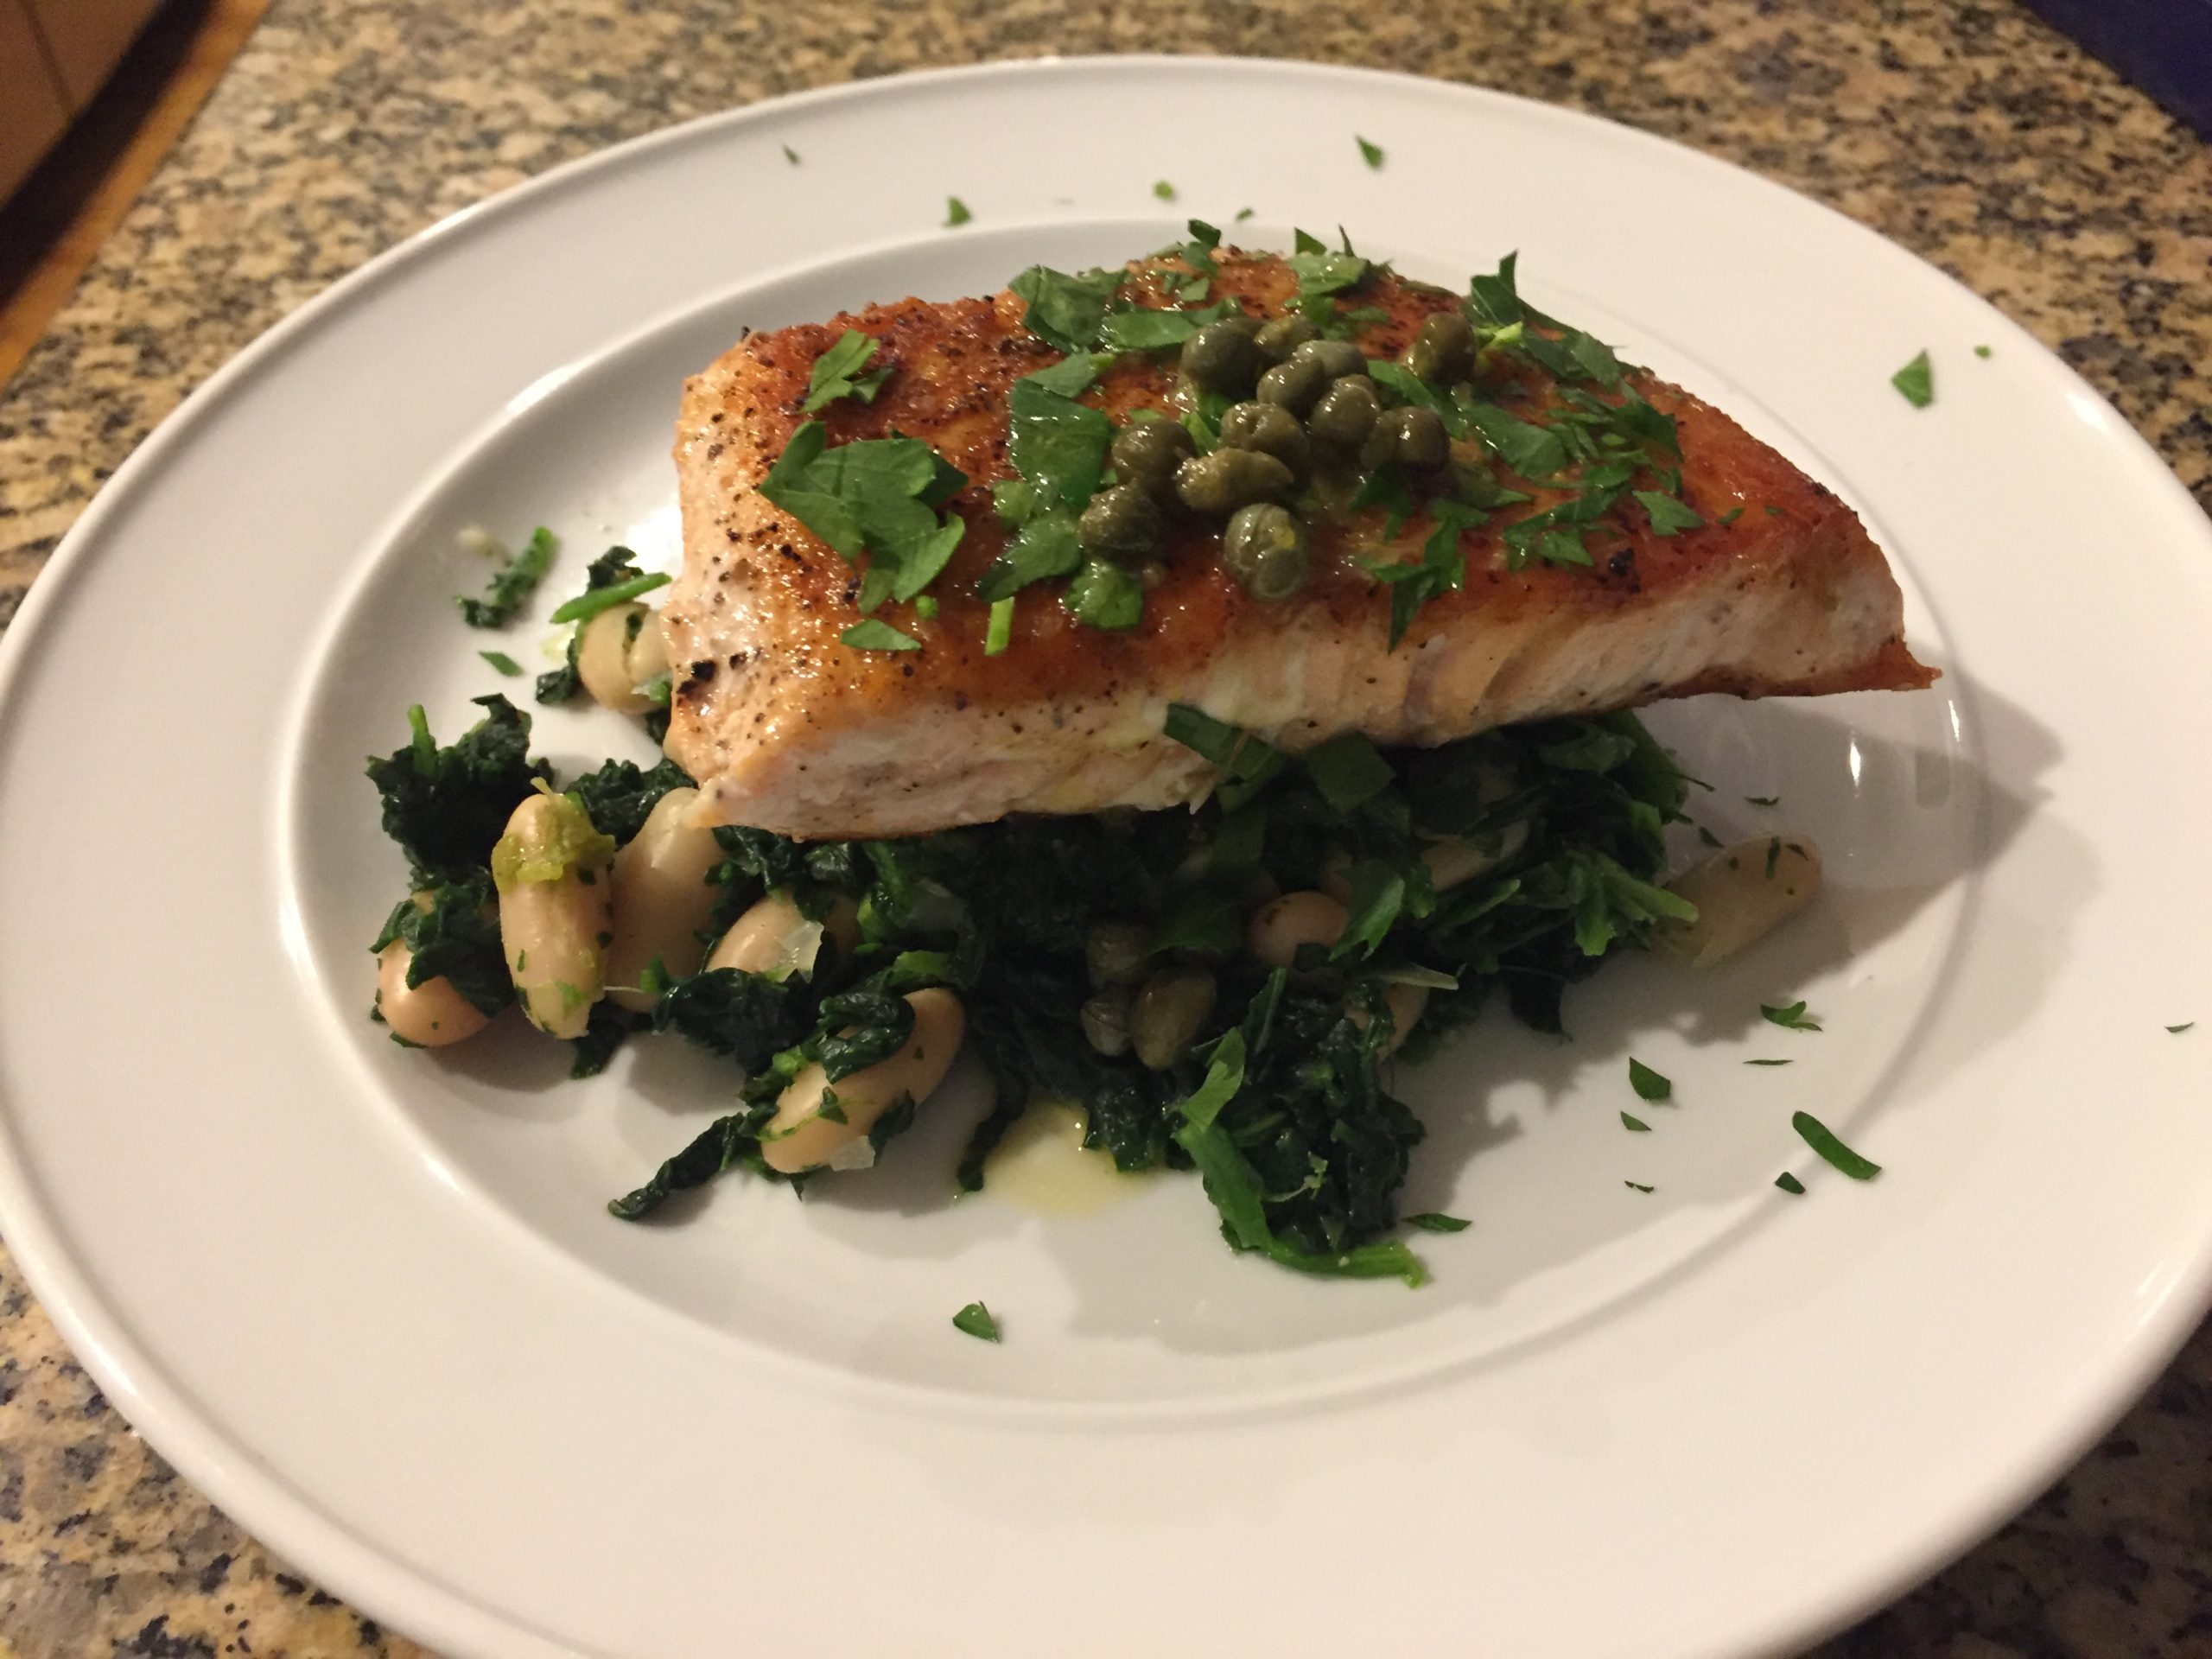
I saw this recipe on the FoodNetwork site and it looked SOOO good that I had to make it. It WAS SOOOOOOO GOOD! The spinach and cannellini bean mix goes so well with the salmon. You’ve got to try this one!

Salmon Piccata

1 Star2 Stars3 Stars4 Stars5 Stars (No Ratings Yet)
Loading...
Seafood / Vegetarian
By Robert Irvine Serves: 2
Prep Time: 10 minutes Cooking Time: 15 minutes

Salmon Piccata

Ingredients

  • 5 ounces Salmon, skin off
  • Kosher salt & ground pepper
  • 2 tablespoons grapeseed oil
  • 1 teaspoon slivered garlic
  • 1 teaspoon minced shallots
  • 2 ounces canned cannellini beans, rinsed and drained
  • 1 cup spinach
  • 1 ounce lemon juice
  • 1 ounce vegetable or fish stock
  • 1 tablespoon capers
  • 1 tablespoon unsalted butter
  • 1 tablespoon freshly chopped parsley

Instructions

1

Dry the salmon with a paper towel.

2

Remove the skin if it hasn’t already been removed.

3

Season with salt and pepper.

4

Heat skillet with 1 tablespoon of grapeseed oil over medium-high heat.

5

Add the salmon and sear for about 3 minutes on each side.

6

In a separate pan, heat the remaining grapeseed oil over medium heat.

7

Saute the garlic and shallots until translucent, about 1 minute.

8

Add the cannellini beans and warm for about two minutes.

9

Add the spinach and wilt for about 1 minute.

10

Remove the salmon from the pan, add the lemon juice, stock and capers.

11

Reduce to a glaze, between 3-5 minutes.

12

Add the butter and emulsify. Turn off the heat and continue mixing until fully incorporated.

Soup/ Vegetarian

Split Pea Soup

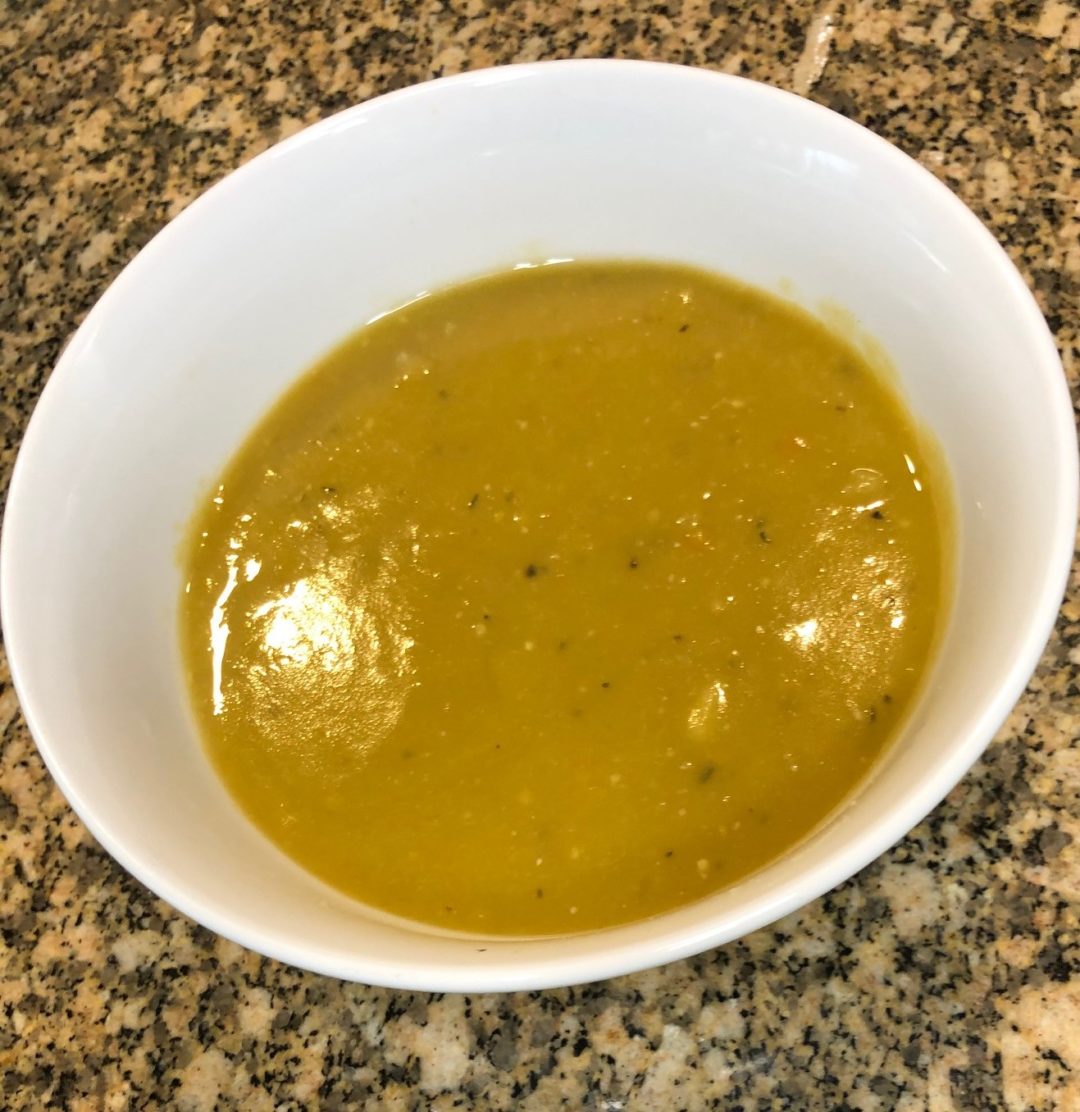
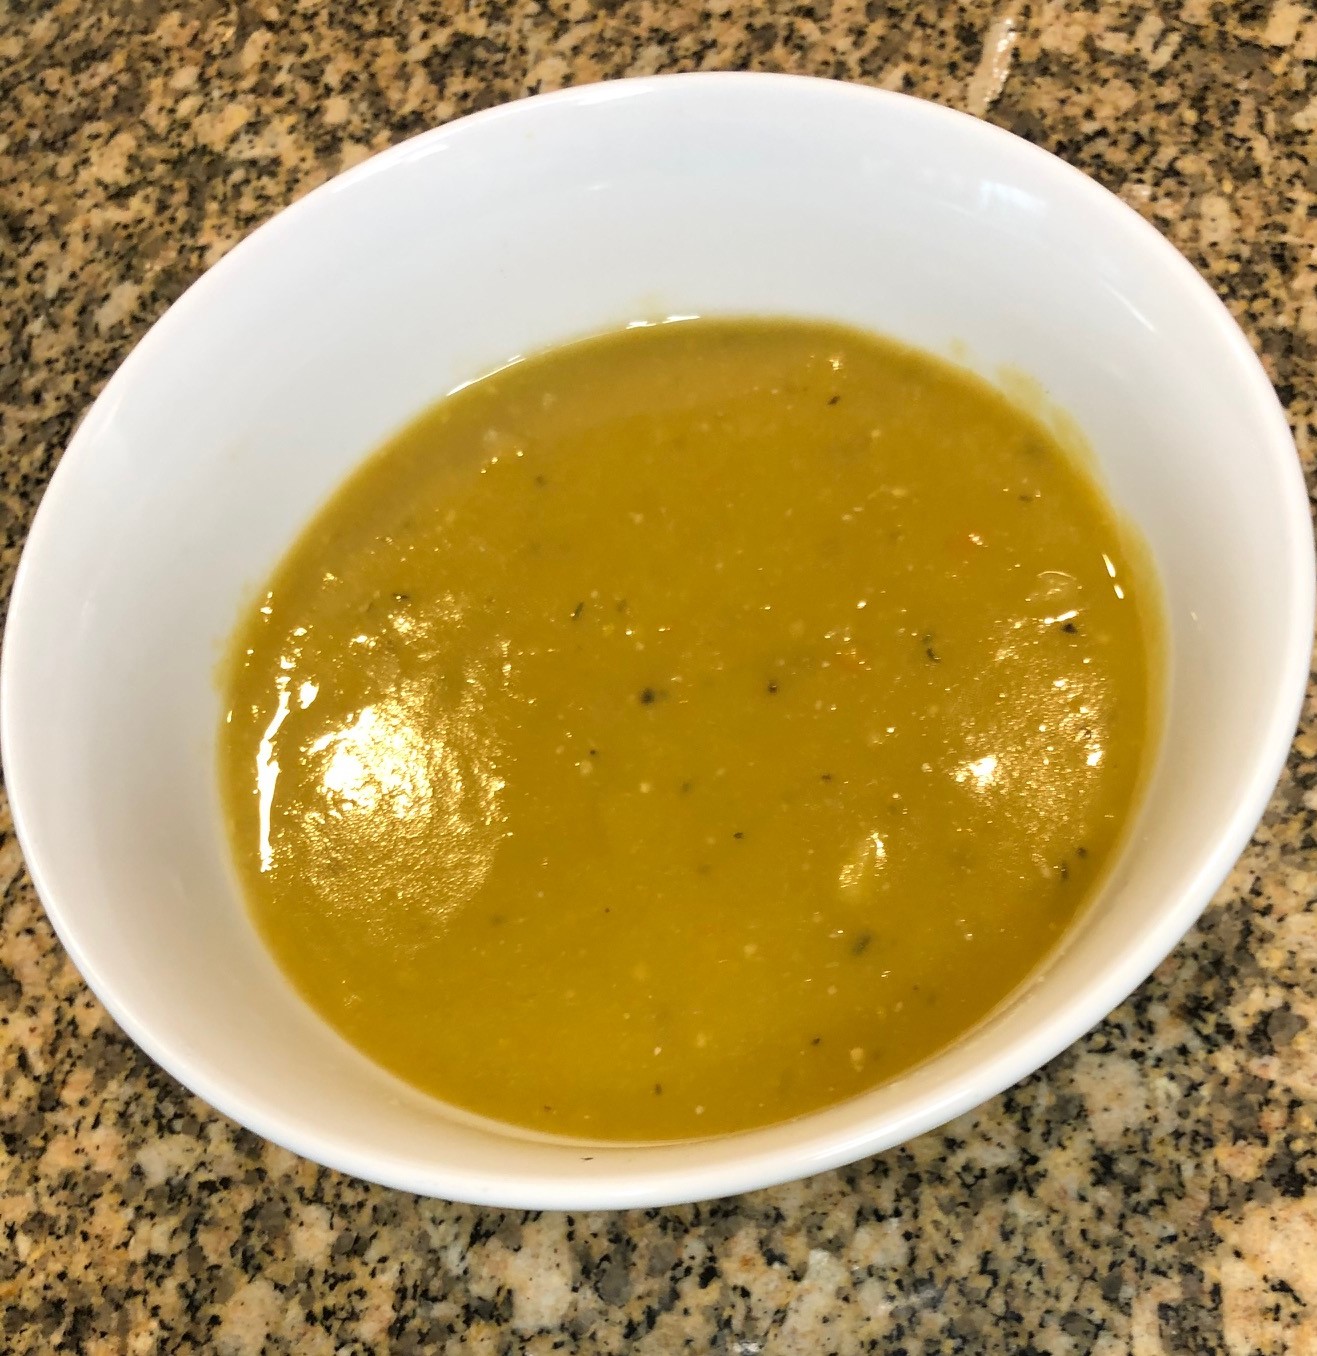
Today was one of those cold, dreary days that called for a comforting bowl of soup. I decided to make Split Pea Soup! Instead of soaking the split peas overnight, I used my pressure cooker. From start to finish, it takes about 40 minutes to make this delicious and nutritious meal. There aren’t that many ingredients, carrots, parsnip, vegetable stock, garlic, onion, a few seasonings and that’s it! I hope you’ll try my version of split pea soup!

Split Pea Soup

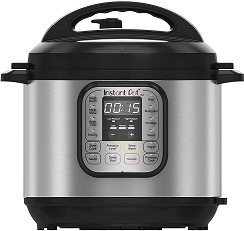
If you don’t have a pressure cooker, I recommend getting one. They can save you a lot of time in the kitchen. The pressure cooker I use isn’t sold by Amazon any longer, but one of the most popular pressure cookers out now is the Instant Pot. I’ve talked with people who have this pressure cooker and they love it.

Split Pea Soup

1 Star2 Stars3 Stars4 Stars5 Stars (No Ratings Yet)
Loading...
Soup / Vegetarian
By Patrick Dulmage Serves: 8
Prep Time: 10 minutes Cooking Time: 30 minutes Total Time: 40 minutes

Split Pea Soup

Ingredients

  • 1 lb dry split peas (separated)
  • ** Optional** 1 ham bone, with some ham still on it
  • 8 cups vegetable or chicken broth OR water
  • 2 carrots
  • 1 parsnip
  • 1 diced onion
  • 2 cloves of minced garlic
  • 1 teaspoon pepper
  • 1 teaspoon kosher salt
  • 1 teaspoon thyme
  • 3-5 bay leaves

Instructions

1

Peel the parsnip and carrots

2

Dice the parsnip, carrots, and onion

3

Add all the ingredients to the pressure cooker.

4

Set pressure cooker on rice/risotto mode (7.2psi) for 30 minutes.

5

Once finished, release the pressure and let it rest for 3-5 minutes.

6

Get the bowls ready.

7

Once you can open the cooker, carefully pluck out the bay leaves.

8

Blend the soup either with an immersion blender or traditional blender.

9

Enjoy some of the best split pea soup you've had! 🙂

Notes

Split pea soup is often made with a ham bone - I left it out in my version. While you can use water, I really recommend either vegetable or chicken broth to give it some extra flavor. If you do use water, I would recommend filtered or bottled water. Tap water often has chlorine and other chemicals that will give an undesired flavor to your soup.