Browsing Category

Beef

Beef/ Casserole

Shepherd’s Pie / Cottage Pie

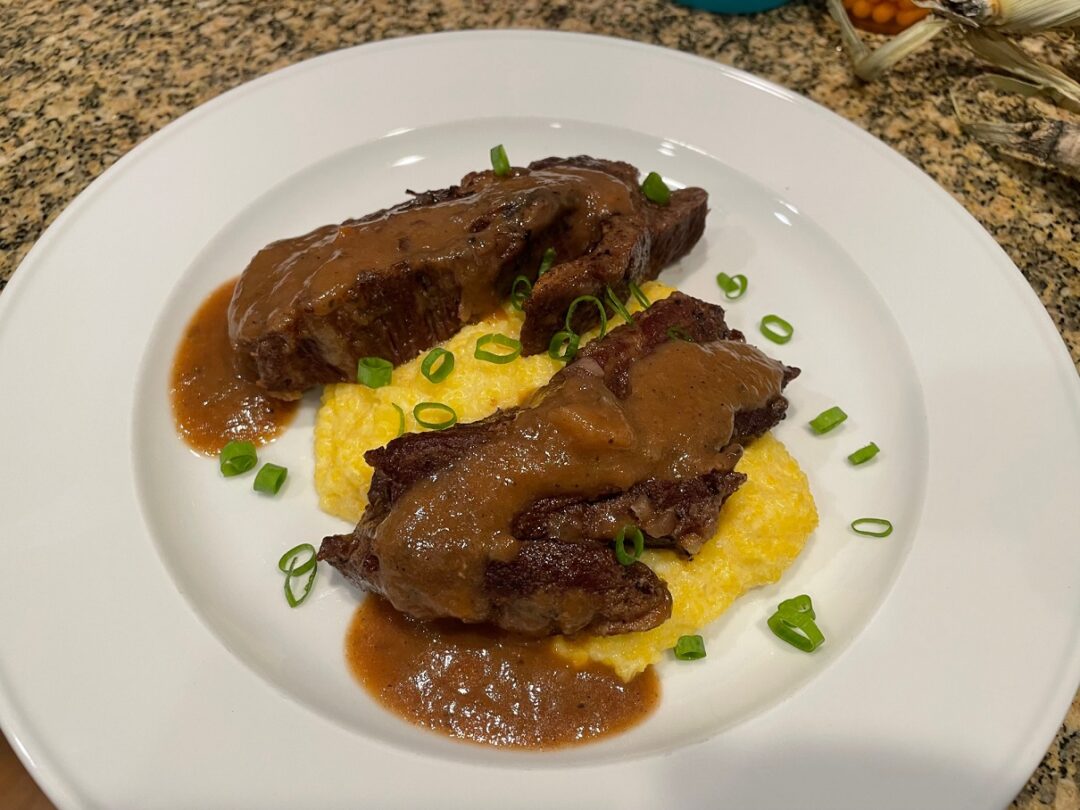
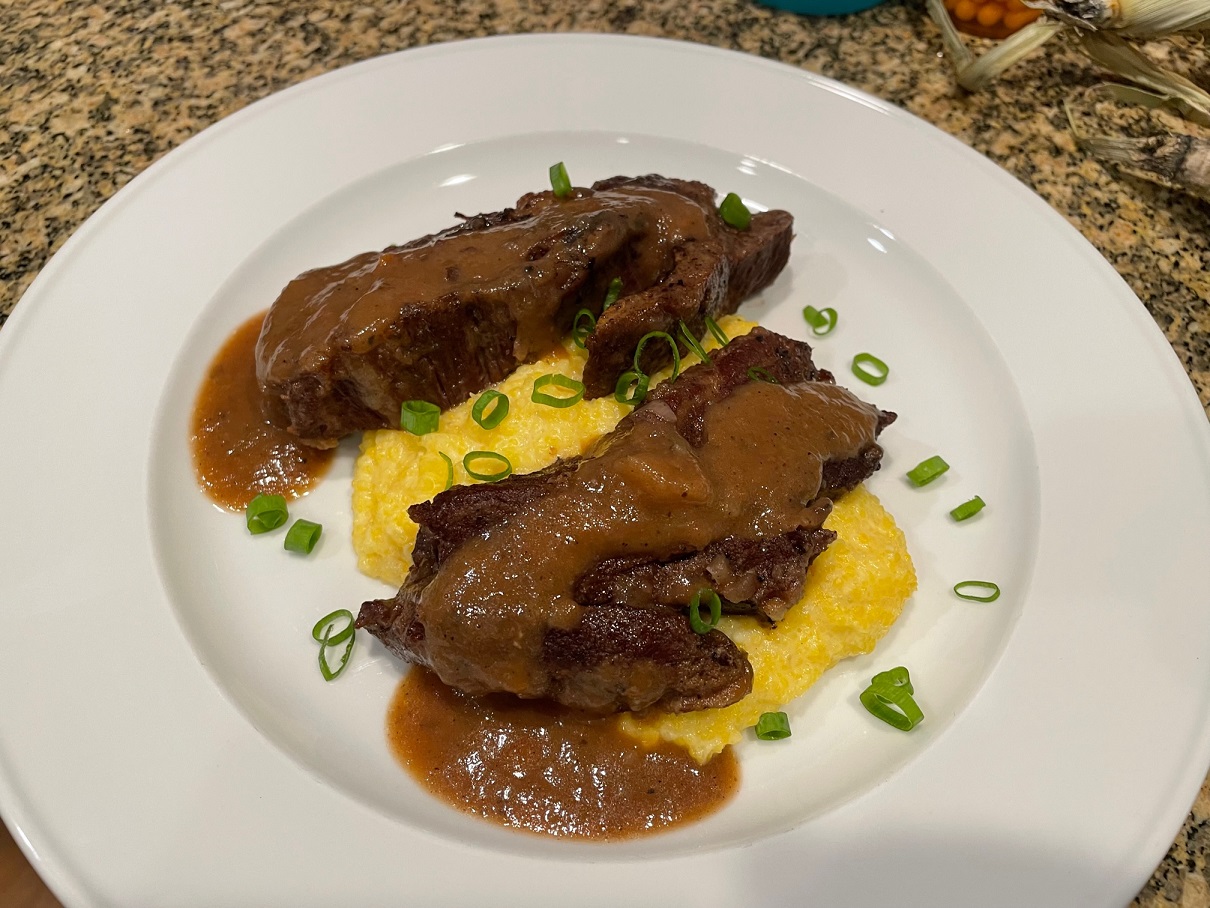
This is really a Cottage Pie since I used ground beef instead of ground lamb. This is such an easy and comforting meal!

Most of the recipes I’ve seen don’t use cream of mushroom soup, but as I was looking at different recipes for inspiration I saw some that did and I decided to try it.

If you’re looking for a comforting and easy to make meal, this is it.

Shepherd's Pie / Cottage Pie

1 Star2 Stars3 Stars4 Stars5 Stars (No Ratings Yet)
Loading...

Shepherd's Pie / Cottage Pie

Ingredients

  • Filling:
  • 2 lbs ground beef
  • 1-2 Vidalia Onions, diced
  • 2 carrots, sliced (for the thick ends, I'll cut them in to quarters. you want bite sized pieces)
  • 1-2 cups peas (frozen is perfect for this dish)
  • 2 cans Cream of Mushroom soup
  • 3-4 garlic cloves, minced or finely chopped
  • 1 Tbsp Rosemary
  • 1 Tbsp Thyme
  • 1 Tbsp Parsley
  • Mashed Potatoes:
  • 4 Russet potatoes (approx 3 lbs)
  • 4 Tbsp butter
  • 1/4 cup of cream
  • 1/4 cup of sour cream
  • 1-2 cloves of minced garlic
  • 1 Tbsp Parsley

Instructions

1

Mashed Potatoes:

2

Add the quartered potatoes to a large pot with enough water to cover the potatoes

3

Put the butter and minced garlic in a bowl, microwave until butter is melted, set aside

4

Bring to a boil, add about 2 Tbsp Kosher salt and cook until fork tender

5

Drain the potatoes, add back to the pot along with the parsley, melted butter and garlic

6

Stir in the sour cream, add the cream to get the consistency you want

7

Season with Kosher salt and pepper to taste, set aside

8

Filling:

9

Pre-heat a large skillet (at least 12") to med-high heat

10

Add the carrots and onions, cook about 7 minutes

11

Add the tomato paste and cook another 3 minutes until it turns to a brick-like color

12

Add the ground beef, peas, and minced garlic along with the herbs, cook about 10 minutes until the beef is browned

13

Add the cream of mushroom soup, stir to combine, cook another 3-5 minutes and cut the heat

14

Assemble the Pie:

15

Pre-heat the oven to 375 degrees

16

You can use any vessel you like to bake this. I used 13x9 baking dishes, but individual crocks would be a fantastic presentation

17

Add the filling to the baking dish and spread evenly

18

Spread a layer of the mashed potatoes over the filling and bake for 20 minutes

19

Pull from the oven and sprinkle the shredded cheese over the potatoes, return to the oven for another 10 minutes or broil until the cheese is melty and slightly browned

20

Sprinkle with parsley (freshly chopped is preferred) and serve

Notes

This makes a LOT of food, so if you're only cooking for 2-4 people you may want to cut the measurements in half. Otherwise, you'll have plenty to freeze or share.

Beef

Copy Cat Big Mac Sliders

On the menu tonight – Copy Cat Big Mac Sliders! I rarely eat fast food anymore, but I recently saw a post on FB for these Copy Cat Big Mac sliders and they looked really good. There was also a post for Copy Cat White Castle sliders and those looked good too! The recipe I’m going to share is a combination of the two and it turned out pretty fantastic if I say so myself.

The great thing is that this comes together really quickly, there isn’t anything difficult in making these sliders, no exotic ingredients… just a good ‘ole slider that would be right at home during the week, at a party, game day… they’re delicious crowd-pleasers!

One of the really great things about these sliders is that they are made in the oven! So, it doesn’t matter what the weather is, you can make this meal.

The next time you are thinking about making burgers, I hope you’ll give these sliders a try!

Big Mac Sliders
Big Mac Sliders

Copy Cat Big Mac Sliders

1 Star2 Stars3 Stars4 Stars5 Stars (No Ratings Yet)
Loading...
By Patrick Dulmage Serves: 3-6
Cooking Time: 25-30 minutes

Copy Cat Big Mac Sliders

Ingredients

  • 2 lbs 80/20 ground beef (I like ground chuck
  • 1 pkg slider buns (I used 6 buns for this recipe)
  • 1 packet Lipton Soup mix or equivalent
  • 1/2 finely diced Vidalia Onion
  • 1/4 - 1/2 cup dehydrated onion / dried minced onion
  • 2 Tsp Garlic powder
  • 1/3 cup Thousand Island dressing or make your own (Ketchup, mayo, and relish)
  • Dill pickle slices, at least one per slider
  • 1 cup Shredded lettuce
  • 3-4 slices American cheese

Instructions

1

Pre-heat the oven to 375 degrees

2

On a large sheet tray, spread out the ground beef

3

Season the ground beef with the Lipton Soup mix, pepper, onions (finely diced and dry), garlic powder, and gently mix (don't over mix)

4

Once the meat is thoroughly seasoned, form it in to a rectangle roughly the size of the slider buns but a little larger as the meat will shrink a little as it cooks.

5

Cover with tin foil and put in the pre-heated oven.

6

Set the timer for 15 minutes.

7

As the meat cooks, carefully cut the slider buns in half, but leave them all intact - don't separate them.

8

Spread the Thousand Island dressing on both the tops and bottoms and set aside.

9

Shred the lettuce

10

When the timer goes off, remove the tray from the oven, remove the foil, drain any fat, and return to the oven uncovered for another 15-20 minutes.

11

When the burgers are ready, add the American cheese and return to the oven for a few minutes to let the cheese melt.

12

Cut the rectangle in half (length-wise) so you have two rows of three sliders. This will make it easier to transfer to the buns.

13

Dab the hamburger with paper towels to avoid transferring a lot of grease to your burgers. I tilted the pan and drained the fat a second time, then dabbed the burgers with paper towels to get a lot of the excess grease off of them.

14

Transfer the burgers to the slider buns.

15

Top with pickles, lettuce, and the bun tops.

16

Serve with french fries or onion rings.

Notes

You'll note I don't have sesame seed buns. I don't feel that the sesame seeds add anything to the taste, texture... anything. If you like them, use sesame seed buns.

Beef

Sheet Pan Beef and Broccoli with Rice

On the menu tonight – Beef and Broccoli with Rice!

I’ve been trying, off and on for a while to make a Chinese food knock off that would satisfy my craving for Chinese food without having to order take-out. Sadly, most of those attempts haven’t been very successful – UNTIL NOW! This meal hits all the buttons AND it only took about 30 minutes to make from start to finish.

To save time, the meat was mostly cut to size. I had a package of beef tips and I just had to cut the pieces to bite size. The rice was the microwave bag types that is ready in 90 seconds. If you haven’t tried them, DO. They’re really good, especially for something like this. What’s left? The broccoli. I cut up the broccoli to bite-sized pieces and did a rough chop of the scallions.

There is a sauce, but all you have to do for that is mix the ingredients in a bowl and add your chopped ingredients to coat them before putting everything (minus the rice) on a sheet pan. After 15 minutes in the oven, take it out and cook the rice for 90 seconds. All you have to do next is plate it and eat it!

The next time you get cravings for Chinese food, consider making this Sheet pan Beef and Broccoli. It will be on the table quicker than take-out.

Sheet Pan Beef and Broccoli with Rice

1 Star2 Stars3 Stars4 Stars5 Stars (No Ratings Yet)
Loading...

Sheet Pan Beef and Broccoli with Rice

Ingredients

  • Sauce:
  • 2 Tbsp reduced sodium soy sauce
  • 2 Tbsp oyster sauce
  • 2 Tbsp canola oil
  • 1 Tbsp toasted sesame oil
  • 1 Tbsp brown sugar (light or dark)
  • 1 Tbsp sriracha sauce
  • 1/2 tsp crushed red pepper flakes
  • 2-3 cloves of garlic, minced
  • Beef and Broccoli:
  • 3/4 - 1 lb of sirloin steak, cut to bite-sized pieces (about 3/4 of a inch)
  • 10-12 oz broccoli florets
  • 3 scallions, cut in to 1-2" pieces (use the entire scallion, light and dark parts)
  • Cooked rice, for serving or 1 bag microwave rice (I used Jasmine rice)
  • Freshly cracked black pepper to taste
  • Toasted sesame seeds for garnish

Instructions

1

Pre-heat the oven to 425 degrees and position a rack in the upper third of the oven

2

Make the sauce: In a large bowl, whisk together the soy sauce, oyster sauce, canola oil, sesame oil, sriracha, brown sugar, red pepper flakes, and minced garlic

3

Add the steak, broccoli, and scallions to the bowl, then toss to coat all the ingredients

4

Spread the ingredients on a large sheet pan and spread everything in a single layer

5

Bake for 15-16 minutes until the steak is browned and the broccoli is al dente

6

Season with freshly cracked black pepper

7

Serve with the rice and sprinkle with toasted sesame seeds

Notes

If you like a lot of sauce, you could double the amounts for the sauce recipe. Just be careful not to dump too much sauce on the sheet pan, as it will burn. Next time I will probably cut a Vidalia onion in half, then slice it and add to the mixture.

Beef

Sunday Pot Roast with Gravy

On the Menu Tonight – Sunday Pot Roast with Gravy!

It’s getting cooler outside and that put me in the mood for pot roast. This recipe has a few extra ingredients than my usual pot roast, including cognac and leeks.

To get started on the meal, I prepped all the ingredients. I chopped the carrots, onions, and garlic, as well as sliced the leeks and soaked them in water to get the dirt out. Once everything was in place, I got started.

I seasoned the meat with salt, pepper, and then sprinkled with flour on all sides. Then, I seared the meat on all sides and took it out of the Dutch oven and set aside while I started on the veggies.

With all the veggies chopped and prepped, I simply put those in the pot and cooked them for a bit until they were tender. Then, I added in the cognac, wine, chicken broth, and tomatoes. Once that was brought to a boil, I put it in the oven to cook. At this point, let it go for 90 minutes. When the timer goes off, lower the temperature to 225 degrees and reset the timer for another hour.

When the hour is up, take the pot roast out of the dutch oven and make the gravy. Take about half the liquid and veggies from the pot and put in a blender or food processor. Blitz it until smooth, then add back to the pot. Stir to combine and bring it back to a boil on the stove top. If it isn’t thick enough add a butter/flour paste – about two tablespoons, stir it in and let the sauce thicken. I didn’t need to add it this time.

When the sauce is the desired thickness, you are ready to serve. By this time, the meat has rested at least 5 minutes. Slice it and spoon over that lovely sauce you just made.

This dish is SO comforting and filling. I hope you will try this Sunday Pot Roast and let me know how your version turns out.

PoatRoast

Sunday Pot Roast with Gravy

1 Star2 Stars3 Stars4 Stars5 Stars (No Ratings Yet)
Loading...
By Patrick Dulmage Serves: 4-6
Prep Time: 30 minutes Cooking Time: 2 hours 30 minutes Total Time: 3 hours

Sunday Pot Roast with Gravy

Ingredients

  • 4-5 lb chuck roast
  • 4 carrots - sliced
  • 2 onions - diced
  • 3 stalks celery
  • 2 leeks - chopped (only the white and light green part)
  • 5 cloves garlic
  • 1 can (28 oz) plum tomatoes
  • 2 cups red wine
  • 2 Tbsp Cognac
  • 1 cup chicken stock
  • 1 tsp chicken powder
  • 3 branches fresh thyme
  • 3 branches fresh rosemary (tie the thyme and rosemary together so it's easier to remove from the pot)
  • Kosher Salt
  • Freshly ground pepper

Instructions

1

Pre-heat oven to 325 degrees

2

Pre-heat Dutch oven to high heat

3

Season the meat on all sides with salt, pepper, and flour

4

Sear the meat on all sides - 3-5 minutes per side

5

Once the meat is seared, remove from Dutch oven and set aside

6

Lower the heat to medium-high

7

Add the onions, leeks, carrots, and celery (reserve the garlic) - season with salt and pepper

8

Let the veggies cook until tender, about 10 minutes

9

Add the wine and Cognac and bring to a boil

10

Add the chicken stock, tomatoes, thyme, rosemary, and chuck roast

11

Bring to a boil, then put it in the oven for 90 minutes

12

When the timer goes off, lower the temperature to 225 degrees and cook one more hour

13

When the timer goes off, take the Dutch oven out, take the meat out and set aside

14

Take about half the liquid and veggies out of the pot (use a measuring cup or ladle), and put it in a blender or food processor

15

Since it's hot, don't fill the blender more than half way and start the blender slowly

16

When the mixture is smooth, add it back to the Dutch oven and stir to combine

17

Let it reduce a bit and if it isn't thick enough, now is the time to add the flour/butter paste to thicken it

18

Taste the sauce and see if you need to add the chicken powder or other seasoning

19

Once the pot roast has rested at least 5 minutes, slice it and spoon over the sauce

20

Serve immediately

Beef

Oven Roasted Beef Brisket

On the Menu Tonight – Beef Brisket!

I’ve tried a few times, more than a few times, to cook a beautifully tender beef brisket and failed. The main failure was two things. The meat wasn’t tender and it wasn’t juicy.

I tried again today and we’re getting there. The meat wasn’t dry and it was more tender than the last time. Before I go on, there are a few main types of cook on a brisket in my opinion. There’s the oven roasted brisket your grandma did with the Lipton onion soup mix and there’s the competition BBQ pit-master brisket with the smoke ring. Tonight, I was going for the oven roasted version with the dry rub one would use when smoking the brisket. I didn’t do a braising liquid, or veggies – just the meat rubbed down with the BBQ rub. The rub was a simple, paprika, salt, pepper, onion powder, and garlic powder mix.

Similar to what the BBQ folks would do, I patted the meat dry with paper towels and then liberally coated all sides with my rub. I wrapped it in cling wrap and put it in the fridge over night.

For the day of the cook, I took it out of the fridge and let it come to room temperature and pre-heated the oven to 225 degrees. I put the meat in a cast iron braising pot, a Dutch oven will do fine if you don’t have a braising pot, and let it go for three hours. Here’s where the fail happened in the past. Most recipes I’ve read have you take it out around the three hour mark. Whenever I have done that, mine comes out tough. It tastes good, but it’s not that tender cut you are looking for. I cut the heat to 205 degrees and let it go another 1/2 hour.

When the timer goes off, pull it from the oven, but let it rest in the braiser for at least an hour. It will still be cooking, but coming down in temperature slowly. After it has had a chance to rest, slice it and serve with your choice of sides.

I hope the next time you decide to cook a brisket, you will try my version. Let me know how it turns out!

Oven Roasted Beef Brisket

1 Star2 Stars3 Stars4 Stars5 Stars (No Ratings Yet)
Loading...
By Patrick Dulmage Serves: 8-10
Prep Time: 1 day Cooking Time: 3 1/2 hours Total Time: 1 day 3 1/2 hours

Oven Roasted Beef Brisket

Ingredients

  • 3 lb beef brisket
  • 1/4 cup dry rub:
  • 1 part onion powder
  • 1 part garlic powder
  • 1 part paprika
  • 1 part ground black pepper
  • 1 part Kosher Salt

Instructions

1

Pat the brisket dry with paper towels

2

Liberally season the meat on all sides with the rub of your choice. I made my own, but feel free to use whatever rub you like

3

Wrap the meat in cling wrap and put back in the fridge over night (add'l days in fridge are fine)

4

Pre-heat the oven to 225 degrees

5

Put the meat in a cast iron braising pot with a heavy lid

6

Bake for 3 hours

7

At the three hour mark, lower oven temp to 205 degrees and let it bake another 30 minutes

8

Pull from the oven and let it rest at least an hour before serving

Beef

Beef Brisket, Rice and Cheese Burritos

On the menu tonight – Beef Brisket, Rice, and Cheese Burritos!

I made a brisket the other night, and I’m already working on things I can do with it. Steak burritos are awesome, so I decided to make a batch of burritos.

Steak burritos from my local Mexican place are so delicious and were the inspiration for what I made tonight. I tried to keep it pretty simple as far as ingredients, beef, onions, peppers, cheese, and rice. Red bell pepper and jalapeno were the peppers. The burritos were seasoned pretty simply with some ground cumin, salt and pepper. Mexican cheese blend and queso blanco were the cheeses used. I kind of went crazy on the cheese at the store, buying the Mexican blend, Queso blanco, another pre-shredded queso blanco cheese, and a pre-made queso blanco with jalapenos like you get when you order cheese dip.

The pre-shredded queso blanco tasted pretty much like mozzarella and decided I won’t be using that again. I tasted the pre-made queso blanco with jalapenos and while it was pretty good decided not to use it for this application.

The only fussy thing about this dish was folding the burritos. I decided to use measuring cups to make sure that I could roll each one shut consistently. In the end, I was really happy with the way they turned out. I hope the next time you are craving Mexican food, you will try Beef Brisket Burritos!

Beef Brisket, Rice and Cheese Burritos

1 Star2 Stars3 Stars4 Stars5 Stars (No Ratings Yet)
Loading...
By Patrick Dulmage Serves: 8
Prep Time: 15 minutes Cooking Time: 45 minutes Total Time: 1 hour

Beef Brisket, Rice and Cheese Burritos

Ingredients

  • 2-3 lbs cooked beef brisket, shredded or chopped
  • 8 large flour tortillas
  • 1 red bell pepper, diced
  • 1 Vidalia Onion, diced
  • 1 Jalapeño pepper, seeded and diced
  • 3-4 cups Mexican cheese blend, shredded
  • 1 cup rice
  • 2 cups water or chicken stock
  • 2-3 Tbsp Rotelle tomatoes and chiles
  • 1 tsp cumin
  • 1 Tbsp olive oil

Instructions

1

Pre-heat a large skillet over med-high heat

2

Add olive oil onion, bell pepper, and jalapeño

3

Cook the mixture beyond translucent and let it get a little darker

4

Once done, cut the heat, add the brisket, mix, and let it cool

5

If you haven't already, start on the rice

6

Rinse the rice and then add it along with the chicken stock to a small pot

7

Bring the water and rice to a boil, then simmer 12 minutes

8

If it doesn't look light and fluffy allow more time to finish cooking

9

Once finished, add the Rotelle tomatoes and stir to combine

10

With the rice finished, warm the tortillas to make them pliable

11

Add about a 1/4 cup of the rice mixture on a tortilla

12

Sprinkle some shredded cheese, not too much, on the rice

13

Add about 1/4-1/2 cup of the brisket, onion, pepper mixture

14

Tightly roll the burrito and put in a baking dish

15

Repeat for the rest of the burritos

16

Top the burritos with some more cheese

17

Bake for about 30 minutes until the cheese is bubbly and a little browned

18

Serve with sour cream and your favorite salsa

Beef

Beef Short Ribs with Polenta

On the Menu Tonight – Beef Short Ribs with Polenta!

When I was shopping the other day, I saw a package of beef short ribs marked way down. They looked great, no discoloration, so I got them. I let them dry age in my fridge for a day by taking them out of the packaging, patting them dry, and putting them on a plate. If you didn’t know, doing this process with any cut of beef helps reduce some of that water content and intensifies the beefy flavor.

This recipe is really easy, but it does take some time. I seasoned the beef with seasoned salt and pepper. I also used some seasoned flour – it was pre-made, so I’m not sure all the spices. When I make my seasoned flour, I’ll put pepper, garlic powder, onion powder, and maybe some paprika. Brown the seasoned short ribs, then add the veggies, then the stock (beef and chicken), as well as the wine. Let it come to a boil, then put in the oven for about 3 hours.

When you are close to done with the beef, start your polenta. You can serve the polenta relatively loose, or you could cook it ahead of time, spread it on a sheet pan, let it cool, and cut it into squares or rectangles, then serve the short ribs on top.

Short Ribs with no sauce

If you wanted to shorten the cook time, you could do the short ribs in a pressure cooker. I may do another version using the pressure cooker. However you decide to prepare it, let me know how your version turns out!

Beef Short Ribs with Polenta

1 Star2 Stars3 Stars4 Stars5 Stars (No Ratings Yet)
Loading...
By Patrick Dulmage Serves: 4
Prep Time: 30 minutes Cooking Time: 3.5 hours Total Time: 4 hours

Beef Short Ribs with Polenta

Ingredients

  • Short Ribs:
  • 12-16 beef short ribs
  • 2-3 carrots, sliced, or diced
  • 1 Vidalia onion, diced
  • 2 celery stocks, diced
  • 2-3 cloves garlic, mince
  • 3-4 Yukon Gold potatoes
  • 1 12 oz. can fire roasted tomatoes
  • 2-3 cups seasoned flour, salt, pepper, garlic powder, paprika (to coat the short ribs)
  • 2-3 cups red wine (not cooking wine, use something you drink)
  • 1 cup beef stock
  • 1 cup chicken stock
  • 1-2 green onions, finely chopped for garnish
  • Polenta:
  • 1 cup polenta
  • 2 cups whole milk
  • 2 cups chicken or vegetable stock

Instructions

1

Pre-heat oven to 225 degrees

2

Pre-heat large cast iron skillet to medium-high heat

3

Pat dry the short ribs with a paper towel

4

Season the short ribs with seasoned salt, kosher salt, and onion powder

5

Add the seasoned ribs to the pan and get a good crust on both sides

6

Work in batches so you don't crowd the pan, only do 4-5 at a time

7

Once the last of the short ribs are done, add the onions, celery, and carrots, cook about 5 minutes

8

Add the tomatoes, garlic, beef and chicken stock, and the wine

9

Put in the oven for 90 minutes

10

After 90 minutes, add the potatoes and put back in the oven for another 90 minutes

11

When you are t-minus 45-60 minutes, start the polenta

12

Add the stock and milk to a pot and bring to a boil

13

Once it comes to a boil, slowly pour in the polenta to avoid clumps and reduce heat to low

14

Stir the polenta for about 5-10 minutes and cut the heat

15

Let the polenta sit 30 minutes before serving

16

When you pull the short ribs from the oven, put the meat on a plate

17

Pour some of the veggies and liquid in a blender to make a nice sauce

18

Plating:

19

Put the polenta down first

20

Put two to three short ribs on top of the polenta

21

Spoon on some of the sauce

22

Garnish with chopped green onions or chopped parsley

Beef/ Lamb

Gyro-Style Beef and Lamb Burger with Tzatziki Sauce

On the menu tonight – Gyro Burgers! I wanted a burger but I wanted to do something a little different. I decided to go Greek and make a gyro-style burger.

Gyros are traditionally made with lamb. If you aren’t sure if you would like a burger with ground lamb, do what I did and do a 50/50 mix of ground beef and ground lamb. This version turned out really good. A gyro wouldn’t be a gyro without that lovely tzatziki sauce. Sure, you can buy it, but I decided to make my own and I’m glad I did! It’s really easy to make and you know exactly what goes in to to the sauce.

The burger hits all the flavors of a gyro, but in the convenient and familiar bun of a traditional burger. So, the next time you are looking for something different on grill day, try a Gyro Burger!

Gyro-Style Beef and Lamb Burger with Tzatziki Sauce

1 Star2 Stars3 Stars4 Stars5 Stars (No Ratings Yet)
Loading...
By Patrick Dulmage Serves: 6
Prep Time: 10 minutes Cooking Time: 12 minutes Total Time: 22 minutes

Gyro-Style Beef and Lamb Burger with Tzatziki Sauce

Ingredients

  • 1 lb ground lamb
  • 1 lb ground beef
  • 2 tsp ground coriander
  • 3 tsp fresh fine chopped mint
  • 1 - 2 tsp Kosher salt
  • 1 - 2 tsp freshly ground pepper
  • 1 red onion, thickly sliced
  • Tzatziki Sauce:
  • 8 ounces Greek Yogurt (whole fat)
  • 1-2 garlic cloves, minced
  • zest and juice of a half lemon
  • 1 1/2 tsp fresh dill, finely chopped
  • 1/4-1/2 English cucumber, grated
  • 1 tsp fresh mint, finely chopped
  • Kosher salt and freshly ground pepper to taste
  • Buns (or pita)
  • 1 tomato, chopped
  • Romaine lettuce, chopped

Instructions

1

Pre-heat grill to high

2

Start with the tzatziki sauce

3

In a medium bowl, combine yogurt, dill, garlic, cucumber, lemon juice, zest, and season with salt and pepper

4

Put the tzatziki in the fridge while you start on the burgers

5

In a large bowl, combine the ground beef, ground lamb, coriander, mint, salt and pepper

6

Divide the meat into equal portions and form into burger patties

7

Put the patties on the grill and don't touch them or smash them

8

Add the onion slices to the grill as well

9

After about 5 minutes flip the burgers - they should have a nice crust on one side

10

Flip the onion slices as well

11

After another 5 minutes or so, check to see if the other side of the burgers have a nice crust

12

When finished, pull the onion slices and burgers from the grill and let rest

13

Toast your buns, if desired

14

Build the burger by adding a patty to the bottom bun, add some grilled onion, a dollop of tzatziki sauce

15

Top it off with some lettuce and a little tomato

Beef/ Casserole/ Chili

Jalapeno Cornbread Chili Poke Bake

On the menu tonight – Cornbread Chili Bake!

When you have chili and cornbread in a meal, what invariably happens? You break up the cornbread and mix it in the chili. Why not just go ahead and bake them together? I decided to try the method of poking holes in the cornbread with a wooden spoon, ladling chili on top and then baking.

I wanted a little kick to this dish, so I added jalapenos to the cornbread. You can make your own cornbread or you can use a mix. In this version, I used a mix. BUT, if you want to make your own cornbread, you can try my version. For the chili, I used a really basic recipe – no beans.

It doesn’t really matter if you make the the cornbread or chili first. My recommendation is make the cornbread first then start on the chili. Once the cornbread is finished, let it cool off as the chili simmers. Once the chili is finished, ladle it on top cornbread (after you’ve poked holes in the cornbread) along with a little shredded cheddar cheese. Bake it for about 20 minutes and serve with chopped green onions, shredded cheddar cheese, sour cream, and whatever other toppings you like on your chili.

I look forward to hearing how your version turns out.

Jalapeno Cornbread Chili Poke Bake

1 Star2 Stars3 Stars4 Stars5 Stars (No Ratings Yet)
Loading...
By Patrick Dulmage Serves: 8-10
Prep Time: 20 min Cooking Time: 1 hour

Jalapeno Cornbread Chili Poke Bake

Ingredients

  • 1 box 11.5 oz Krusteaz Southern Cornbread mix
  • 2-3 tsp chopped jalapenos
  • 1/2-1 Vidalia onion - chopped
  • 1 28oz can crushed tomatoes
  • 1 lb ground beef
  • 2 Tbsp chili powder
  • 2 tsp ground cumin
  • 1/8-1/4 tsp cayenne pepper
  • 2 Tbsp tomato paste
  • 1 Tbsp Kosher salt
  • 1 cup shredded cheddar or Mexican blend cheese
  • 1/2 -1 jalapeno pepper, seeded and chopped (leave seeds in if you want it hotter
  • 1 cup sour cream (for garnish)
  • 1-2 green onions, chopped
  • 2-3 Tbsp olive oil

Instructions

1

Pre-heat the oven to 350 degrees

2

Prepare the cornbread batter using the package or make your own

3

Add the 2-3 tsp chopped jalapeno to the cornbread mixture

4

Bake the cornbread according to package directions

5

Once the cornbread finishes baking, remove and let it cool

6

Pre-heat a large sauce pan over medium-high heat

7

Add the olive oil and then the onions with the chili powder and cumin

8

Add the ground beef along with some Kosher salt and pepper

9

Once the ground beef has browned, add the crushed tomatoes

10

If the chili isn't loose enough, add a little water

11

Bring chili to a boil and then simmer at least 20 minutes

12

Poke holes in the cornbread with the handle of a wooden spoon. You want to evenly space the holes about an inch apart so every bite gets some of that chili

13

Ladle the chili over the cornbread

14

Sprinkle the cheese on top of the chili

15

Bake for about 25 minutes to melt the cheese

16

Pull from the oven and serve with a dollop of sour cream and a sprinkle of green onions

Beef/ PartyFood

Smoked Kielbasa and Irish Cheddar Cheese Crescent Rolls

On the menu tonight – Smoked Kielbasa and Irish Cheddar Cheese Crescent Rolls!

These are a variation of pigs in a blanket. When I was shopping the other day, they totally got me with the samples. I sampled both the smoked kielbasa and Irish Cheddar. I had already planned on making something with crescent rolls, but once I tried these things, the menu changed.

This dish goes together really quickly. All you need to do is prep the ingredients, have the oven pre-heated, and the sheet pan ready. Roll out the crescent dough, spread a layer of mustard on it, add the kielbasa and cheese, then roll dough as you would if you were making plain crescent rolls. Bake per package instructions, but check them before you take them out. Because you are wrapping up some other ingredients, you may need an additional 5-10 minutes to allow that inner dough to finish cooking.

Serve right away. These rolls are good hot or cold and would make a great picnic dish. Also, think breakfast. You could fill these with other fillings like bacon and cheese. I bet a little scrambled eggs with some ham and cheese would be fantastic.

I hope you will make these rolls for your next party.

Smoked Kielbasa and Irish Cheddar Cheese Crescent Rolls

1 Star2 Stars3 Stars4 Stars5 Stars (No Ratings Yet)
Loading...
By Patrick Dulmage Serves: 6-8
Prep Time: 10 minutes Cooking Time: 25 minutes Total Time: 35 minutes

Smoked Kielbasa and Irish Cheddar Cheese Crescent Rolls

Ingredients

  • 1 pkg crescent rolls
  • 1 lb Smoked Kielbasa
  • 4 oz grainy or yellow mustard
  • 8 oz Irish Cheddar cheese
  • 2 cloves garlic, minced
  • 1/2 stick butter

Instructions

1

Pre-heat oven to 350 degrees

2

Melt the butter over low heat with the minced garlic

3

Un-roll the crescent rolls and break them apart to individual triangles

4

Cut the kielbasa to length, use the base of the dough triangle as a guide

5

Then quarter each piece length-wise (see if you can take off the kielbasa casing)

6

Cut your cheese into similar size blocks as the kielbasa

7

Brush each of the spread out crescent rolls with mustard (don't be shy with the mustard)

8

Take two pieces of kielbasa, two pieces of cheese, and roll them up in the crescent dough (starting with the base of the triangle)

9

Repeat with each piece of crescent dough, placing the rolls on the sheet pan (leave a couple of inches between each roll as the cheese will likely ooze out)

10

Brush each roll with the garlic butter

11

Bake until the rolls are golden brown and remove from the oven

12

If you have any leftover melted butter, you can brush them again with the rest of the garlic butter

13

When done, let them rest at least 5-10 minutes to let the cheese cool down a bit

14

Serve hot or cold with some mustard available for dipping (they are fantastic right out of the fridge and perfect for a picnic)

Notes

I've also made these leaving out the garlic butter and they are still fantastic. The crescent dough is already kind of buttery. Feel free to substitute the smoked kielbasa with other fillings.