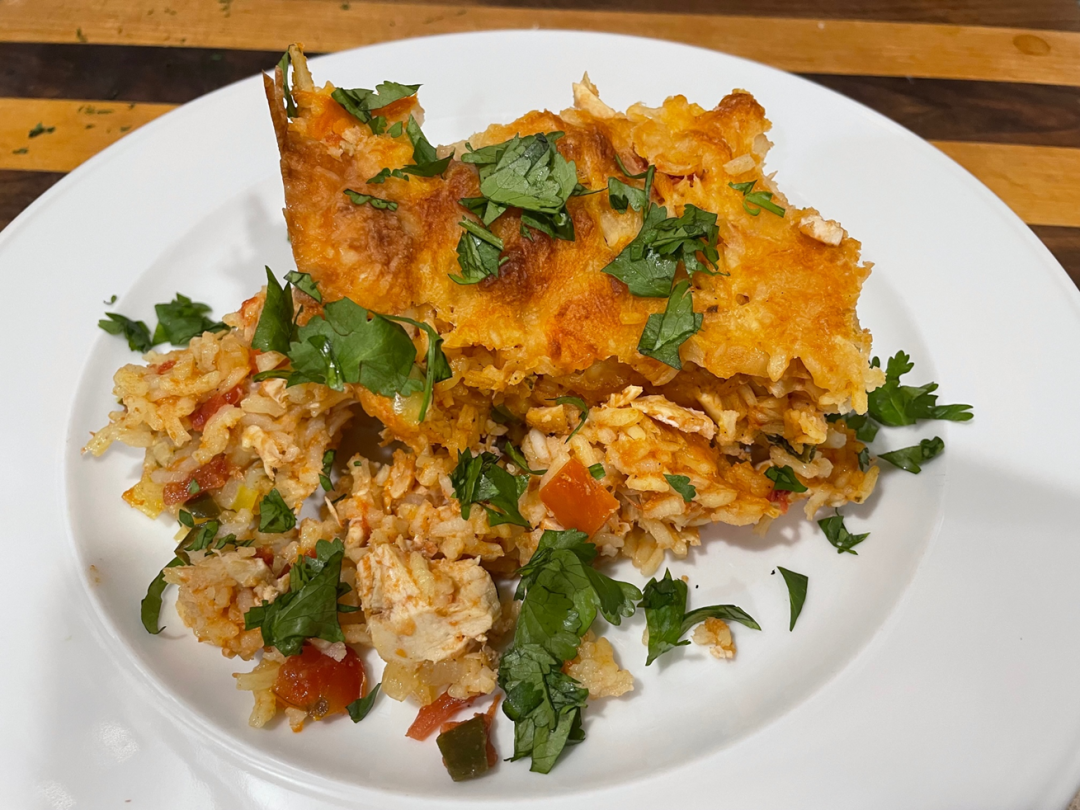
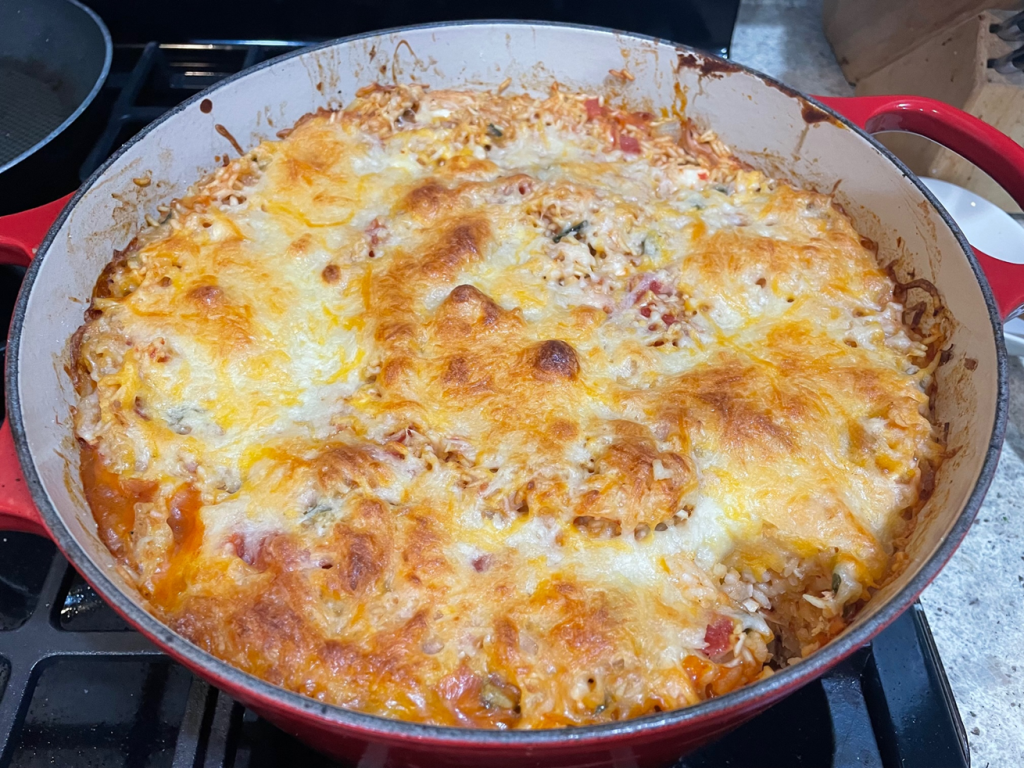
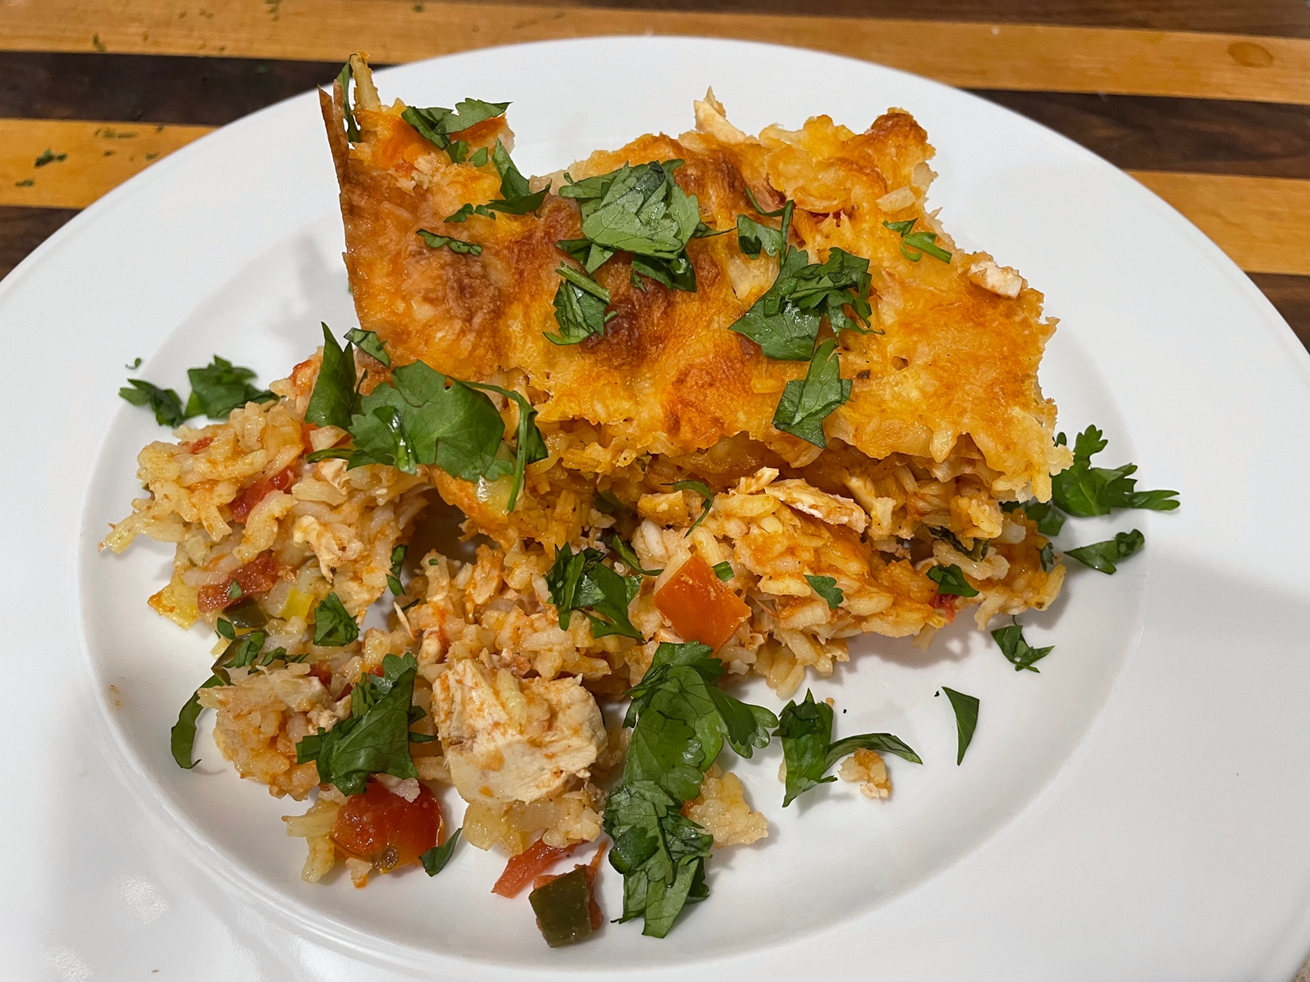
On the menu tonight, Mexican Chicken and Rice Casserole!
This is a dish that will feed a crowd of people very inexpensively. The great thing is that you probably have most of the ingredients in your pantry and refrigerator.
Chicken and rice is a classic, but I wanted to spice things up a little. So I added poblano and jalapeno peppers, along with cumin and cayenne pepper. I mixed in some grated cheese (cheddar, monterey jack, and colby) and then topped it with some more grated cheese when it went in to the oven.
If you want to try a new spin on Chicken and Rice, try this Mexican Chicken and Rice Casserole!
This is really a Cottage Pie since I used ground beef instead of ground lamb. This is such an easy and comforting meal!
Most of the recipes I’ve seen don’t use cream of mushroom soup, but as I was looking at different recipes for inspiration I saw some that did and I decided to try it.
If you’re looking for a comforting and easy to make meal, this is it.
2 carrots, sliced (for the thick ends, I'll cut them in to quarters. you want bite sized pieces)
1-2 cups peas (frozen is perfect for this dish)
2 cans Cream of Mushroom soup
3-4 garlic cloves, minced or finely chopped
1 Tbsp Rosemary
1 Tbsp Thyme
1 Tbsp Parsley
Mashed Potatoes:
4 Russet potatoes (approx 3 lbs)
4 Tbsp butter
1/4 cup of cream
1/4 cup of sour cream
1-2 cloves of minced garlic
1 Tbsp Parsley
Instructions
1
Mashed Potatoes:
2
Add the quartered potatoes to a large pot with enough water to cover the potatoes
3
Put the butter and minced garlic in a bowl, microwave until butter is melted, set aside
4
Bring to a boil, add about 2 Tbsp Kosher salt and cook until fork tender
5
Drain the potatoes, add back to the pot along with the parsley, melted butter and garlic
6
Stir in the sour cream, add the cream to get the consistency you want
7
Season with Kosher salt and pepper to taste, set aside
8
Filling:
9
Pre-heat a large skillet (at least 12") to med-high heat
10
Add the carrots and onions, cook about 7 minutes
11
Add the tomato paste and cook another 3 minutes until it turns to a brick-like color
12
Add the ground beef, peas, and minced garlic along with the herbs, cook about 10 minutes until the beef is browned
13
Add the cream of mushroom soup, stir to combine, cook another 3-5 minutes and cut the heat
14
Assemble the Pie:
15
Pre-heat the oven to 375 degrees
16
You can use any vessel you like to bake this. I used 13x9 baking dishes, but individual crocks would be a fantastic presentation
17
Add the filling to the baking dish and spread evenly
18
Spread a layer of the mashed potatoes over the filling and bake for 20 minutes
19
Pull from the oven and sprinkle the shredded cheese over the potatoes, return to the oven for another 10 minutes or broil until the cheese is melty and slightly browned
20
Sprinkle with parsley (freshly chopped is preferred) and serve
Notes
This makes a LOT of food, so if you're only cooking for 2-4 people you may want to cut the measurements in half. Otherwise, you'll have plenty to freeze or share.
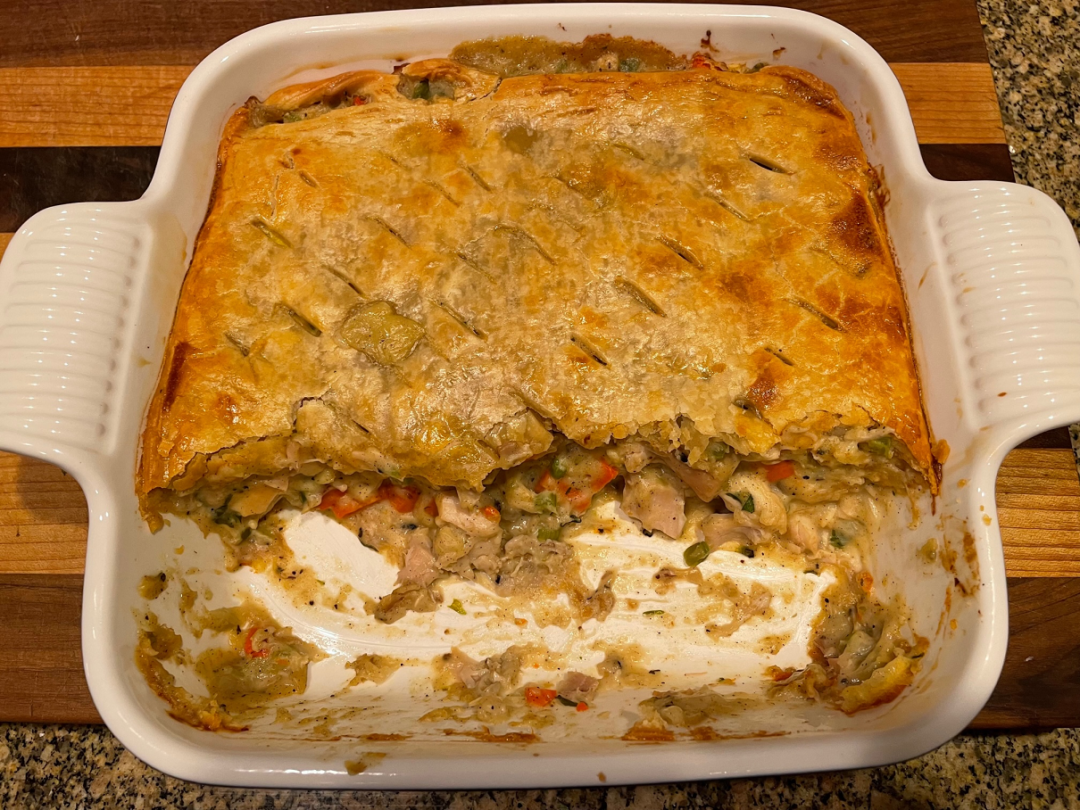
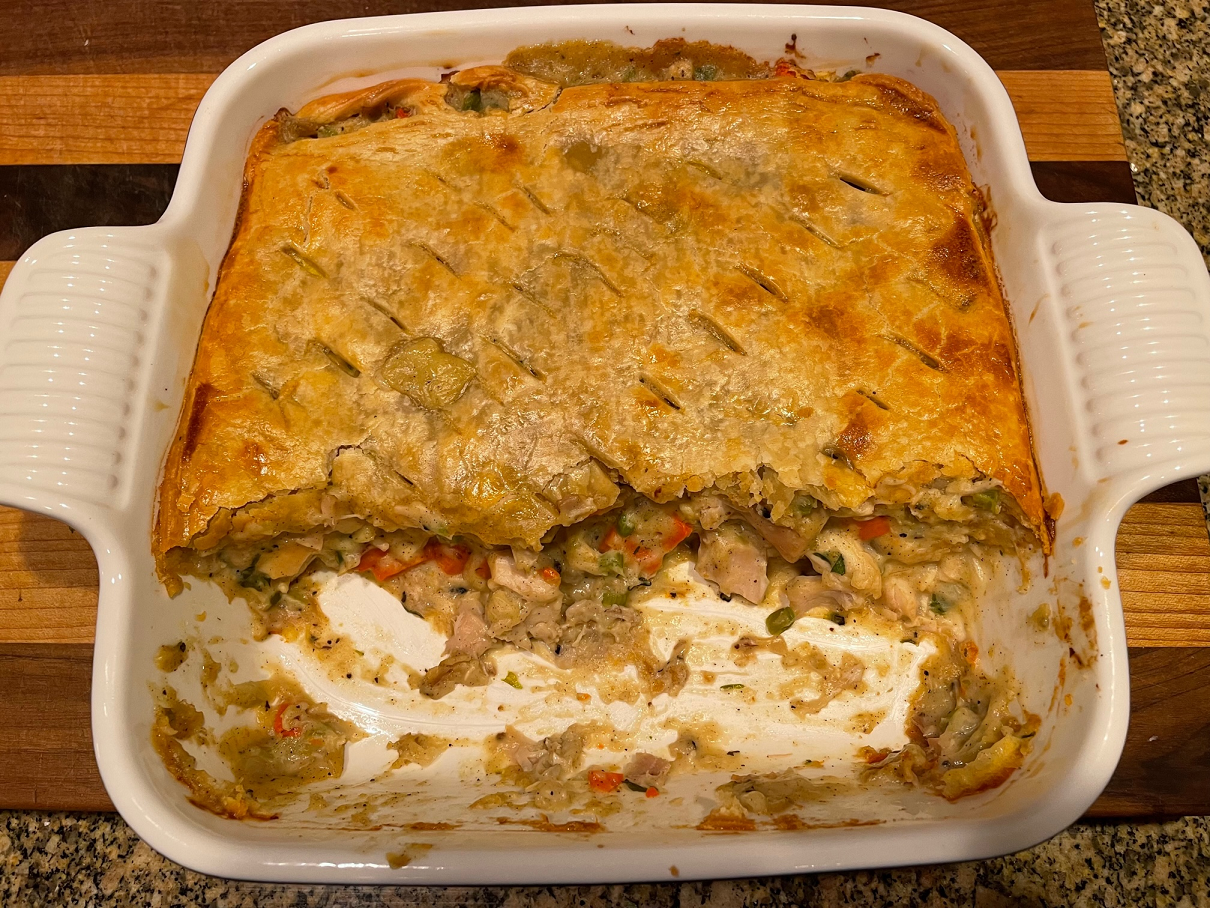
This is, hands down, my best version of Chicken Pot Pie. Many versions I’ve see and eaten use only chicken breast. My version uses a combination of chicken breast and thighs. I also took a big shortcut by using rotisserie chicken. As soon as I got it home, I took the chicken off the bone and then cubed it. I took another shortcut with the crust, I used the prepared version in the refrigerator aisle. Taking these two shortcuts makes the dish come together MUCH quicker. Quicker means you are more likely to make it.
There are quite a few spices, not too much though, in this version and I think they are what makes it so darn tasty. I hope the next time you are trying to figure out what to make for dinner, that you try this version of Chicken Pot Pie.
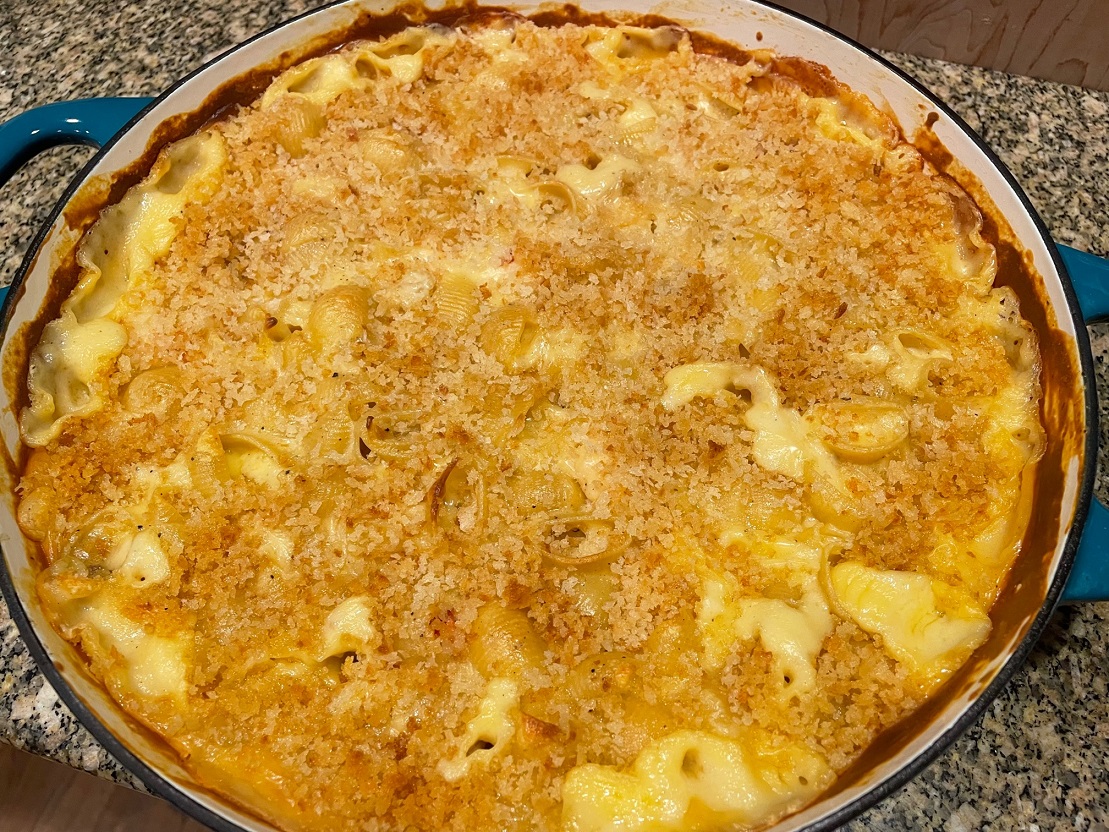
We’ve all made Mac and Cheese, right? So, this time, I wanted to make it special – like going to an expensive steak house special. So, I used smoked Gouda cheese and lobster as a nod to the lobster mac and cheese I always see when I’m out.
While I used smoked Gouda cheese, you could also use Gruyere or any other cheese you like. I think next time, I may use a mix of Smoked Gouda and Gruyere.
It comes together quickly, so have all your ingredients ready to go before you start cooking. When you start adding liquid to the roux, do it slowly and make sure you work out any lumps as you go. One other tip, take the time to toast the panko in butter. That extra crunch the panko brings is a great tasty texture.
I hope the next time you make mac and cheese, you try my version. It’s SO GOOD!
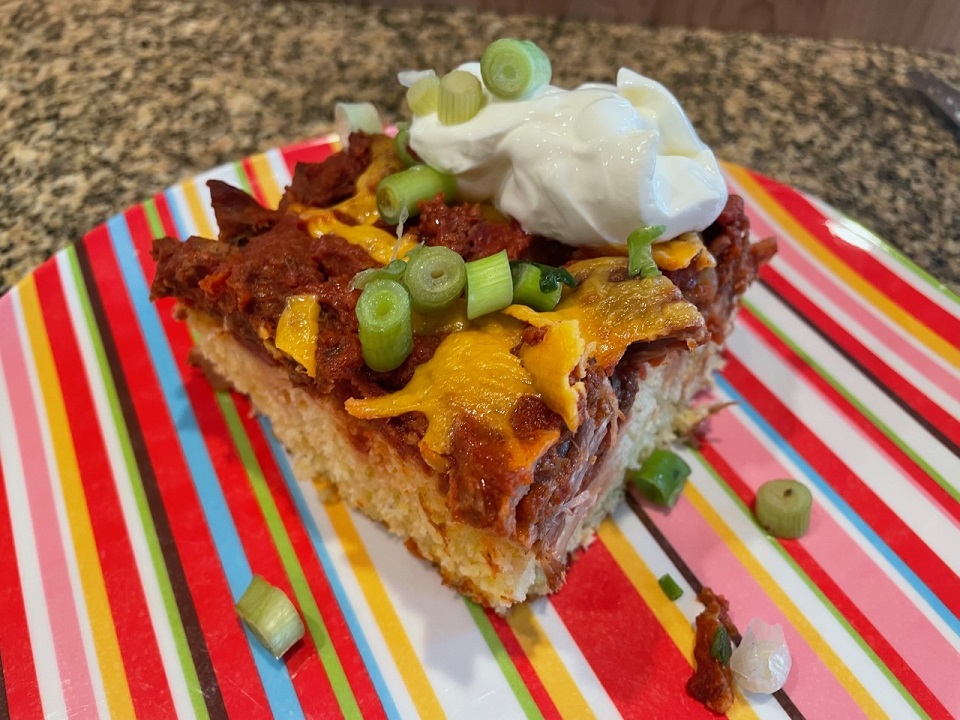
When you have chili and cornbread in a meal, what invariably happens? You break up the cornbread and mix it in the chili. Why not just go ahead and bake them together? I decided to try the method of poking holes in the cornbread with a wooden spoon, ladling chili on top and then baking.
I wanted a little kick to this dish, so I added jalapenos to the cornbread. You can make your own cornbread or you can use a mix. In this version, I used a mix. BUT, if you want to make your own cornbread, you can try my version. For the chili, I used a really basic recipe – no beans.
It doesn’t really matter if you make the the cornbread or chili first. My recommendation is make the cornbread first then start on the chili. Once the cornbread is finished, let it cool off as the chili simmers. Once the chili is finished, ladle it on top cornbread (after you’ve poked holes in the cornbread) along with a little shredded cheddar cheese. Bake it for about 20 minutes and serve with chopped green onions, shredded cheddar cheese, sour cream, and whatever other toppings you like on your chili.
I look forward to hearing how your version turns out.
1/2 -1 jalapeno pepper, seeded and chopped (leave seeds in if you want it hotter
1 cup sour cream (for garnish)
1-2 green onions, chopped
2-3 Tbsp olive oil
Instructions
1
Pre-heat the oven to 350 degrees
2
Prepare the cornbread batter using the package or make your own
3
Add the 2-3 tsp chopped jalapeno to the cornbread mixture
4
Bake the cornbread according to package directions
5
Once the cornbread finishes baking, remove and let it cool
6
Pre-heat a large sauce pan over medium-high heat
7
Add the olive oil and then the onions with the chili powder and cumin
8
Add the ground beef along with some Kosher salt and pepper
9
Once the ground beef has browned, add the crushed tomatoes
10
If the chili isn't loose enough, add a little water
11
Bring chili to a boil and then simmer at least 20 minutes
12
Poke holes in the cornbread with the handle of a wooden spoon. You want to evenly space the holes about an inch apart so every bite gets some of that chili
13
Ladle the chili over the cornbread
14
Sprinkle the cheese on top of the chili
15
Bake for about 25 minutes to melt the cheese
16
Pull from the oven and serve with a dollop of sour cream and a sprinkle of green onions
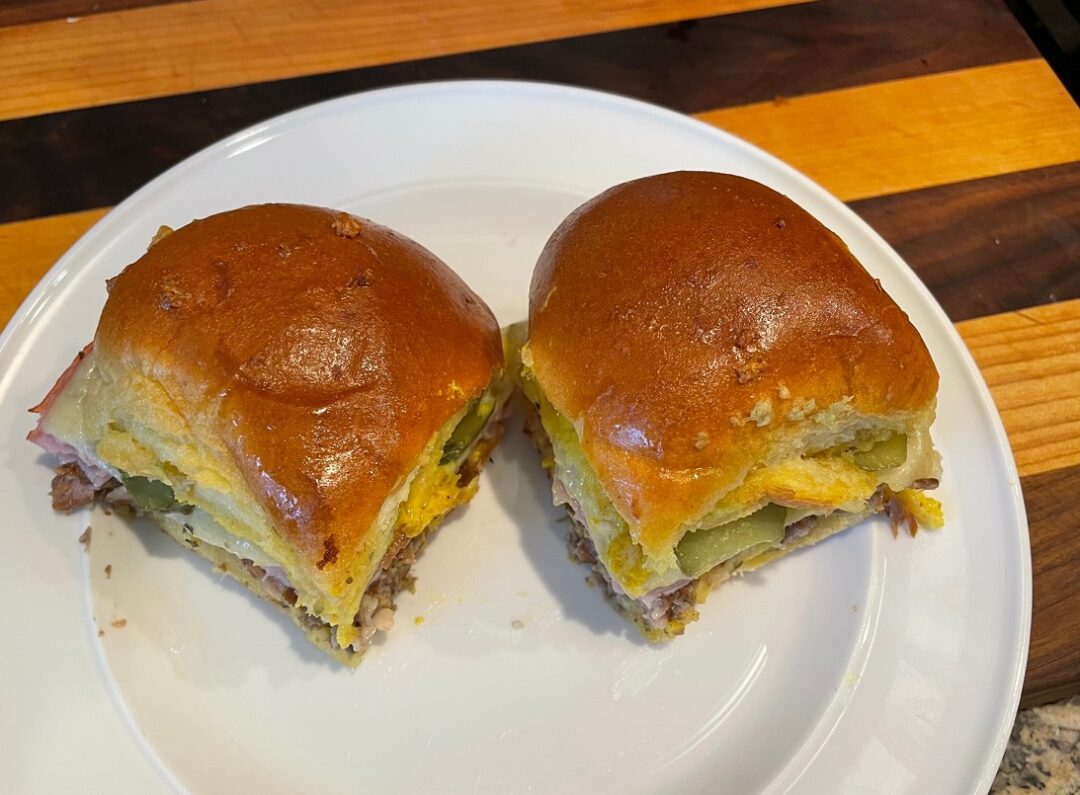
After seeing this made on The Kitchen, I knew that I was going to make it. Difficulty level – Easy.
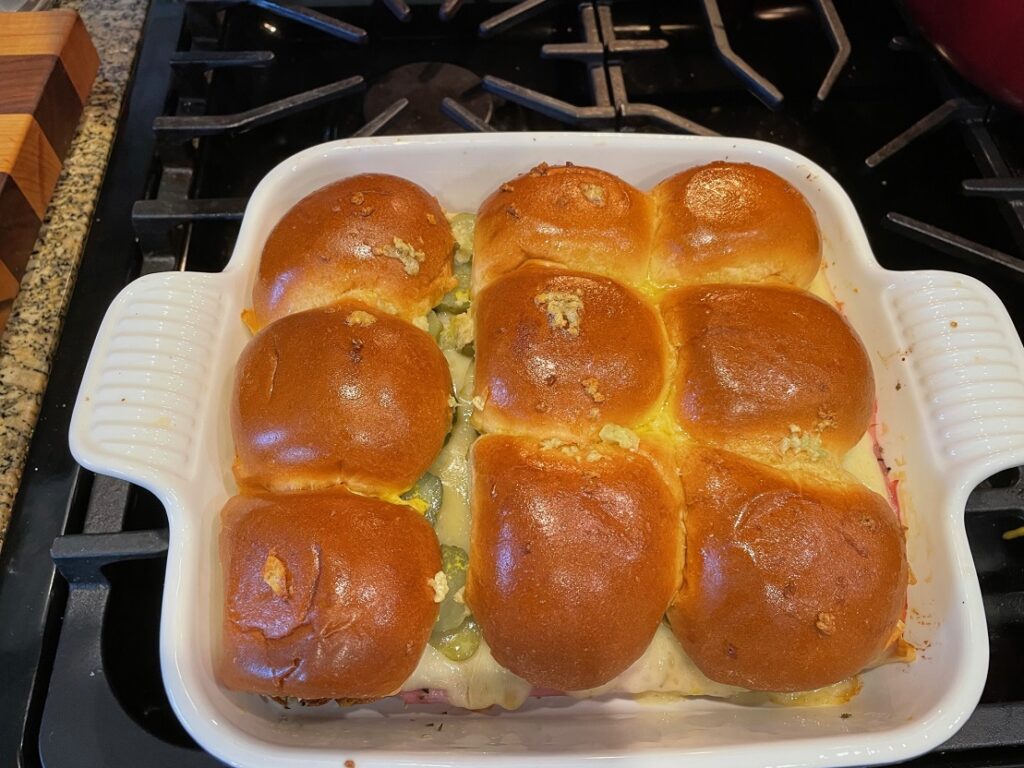
For my version, I made my own pulled pork. However, you could take a shortcut and buy the prepared pulled pork to make it even easier. I used brioche slider buns. If you haven’t bought slider buns before, they come attached and you have to break them apart. For this dish, you don’t break them apart. Slice the entire sheet of buns like you are making one giant sandwich – which you kind of are.
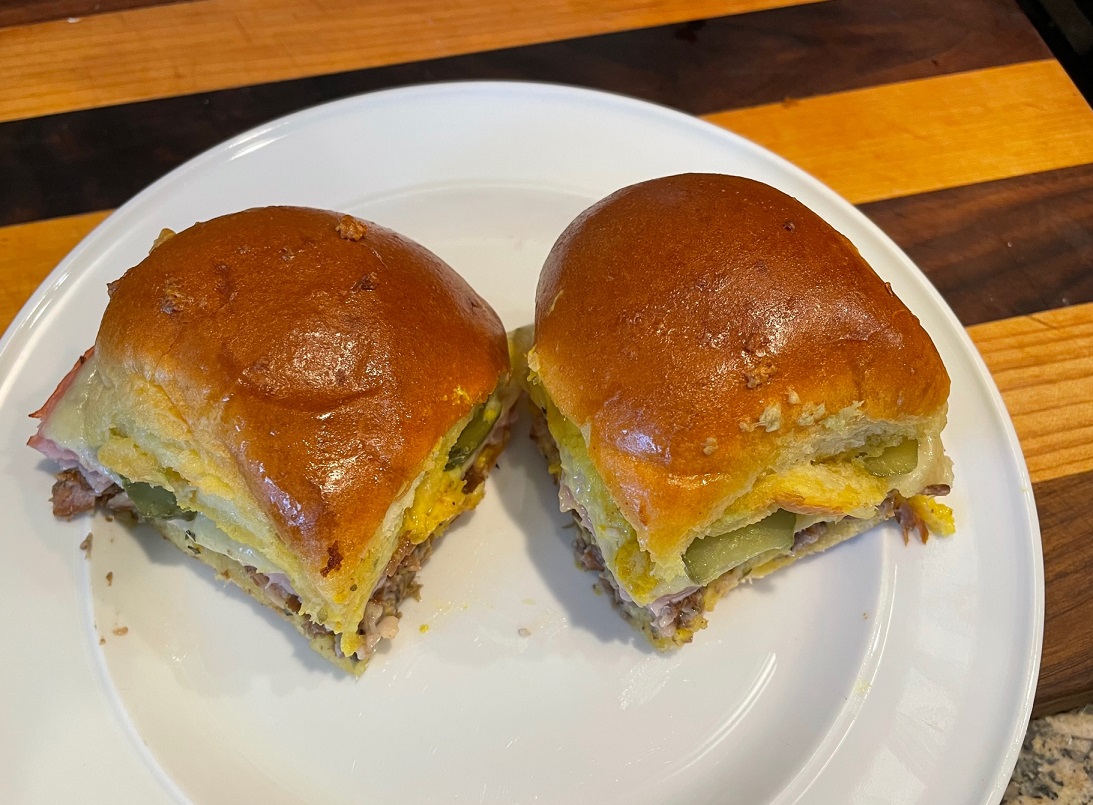
Put the bottom half of the buns in the casserole dish, slather some yellow mustard, then a layer of pulled pork, then a layer of ham, a slice of Swiss cheese, and finally some sliced pickle. I used spicy pickles to add a little kick to the sliders. Slather the top half of the buns with some more yellow mustard and then place on top of the “sandwich”. I used a pastry brush to paint melted garlic butter on top before putting them in the oven.
Bake, covered, for about 20-25 minutes, uncover and bake an additional 5 minutes. Serve with the rest of your Superbowl Sunday spread. I hope you will try my version of Cubano Slider Casserole!
Cuban Sliders
Now that you know this technique, you can go wild with the variations of slider casseroles. You could make a breakfast slider casserole with scrambled eggs, bacon (or sausage), and cheese. What about a roasted vegetable slider casserole using roasted red bell pepper, egg plant, and onions? Let me know what version you make.
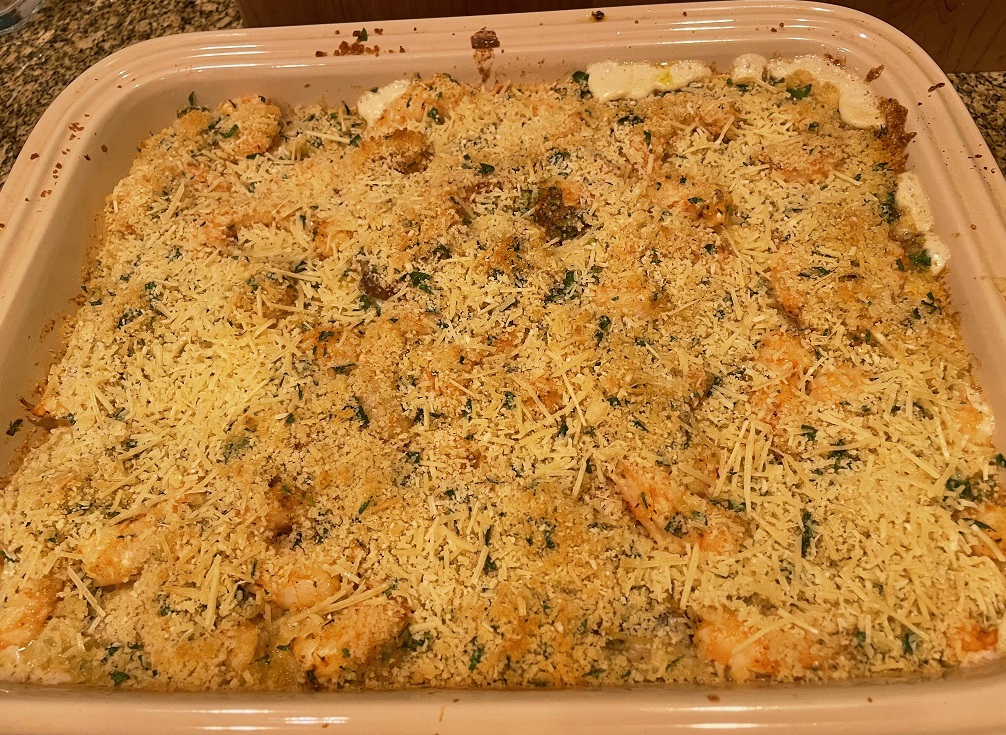
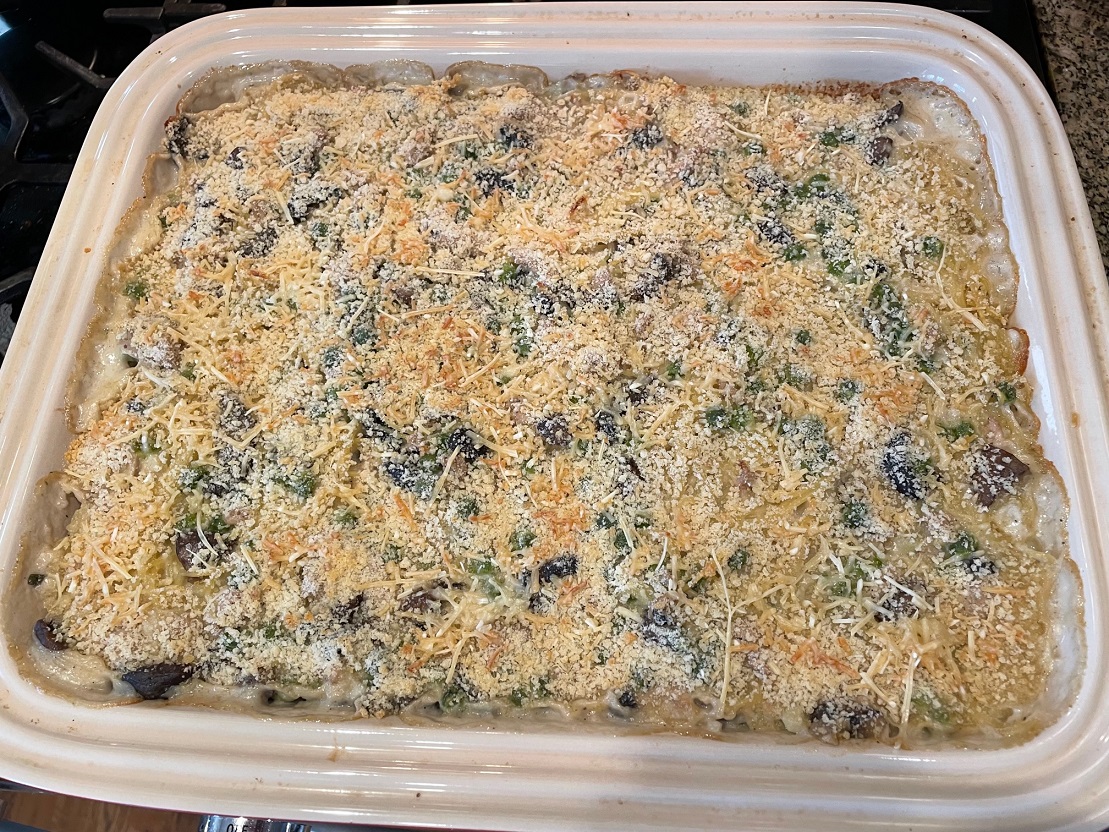
When I made the Turkey Tetrazzini recently, I was raving about how good it was to my wife. Since she doesn’t eat meat, I was telling her I could make a seafood version with shrimp. That was a couple of weeks ago and last night she was asking when I planned to make the seafood version. So THAT is what I’m making tonight.
Since I used shrimp instead of turkey, I made a few changes to this dish and it turned out really well. I left out the peas and I changed the seasoning a little. Just like the other version, this Shrimp Tetrazzini will feed a crowd. The best part about this dish is how quickly it comes together, especially if you buy the shrimp pre-shelled and without tails.
I hope you will try my version of Shrimp Tetrazinni and let me know how it turns out.
What is Turkey Tetrazzini? You would think with the Italian name, Tetrazzini, it would be Italian. You would be wrong, it is an American dish. While it DOES have pasta and some Parmesan cheese, that’s about as far as it goes in the Italian direction. Tetrazzini is a baked pasta dish browned in the oven with a white cream sauce and usually topped with bread crumbs. It was invented, we think, in San Francisco in the early 1900’s. Others believe it was invented in New York City. You can read all about Tetrazzini here if you want to know more about its origin.
I decided to make it because I was trying to figure out a dish I could make that would help me use up some ground turkey. Usually, you would used a diced chicken or turkey, but I didn’t have that on hand. After a lot of looking around at turkey recipes, I decided to do a Tetrazzini.
I opted to make my own sauce instead of using the canned soup, which I think makes it much more flavorful. Since it includes pasta, a little meat goes a long way. This turned out SO great! It’s so creamy and delicious!
So, if you are feeding a crowd or making a pot luck dish, I hope you will try my version of Turkey Tetrazzini.
1.5 - 2 lbs ground turkey (could also use about 3 cups leftover turkey or even rotisserie chicken)
12 oz spaghetti or angel hair pasta
1 1/2 cups frozen peas
1/2 stick of butter
4 cloves garlic
4 cups turkey broth
1 cup white wine
1 lb mushrooms (white or cremini) sliced
1 8 oz pkg cream cheese, cut into cubes
1/4 cup flour
1 cup panko bread crumbs
1 cup Parmesan cheese, separated - two 1/2 cups
1 cup Monterey Jack cheese, grated
1 tsp thyme
Instructions
1
Pre-heat the oven to 350 degrees
2
Bring a pot of water to a boil
3
Cook pasta until al dente (follow pkg directions depends on the pasta you use)
4
Once cooked, drain and set aside (save a cup of the water)
5
In another large pot, pre-heat it over medium-high heat
6
Add the butter and garlic and let cook about a minute
7
Add the mushrooms and ground turkey
8
Season with salt and pepper
9
Once the turkey is mostly cooked, add the white wine
10
Cook until the liquid has reduced by half
11
Sprinkle in the flour and stir. The sauce will start to thicken quickly
12
Add the broth, stir, and continue to cook until the sauce is nice and thick
13
Add the cream cheese and continue to stir
14
Add the peas, Monterey Jack and half of the Parmesan cheeses, continue to stir
15
Add the salt, pepper, and thyme. Taste and adjust seasoning as needed
16
Add the cooked spaghetti and stir to combine. If the mixture is too thick, add a little more broth or some of the pasta water
17
Pour the entire mixture into a 13x9 casserole dish and spread it evenly
18
Top with panko and the rest of the Parmesan cheese
19
Bake for 25-35 minutes, until the top is golden brown
20
Once finished, let it rest at least 5 minutes before serving
Notes
You can make several variations on this dish. You could use chicken, tuna, shrimp, and I bet scallops would be really good in this too. If you didn't want any meat or fish, you could use larger pieces of mushroom - like from a Portobello mushroom in addition the cremini.
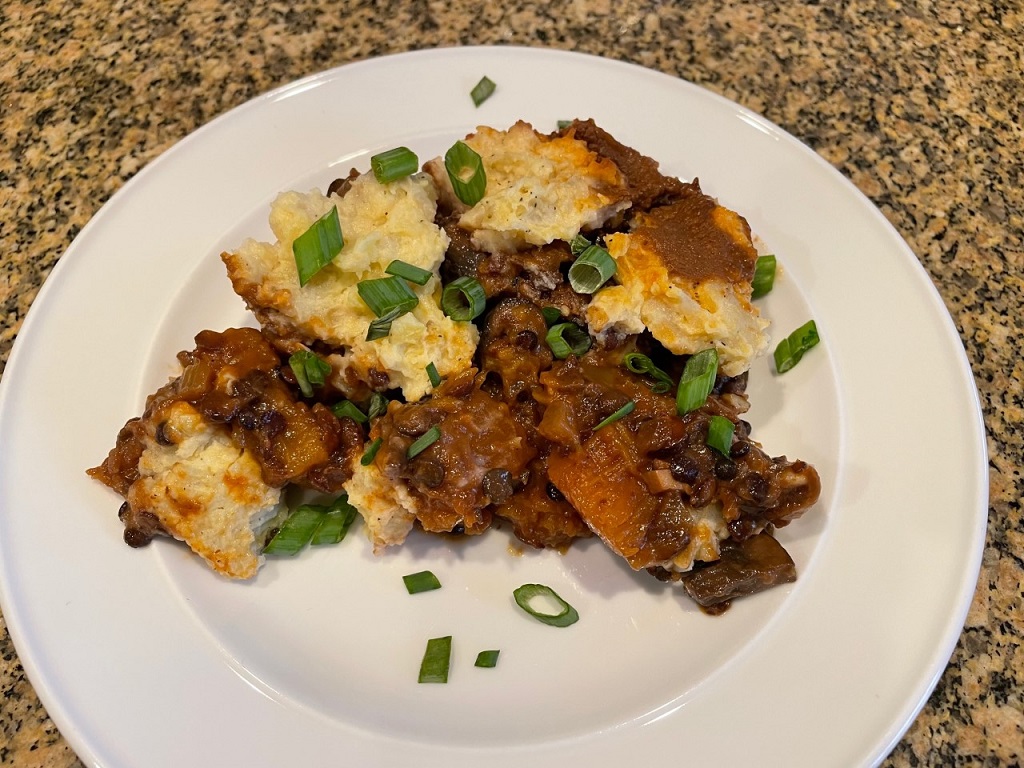
For Thanksgiving dinner, I always make the standard turkey, ham, and some side dishes, but Audrey doesn’t eat meat. I wanted to make her a special dish as well, so we agreed on Shepherd’s Pie, a vegetarian version.
This dish is so hearty and delicious! It’s packed with two different kinds of mushrooms, parsnips, onions, butternut squash… SO many things and then topped with the most delicious mashed potatoes.
Often times when I’ve had shepherd’s pie, the mashed potatoes taste like they were an afterthought… “oh yeah! We need to put some mashed potatoes on top….” Not in this dish. I took the time to make classic mashed potatoes you would be proud to serve on their own.
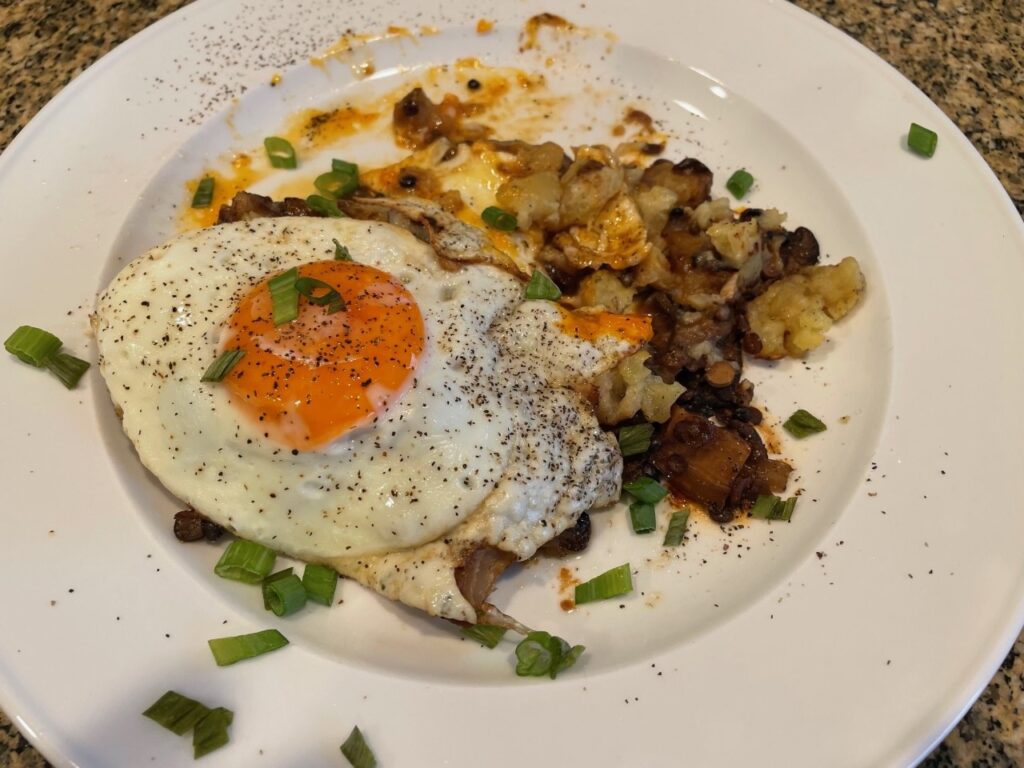
The shepherd’s pie was so good, we decided to try it for breakfast. I heated a plate in the microwave and while that was going, I fried a couple of eggs. WOW! OMG, it was SO good! This picture almost didn’t happen, that’s how good it was.
Shepherds Pie with egg
While I made this for Thanksgiving, it would be great anytime of the year. Don’t let the vegetarian bit in the title turn you off. There is plenty of flavor in this dish and you won’t be left wanting to go back for anything other than seconds! I hope you will try my vegetarian shepherd’s pie.
1 small butternut squash, peeled and chopped into 1-inch pieces
6 cloves garlic, minced
1 Tbsp double concentrated tomato paste
1 Tbsp white miso paste
1/2 cup red wine
1 cup dry green lentils, rinsed
2 Tbsp flour
4 cup vegetable stock
Kosher salt
Freshly ground black pepper
For the Mashed Potatoes:
2-2.5 lbs Yukon Gold Potatoes
4-6 Tbsp of butter
1 cup sour cream
1/4-1/2 cup of milk, warmed
3-6 Tbsp of cream cheese
Kosher Salt
Freshly ground black pepper
1 or 2 chives, finely chopped (greens only please, save the white part for another dish)
Instructions
1
Start with the mashed potatoes
2
Prepare a large pot of water on the stove, but don't turn it on yet
3
Peel the potatoes and cut them to relatively equal size - I go for quarters. Don't cut them too small, but you want them to cook evenly
4
As you cut the potatoes, add them to the pot so they don't oxidize
5
Once you have them all in the pot, THEN turn it on high and bring to a boil
6
As the water is boiling, add a couple of tablespoons of salt, like you would when cooking pasta
7
After about 8-10 minutes, test if you can easily pierce the potato with a knife or fork (depending on your application, you may WANT them to be al dente. If you are putting the mashed potatoes on a shepherds pie as an example
8
Once cooked to your liking, drain in a colander
9
Add the butter to the pot along with the milk, then add the potatoes back to the pot and begin mashing. If you are going to use a ricer, have a large bowl ready and start ricing.
10
Add the cream cheese and mix that in along with your first bit of salt and pepper
11
Taste and adjust seasoning
12
Cover and set aside so you can start on the filling
13
Pre-heat the oven to 350 degrees
14
In a large heavy bottomed pot over medium-high heat, heat 2 tablespoon oil
15
Add mushrooms and cook until deeply brown, remove from skillet
16
Lower heat to medium and add remaining oil
17
Add onion, celery, parsnips, and butternut squash, cook until starting to become browned, about 12 minutes
18
Stir in tomato paste and garlic, stirring often, about 2 minutes
19
Stir in miso paste, immediately deglaze with wine, and cook 1 minute more
20
Add the mushrooms back in and stir in the lentils
21
Sprinkle in the flour and stir until well incorporated
22
Add the vegetable stock
23
Season with salt and pepper
24
Bring to a simmer and cook until the lentils are al dente, about 15 minutes
25
Assembly:
26
Add the veggie mixture to a 13x9 baking dish
27
Carefully spread the mashed potatoes on top
28
Bake for about 35 minutes. You want the mashed potatoes to have some golden brown points on top
29
If the potatoes aren't browned after 35-40 minutes, feel free to use the broiler to get the look you want
30
After baking, cover and let it rest at least 15-20 minutes
Notes
You could easily take this dish vegan by using vegan butter and omitting the cream cheese and milk
I remember having this a LONG time ago and loving it. SO, I decided to add it to my Thanksgiving menu this year.
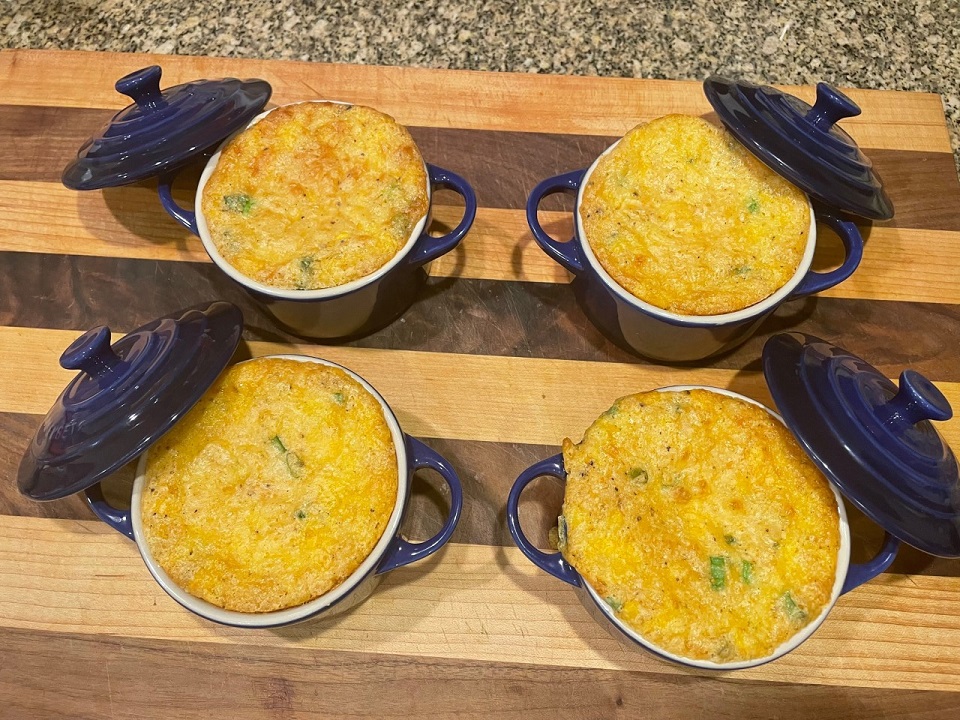
Rather than doing a cooking marathon on Thanksgiving day, I’m trying to get a few dishes made the night before that will heat up nicely. This corn casserole will definitely keep tonight and heat up well the next day.
One of the things I love about this dish, besides being delicious, is how quick it comes together. Dump the ingredients in the bowl, mix it together, and bake it. 30 minutes later, you have a DELICIOUS Corn Casserole!
If you are looking for a new side dish for Thanksgiving, or any night, try this Corn Casserole!
1 cup corn meal (I used white corn meal but yellow is fine too)
1 can whole corn, drained
1 can creamed corn
1 cup sour cream
1 egg, beaten
2 tsp baking soda
1/4 cup chives, chopped
1/4 cup sugar
1 1/2 cups cheddar cheese, grated
6 Tbsp melted butter
1 1/2 tsp Kosher salt
2 tsp fresh ground black pepper
Instructions
1
Pre-heat oven to 350 degrees
2
In a large mixing bowl, add all the ingredients and gently mix thoroughly
3
Add to a 2 quart baking dish, or divide into smaller, individual baking dishes (If you do this, check them sooner as they will cook faster)
4
Bake for about 30 minutes, the top should be golden brown
5
Once finished, remove and let rest at least 15 minutes
Notes
Whatever vessel you use to bake this casserole, leave room at the top as it WILL rise. To avoid spillover messes, you can put the baking dish(es) on a baking sheet.


 Loading...