All Posts By:

patrickdulmage

Desserts

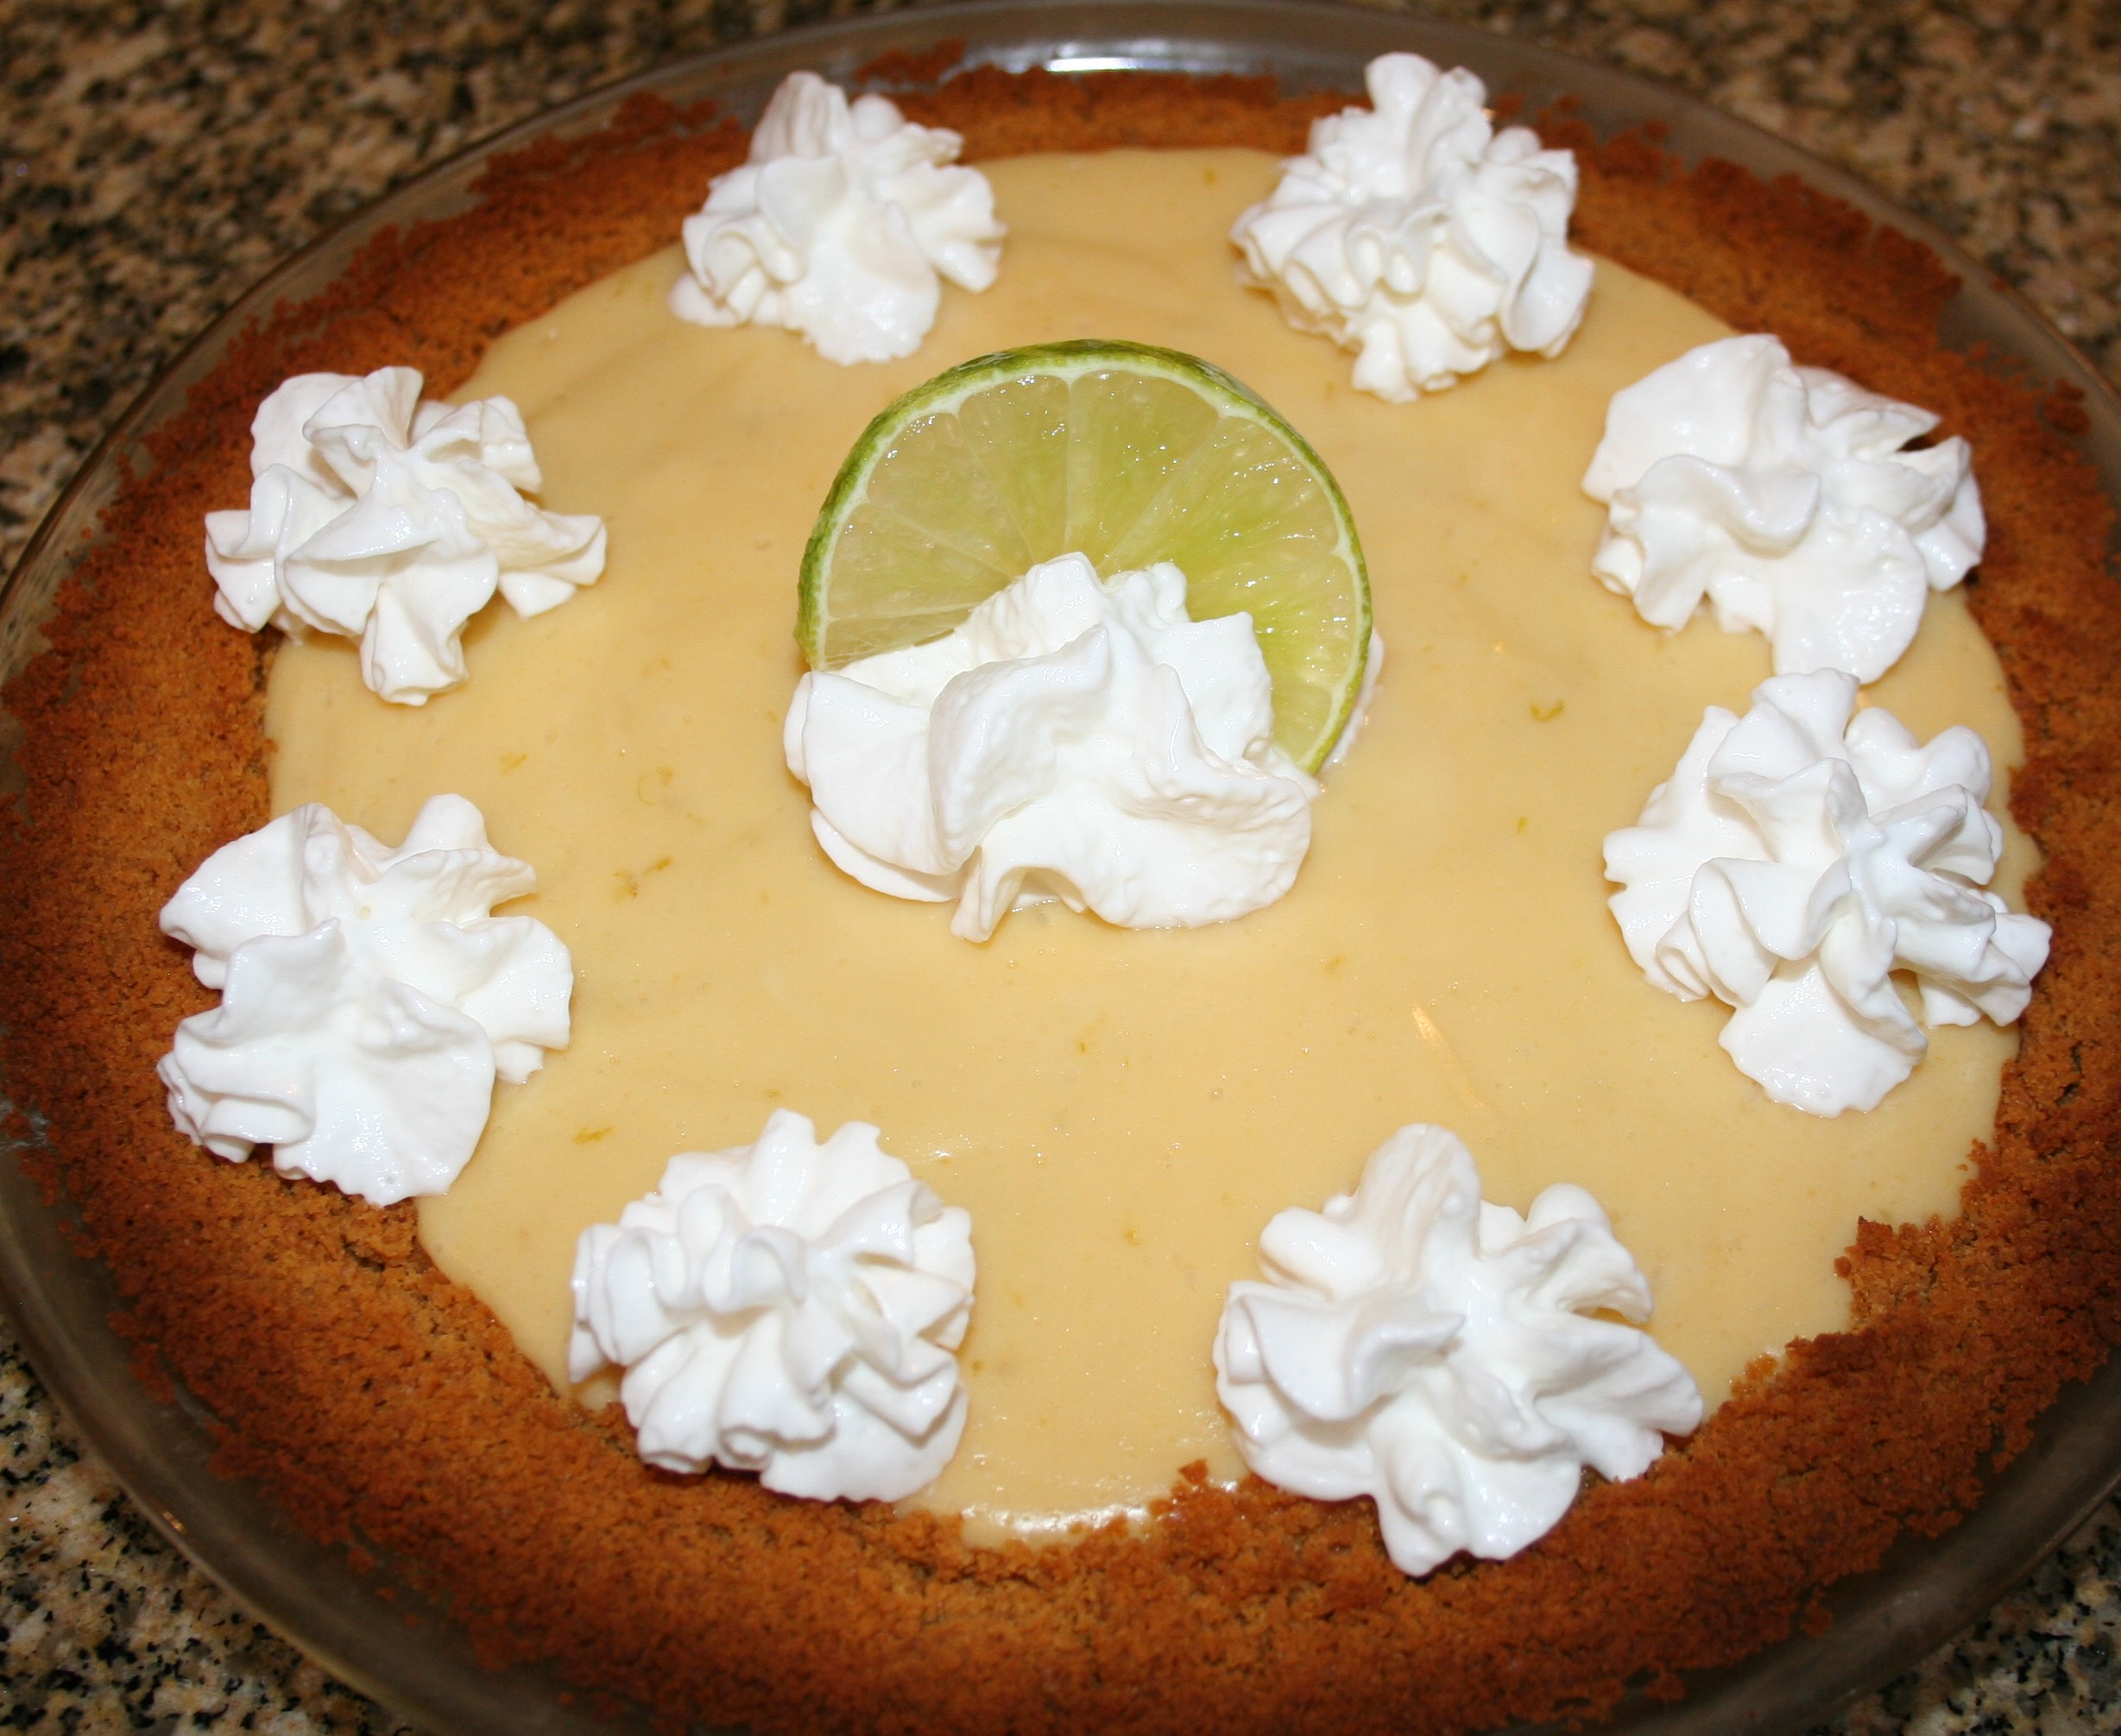
Key Lime Pie

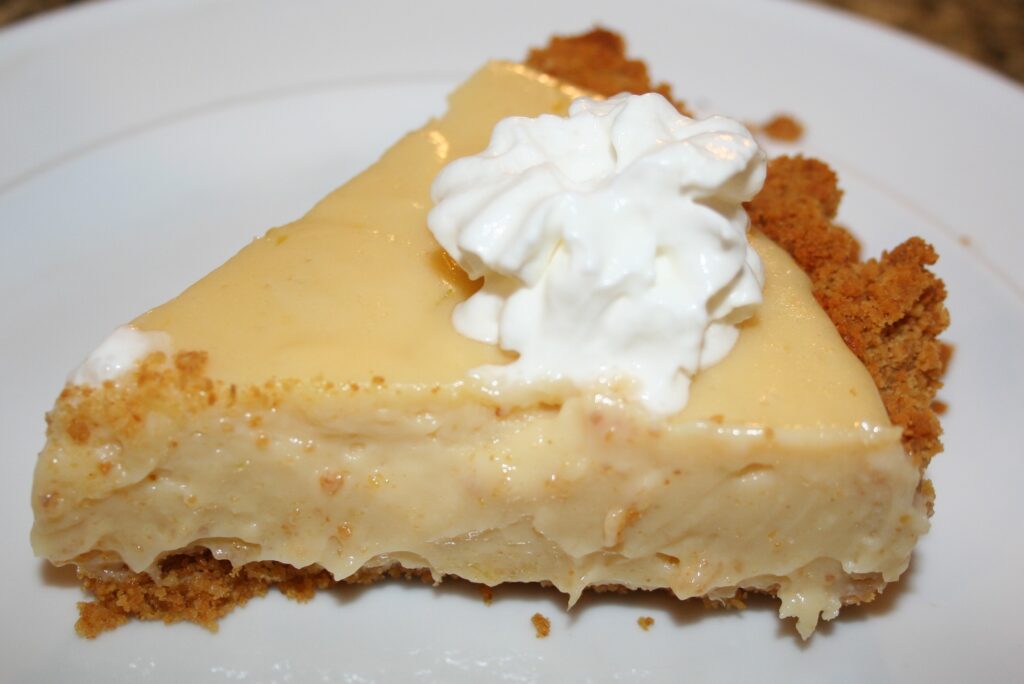
This has got to be one of my all-time favorite desserts. I LOVE Key Lime pie! Summer has arrived when I get a slice of that tangy lime goodness with the graham cracker crust! After trying a few different recipes, I think this is the one.

In the past, I tried using a store bought crust and it was pretty disappointing. My biggest tip for a good pie is make your own crust. I didn’t have access to fresh key limes, so I used the bottled stuff from Key West. The end result was tastier than many a disappointing key lime pie imposters I’ve had at restaurants.

There isn’t anything complicated about making this dessert. Treat yourself and your family by making this key lime pie.
Key Lime Pie

1 Star2 Stars3 Stars4 Stars5 Stars (No Ratings Yet)
Loading...
dessert
By unknown Serves: 8
Prep Time: 15 minutes Cooking Time: 20 minutes Total Time: 35 minutes

Key Lime Pie

Ingredients

  • Crust:
  • 4 tbsp unsalted butter
  • 8.8 oz Biscoff Cookies (1pkg) or equivalent amount of graham crackers
  • Filling:
  • 21 oz sweetened condensed milk (1.5 cans)
  • 2/3 cup key lime juice, fresh key limes or from bottle
  • 3 egg yolks
  • 2 tsp lime zest
  • Decoration:
  • whipped cream
  • lime slice

Instructions

1

Pre-heat oven to 350 degress

2

Add cookies to food processor and pulse until you have fine crumbs.

3

Drizzle in the melted butter and pulse until combined

4

Alternatively, put the cookies in a plastic bag and smash with a rolling pin. Mix the crumbs and melted butter in a large bowl.

5

Add the mixture to a 9" pie dish and distribute using a flat-bottomed glass or measuring cup to press the crumbs firmly down. Use your fingers to press the top down as the side is compressed.

6

Bake the crust for 10 minutes

7

While the crust is baking, zest two limes and set aside the zest

8

Squeeze the juice from the limes and strain out the seeds

9

Add the egg yolks and lime zest to bowl of stand mixer fitted with whisk attachment

10

Beat for about a minute

11

Pour in the sweetened condensed milk and mix on medium until fully incorporated

12

Scrape the bowl down and add the lime juice with mixer on low

13

Scrape the bowl down again if needed and mix again

14

Pour the filling into the pie crust. Jiggle it to get it level

15

Bake for 10 minutes

16

Cool on a wire rack for 20 minutes, then chill at least an hour

17

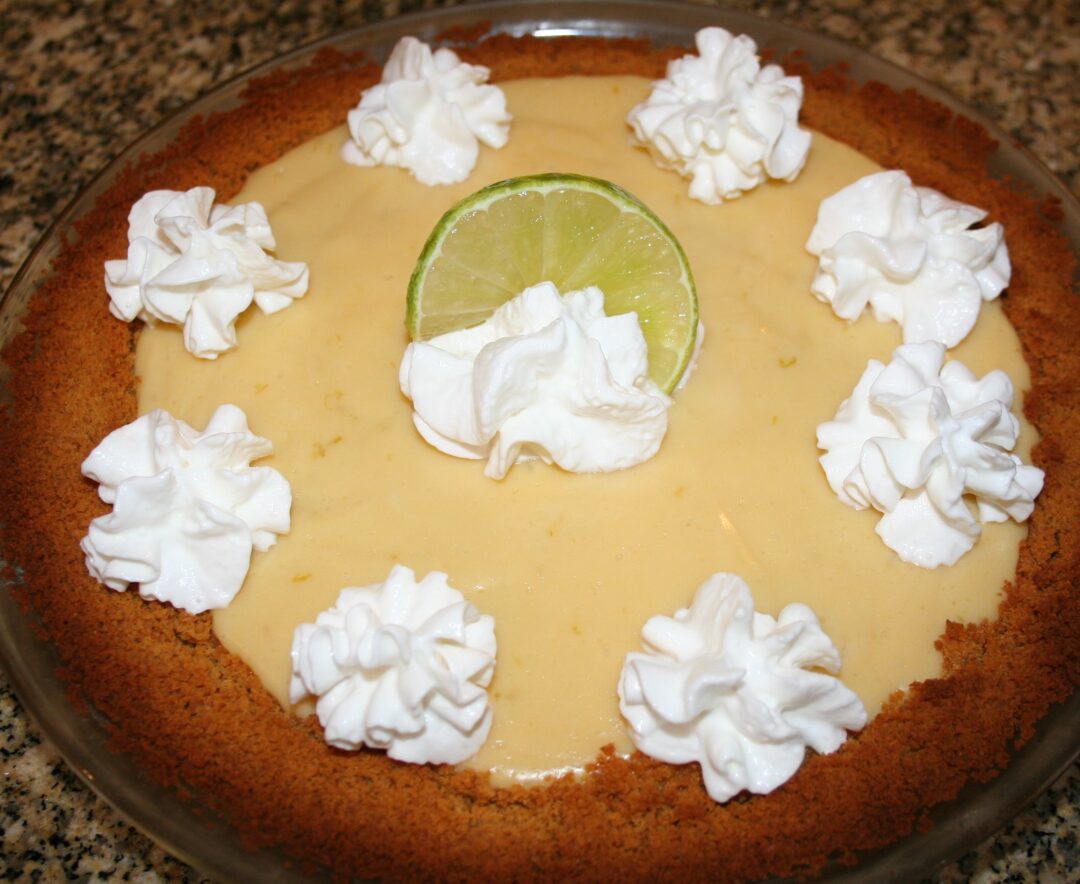
Top the pie with whipped cream - either dollups so that each slice has a dollop or two; OR put a ring of whipped cream around the crust

Seafood/ Vegetarian

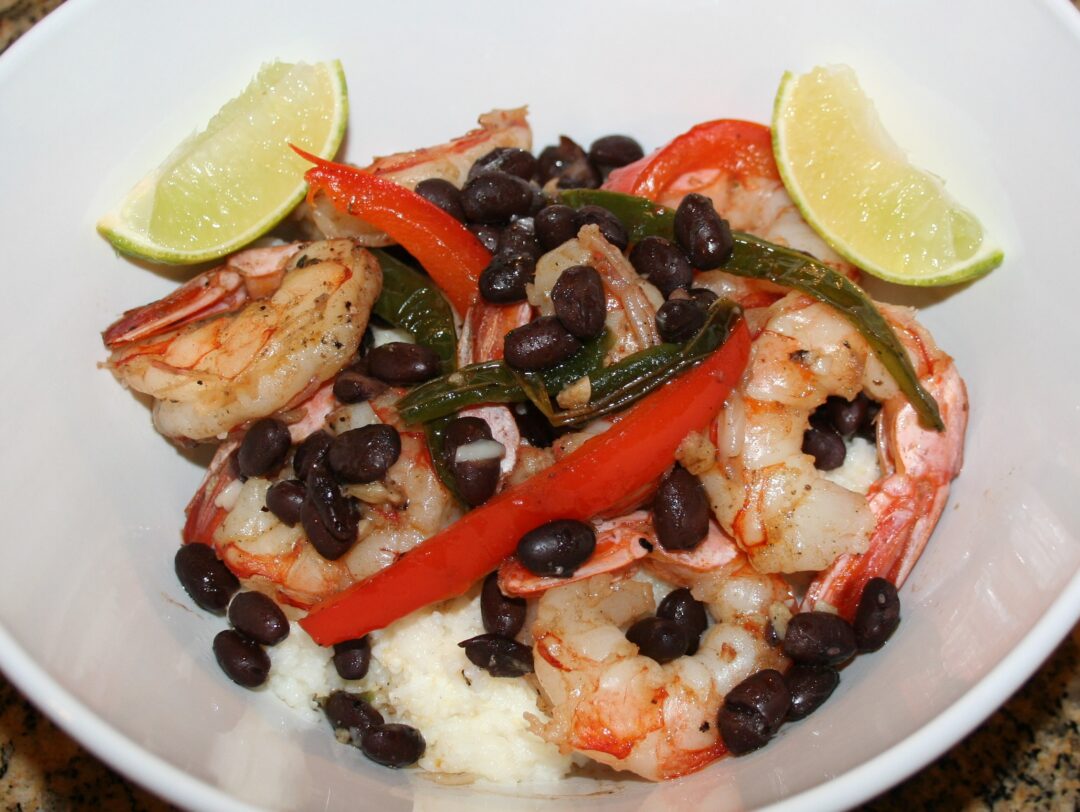
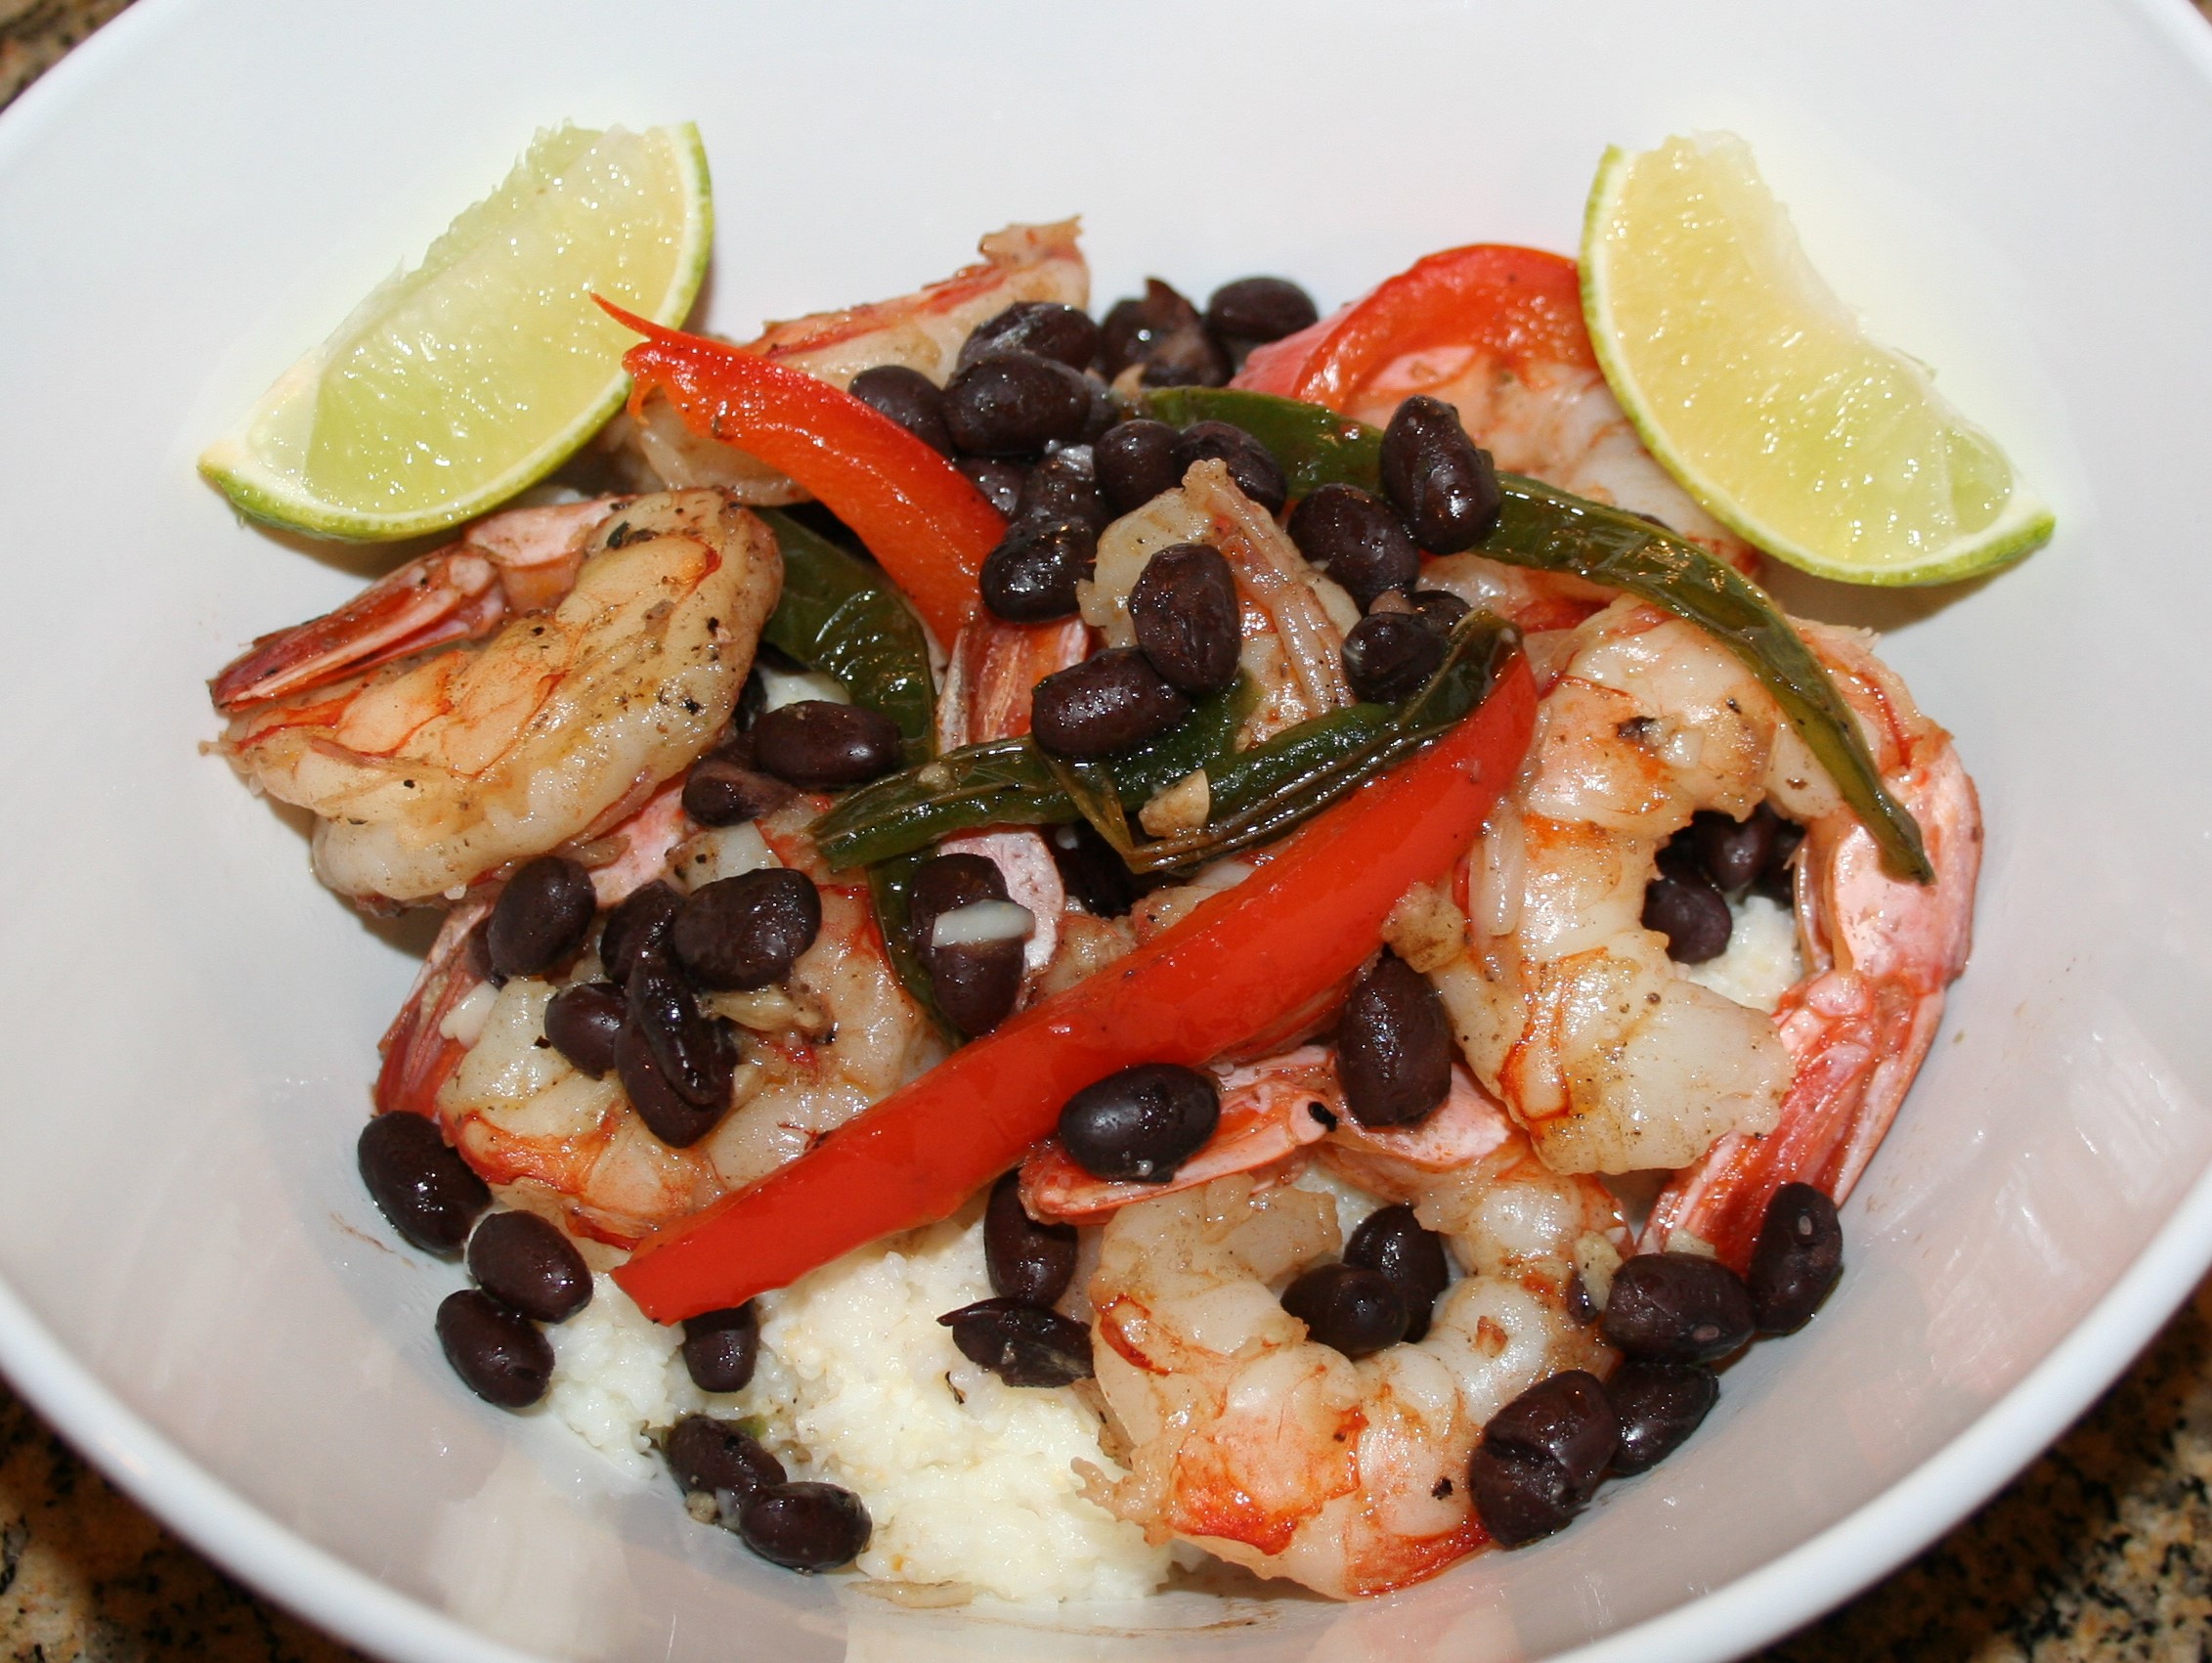
Southwestern Shrimp and Grits

This recipe was inspired from one I saw in a magazine. While I’ve seen plenty of Shrimp and Grits recipes, I hadn’t recalled seeing a version from the Southwest. It looked nice with the strips of red bell pepper and poblano pepper. I didn’t have any poblano on hand but I did have a big jalapeno. I also noticed that the grits in their version were grits, water, milk, and a tiny bit of salt – no butter. I also like to use vegetable or chicken stock instead of water to give the grits more flavor.

One the most unusual ingredients, to me, was the addition of black beans. I guess for a dish to be Southwestern it needs to have black beans. The beans seemed like an odd addition to grits, but it was good. The squeeze of lime gives the dish a nice brightness. All in all, it was a really delicious meal. If you haven’t made Shrimp and Grits – Try it! It isn’t a difficult meal to make and it’s SO delicious.

Southwestern Shrimp and Grits

1 Star2 Stars3 Stars4 Stars5 Stars (1 votes, average: 5.00 out of 5)
Loading...
By Patrick Dulmage Serves: 4
Prep Time: 5 minutes Cooking Time: 30 minutes Total Time: 35 minutes

Southwestern Shrimp and Grits

Ingredients

  • 3 cups vegetable or chicken stock
  • 1 cup whole milk
  • 1 tbsp butter
  • 2 tsp Kosher salt, divided
  • 1 cup grits
  • 2 tbsp olive oil
  • 1 poblano chili or 1 jalapeno de-seeded and sliced
  • 1 red bell pepper, de-seeded and sliced
  • 3/4 lb shrimp, peeled and de-veined
  • 2 garlic cloves
  • 1 14 oz can black beans, drained and rinsed
  • 1/4 cup queso fresco, crumbled
  • 1 lime, cut into wedges

Instructions

1

Bring the water, milk, and 1 tsp salt to a boil

2

Whisk in the grits, add the butter, and continue whisking until the mixture comes to a boil

3

cover and lower heat to a medium low, periodically whisking until grits are soft and creamy - about 25 - 30 minutes

4

In a large cast iron skillet heat the olive oil over medium high heat

5

Add the poblano chili and bell pepper, stir often until they are soft

6

Add the shrimp, garlic, and the rest of the salt, stirring often until the shrimp turn pink

7

Add the beans and cook until they are warm

8

Serve - add the grits to a bowl, top with the shrimp mixture along with some queso fresco and a lime wedge

Beef/ Pork

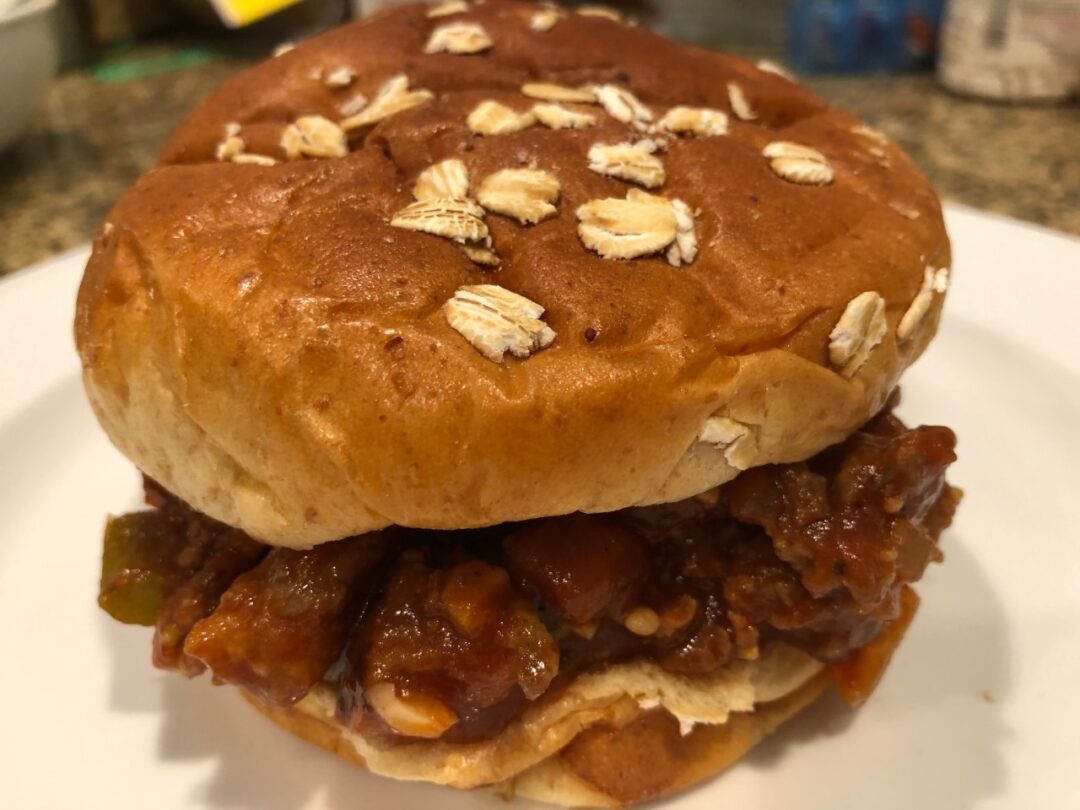
Classic Sloppy Joe

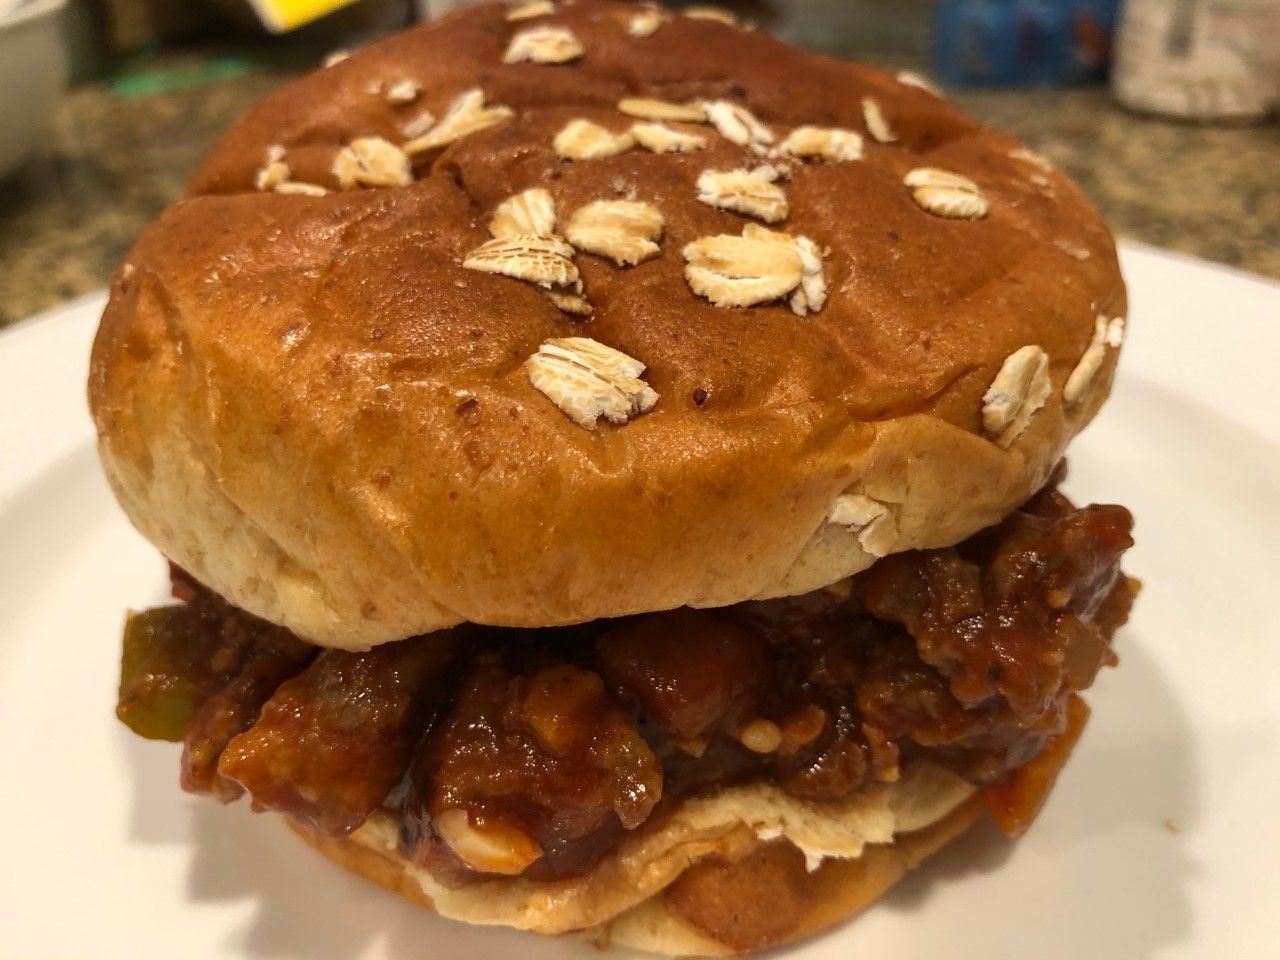
On the menu today – Sloppy Joe! When was the last time you had a good ole Sloppy Joe? I can’t remember the last time I had one, so I decided to make some. This version has sausage and beef. The sauce turned out tangy and sweet, just how it should be! In addition to the meat, there is plenty of fresh garlic, onions and green pepper.

Next time you make dinner, make a batch of my Sloppy Joes for your family. Don’t worry about making too much, it won’t last!

I couldn’t make this dish without thinking about Adam Sandler’s Lunch Lady Land song. Here’s a link for you, you’re welcome. https://www.youtube.com/watch?v=8JANBlEKr9k

Sloppy Joe

1 Star2 Stars3 Stars4 Stars5 Stars (No Ratings Yet)
Loading...
By Patrick Dulmage Serves: 6-8
Prep Time: 15 minutes Cooking Time: 20 minutes Total Time: 35 minutes

Sloppy Joe

Ingredients

  • 1 1/2 lbs ground beef
  • 1 lb ground sausage or plain pork
  • 1 sweet onion (med to lg), diced
  • 1 green or red bell pepper
  • 5 cloves garlic, minced
  • 1 1/2 cup ketchup
  • 1 8 oz can tomato sauce
  • 2 tbsp red wine vinegar
  • 1 tbs Worcestershire sauce
  • 1/4 cup brown sugar
  • 1 tbsp Montreal Steak Seasoning
  • salt and pepper to taste
  • Sandwich rolls

Instructions

1

Pre-heat a large pan over medium-high heat with about a tablespoon of olive oil

2

Add the sausage and ground beef, break up and brown the meat

3

Add the brown sugar, steak seasoning, and other spices

4

Once the meat is browned, add the onions, bell pepper, Worcestershire sauce, and red wine vinegar, cook about 5 minutes

5

Add the ketchup and tomato sauce, mix thoroughly with meat

6

Let it simmer until the sauce thickens to your liking (feel free to add some tomato paste to help it thicken quicker)

7

When it is close to finished, toast your buns

8

Serve immediately

Notes

Serve with either some potato salad, Cole slaw, or potato chips

Vegetarian

Spinach and Mushroom Lasagna

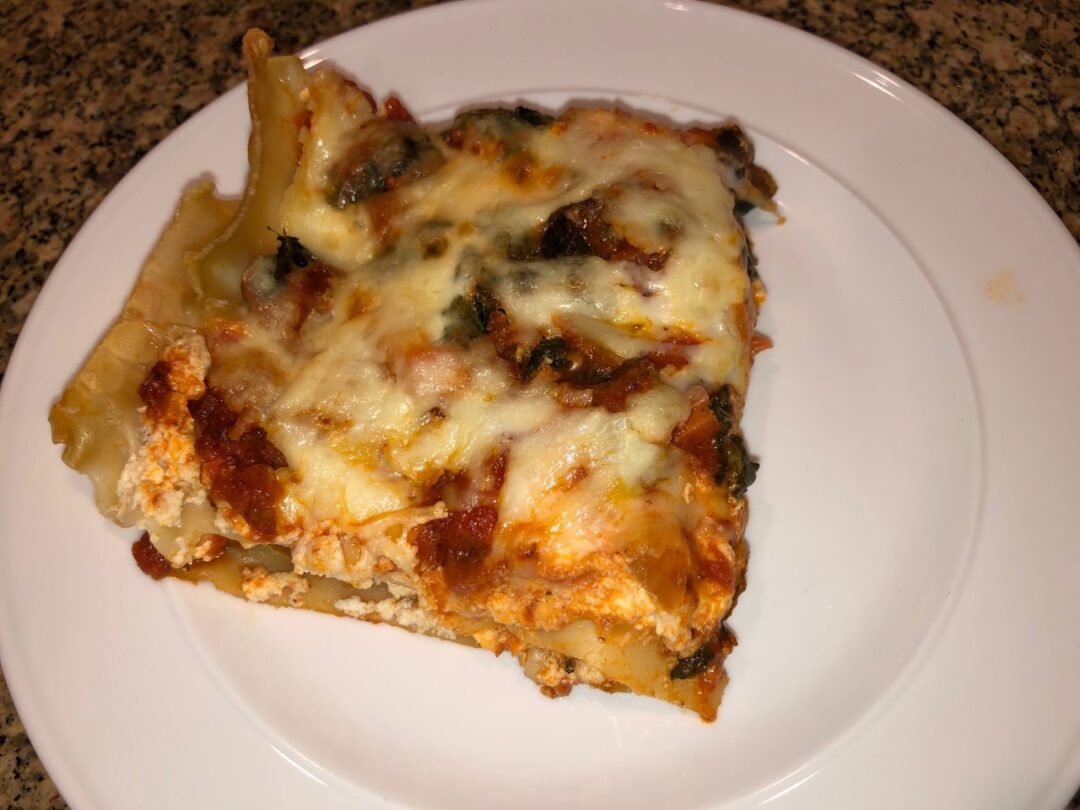
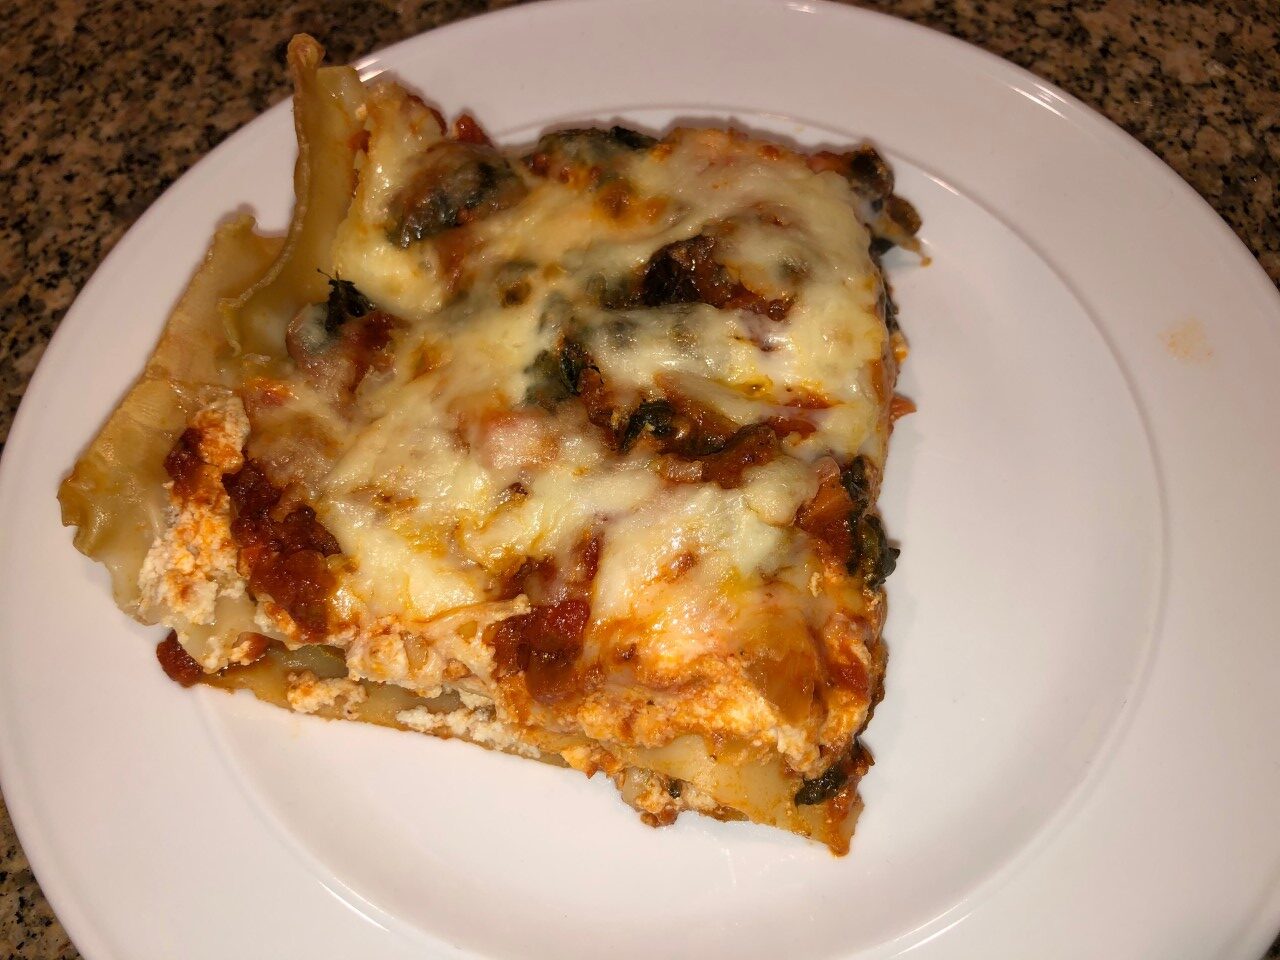
Lasagna is one of my favorite Italian dishes and I’ve made quite a few varieties but this version is AWESOME! Because there isn’t any meat, it isn’t that heavy a dish. The trick is to get as much moisture as you can from the spinach, otherwise you can end up with a watery mess in your lasagna pan – nobody wants that!

This is the perfect dish for you to use some of your special, homemade sauce. If you don’t have any ready to go, don’t worry! Recipe for the sauce is included. Whether you’re making this for a big family gathering, a pot luck, or you want to freeze some for later – try this lasagna!

Spinach and Mushroom Lasagna

1 Star2 Stars3 Stars4 Stars5 Stars (No Ratings Yet)
Loading...
By Patrick Dulmage Serves: 10-12
Prep Time: 30 minutes Cooking Time: 1 hour 20 minutes Total Time: 1 hour 50 minutes

Spinach and Mushroom Lasagna

Ingredients

  • 12 oz lasagna noodles
  • 2-3 tbsp extra-virgin olive oil
  • 18 ā€“ 12 oz cremini mushrooms, chopped
  • 1 medium onion, diced
  • 1 stalk celery, finely chopped
  • 1 carrot, finely chopped
  • 4 ā€“ 6 cloves garlic, finely chopped
  • 2 tbsp tomato paste
  • 2 28-oz cans San Marzano tomatoes, crushed
  • 3-4 bay leaves
  • Kosher salt and pepper to taste
  • Lasagna Filling:
  • 3 oz Parmesan cheese, grated
  • 1 Ā½ lbs part-skim mozzarella cheese
  • 8 oz asiago cheese, shredded
  • 2 lbs ricotta cheese
  • 2 large eggs, beaten
  • 1 lb frozen chopped spinach, thawed and squeezed dry
  • Ā¼ tsp freshly grated nutmeg

Instructions

1

Start with the sauce. Pre-heat a large pot on medium heat and add the olive oil, carrots, celery, and onion. Cook about 5 minutes.

2

Add the garlic and cook another minute.

3

Add the tomato paste, cook another 2 minutes.

4

Add the mushrooms and cook another 3-5 minutes ā€“ until soft.

5

Add the tomatoes and bring to a boil.

6

Reduce to a simmer and cook for at least 45 minutes (up to 90 minutes).

7

Bring the water for the noodles to a boil.

8

Start on the filling.

9

In a large bowl, add the ricotta, spinach, nutmeg, asiago, about a Ā¼ of the mozzarella, and the eggs.

10

When the sauce is done, add a ladle or two at the bottom of your 13x9 baking dish.

11

Add a layer of the lasagna noodle, then about half the mixture, about half the remaining shredded mozzarella cheese, and some more sauce.

12

Add another layer of noodles, the rest of the mixture, more sauce, and the rest of the shredded mozzarella and if you have some extra grated Parmesan cheese.

13

Put in pre-heated 350 degree oven for 40 minutes.

14

After the 40 minutes, pull it from the oven and let it rest for 15 minutes before serving.

Desserts

Lemon Blueberry Bars

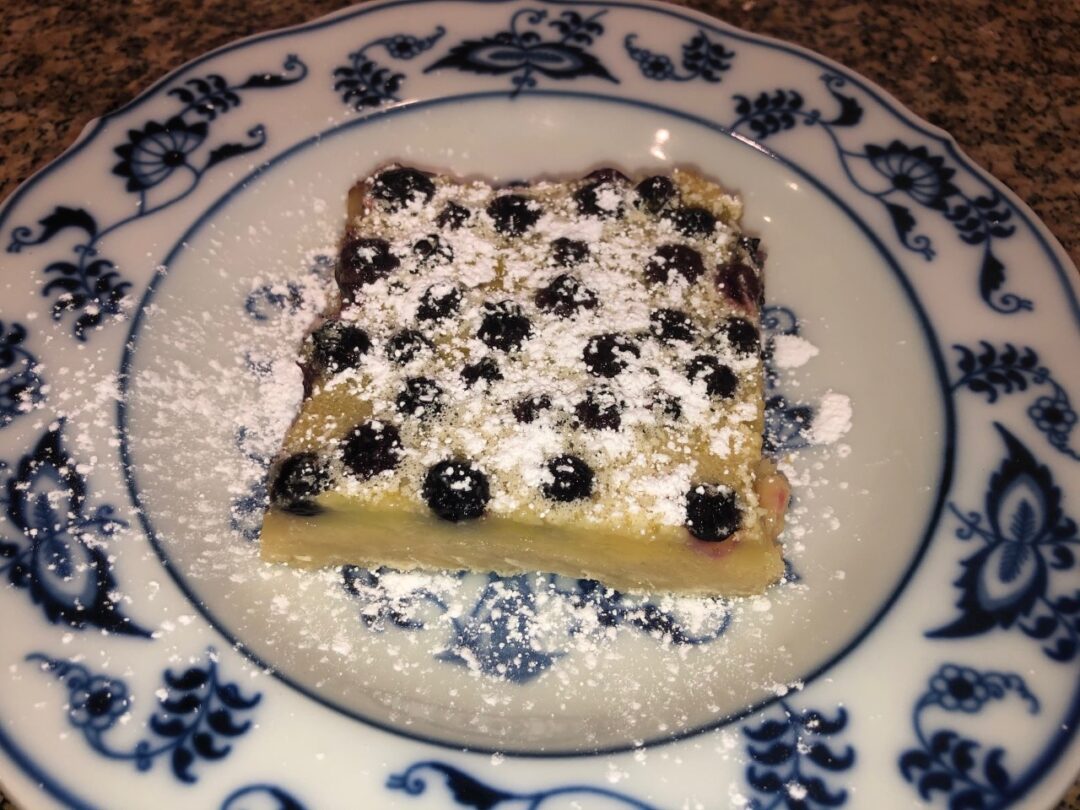
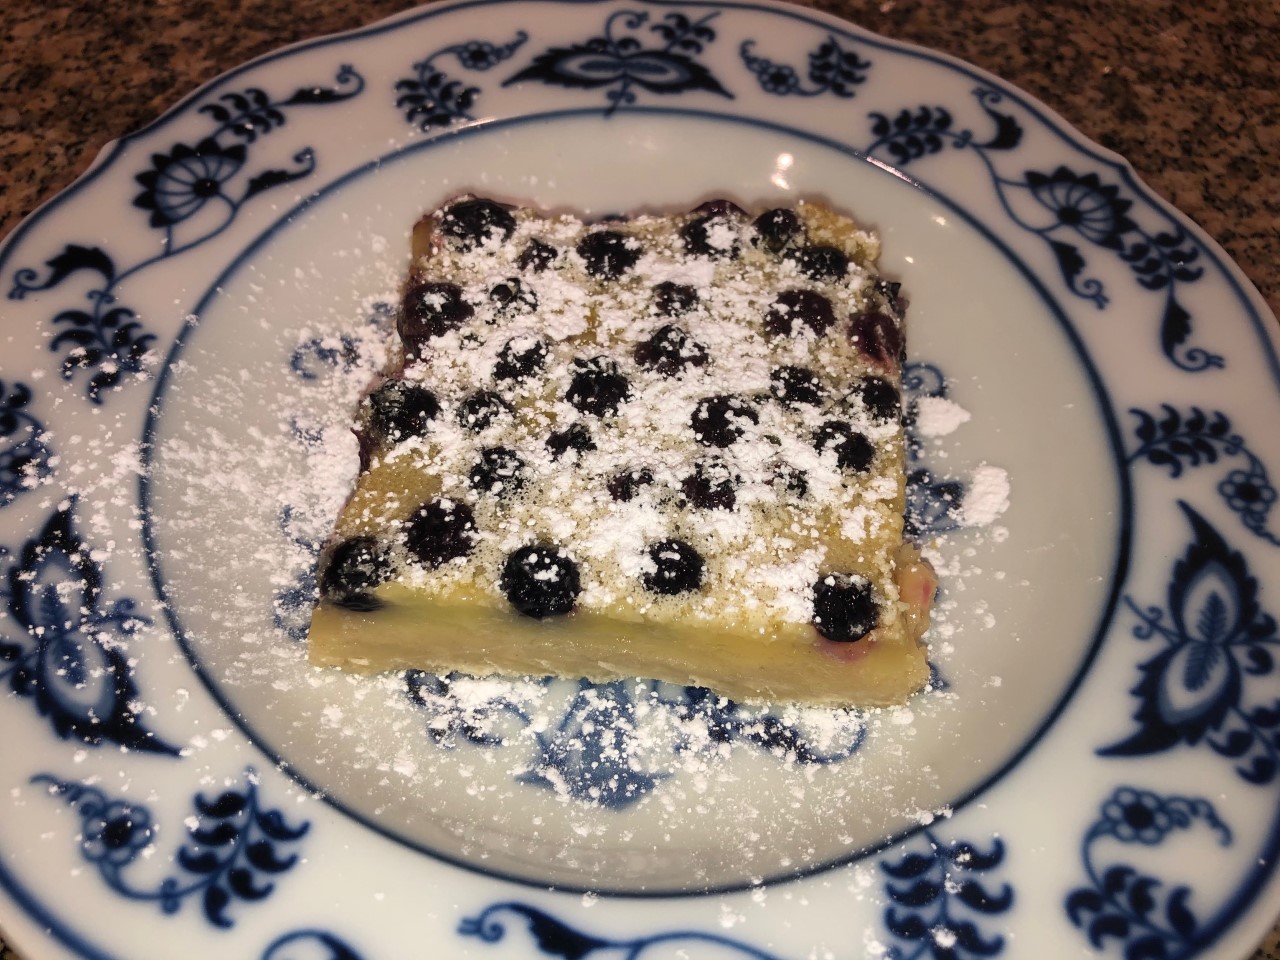
On the menu tonight, for dessert – Lemon Blueberry Bars! Yesterday, I made Chicken Parmesan. It made me think of my trip to Italy a few years ago. One of the places we went was Capri and one of the things it is known for are the lemons. I swear that I saw lemons as big as my head while we were there. I had never seen anything like it. It inspired me to make something lemony for dessert and I landed on lemon blueberry bars.

The chilled lemony goodness is perfect for a summer snack or dessert. They have a delicious shortbread crust and the lemon blueberry top is tart and sweet at the same time. The next time you need bring a dessert to a potluck or your next cookout, make these lemon blueberry bars.

Lemon Blueberry Bars

1 Star2 Stars3 Stars4 Stars5 Stars (No Ratings Yet)
Loading...
Dessert
By Patrick Serves: 8
Prep Time: 15 minutes Cooking Time: 50-60 minutes Total Time: 1hr 15 minutes

Lemon Blueberry Bars

Ingredients

  • Shortbread Crust
  • ā€¢ 1/2 cup butter
  • ā€¢ 1/4 cup granulated sugar
  • ā€¢ 1/4 teaspoons salt
  • ā€¢ 1 teaspoons vanilla extract
  • ā€¢ 17 tablespoons all-purpose flour (1 cup + 1 tablespoon)
  • Filling
  • ā€¢ 3 eggs
  • ā€¢ 1 cup granulated sugar
  • ā€¢ 4 tablespoons flour
  • ā€¢ 1/2 cup lemon juice (need about 3 lemons)
  • ā€¢ 1/2 ā€“ 1 cup fresh blueberries
  • ā€¢ Powdered sugar to dust the bars

Instructions

1

Shortbread Base

2

ā€¢ Preheat the oven to 335Ā° and line the 9Ɨ9 pan with parchment paper

3

ā€¢ In a mixing bowl, melt the butter by microwaving for 60-90 seconds

4

ā€¢ Add the sugar, salt, and vanilla extract to the butter and whisk until the sugar has dissolved

5

ā€¢ Sift in flour and whisk until the mixture becomes thick and looks like cookie dough

6

ā€¢ Add the dough into the pan and using your hands or a rubber spatula, pat down the dough to an even thickness into the parchment paper. Brush down the sides so the sides donā€™t stick up

7

ā€¢ Bake for 20-25 minutes, until shortbread is set

8

Filling

9

ā€¢ While the shortbread is in the oven, whisk 3 eggs in a bowl

10

ā€¢ Add sugar, flour, and lemon juice making sure to whisk each one in fully before adding the next

11

ā€¢ Add blueberries and mix all together

12

Make the Lemon Bar

13

ā€¢ When the crust is done, poke holes all over the surface with a fork

14

ā€¢ Pour the filling on top of the crust and make sure the blueberries are spread evenly

15

ā€¢ Bake again for 25-30 minutes, or until the middle of the lemon bar is set and doesnā€™t move when you gently shake the pan

16

ā€¢ Cool at room temperature for at least an hour, until itā€™s completely cooled, then cool it in the fridge for at least 2 hours

17

ā€¢ Before serving, dust the lemon bars with powered sugar

Chicken

Chicken Parmesan

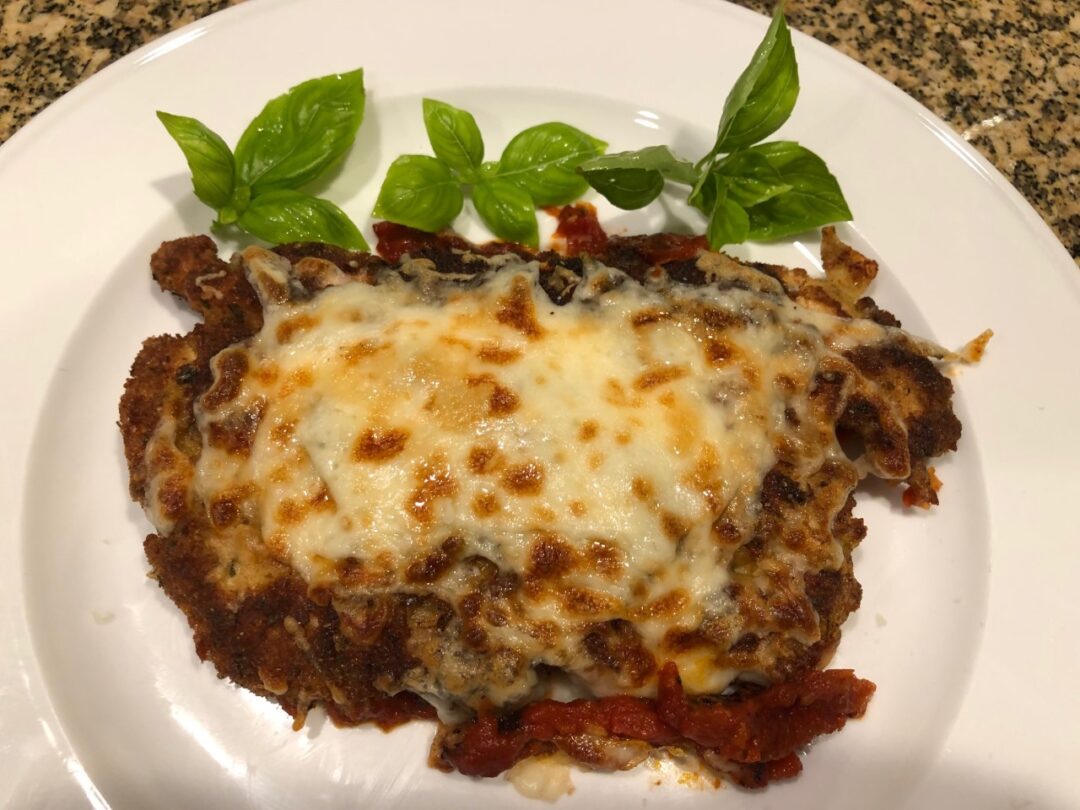
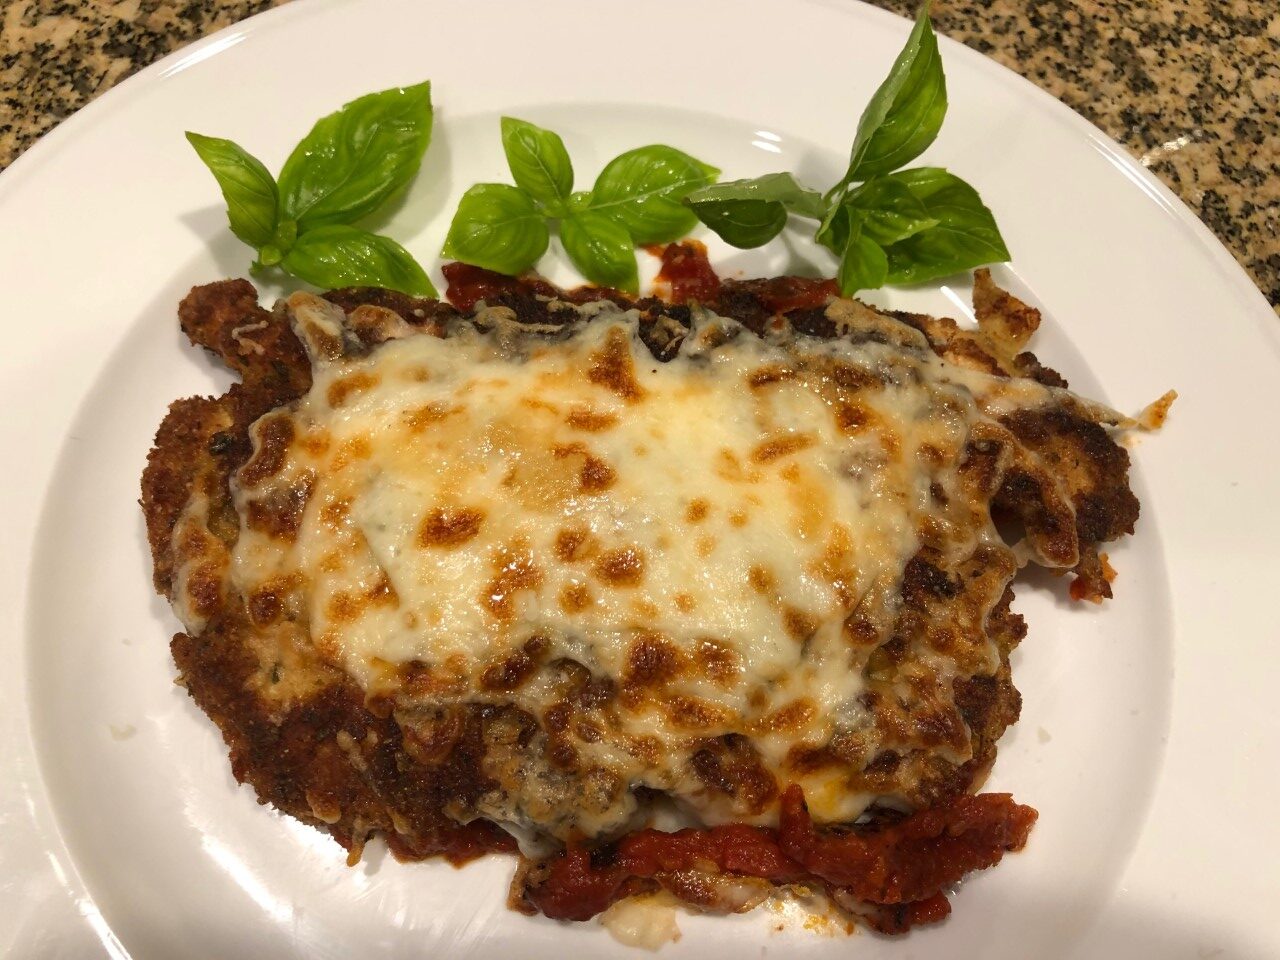
I love chicken Parmesan. The crispy crust covering the chicken and melted cheese are a hard combination to beat. This isn’t the soggy homemade chicken Parmesan covered with the stuff from that green cylinder that you’ve probably had. This is the chicken Parmesan you had at an Italian restaurant.

While this isn’t a difficult recipe to make, it does take a little time and planning. The chicken needs to be butterflied and pounded. You could probably buy it prepped, but try going through the process. Also, if you want to go all out, you’ll have either make homemade tomato sauce or have some already made. I wouldn’t fault anyone for using a good jarred sauce.

Once you’ve got the chicken and sauce ready to go, you’re most of the way there. Here’s a bonus for you. If you use an extra chicken breast, you can use that extra cooked chicken for an awesome sandwich. I bought some pepperoni and re-heated a piece of the chicken with some pepperoni and mozzarella under the broiler – OMG! It was AWESOME! The prepared chicken is also the beginning of chicken saltimbocca, but that will be another post.

I hope you’ll try this recipe and let you know what you think!

Chicken Parmesan

1 Star2 Stars3 Stars4 Stars5 Stars (No Ratings Yet)
Loading...
By Patrick Dulmage Serves: 4
Prep Time: 30 minutes Cooking Time: 30 minutes Total Time: 1 hour

Chicken Parmesan

Ingredients

  • 2-3 boneless, skinless chicken breasts, butterflied and pounded thin (about 1/8ā€ thick)
  • 2 teaspoons Kosher salt
  • 1 cup breadcrumbs (plain or Italian seasoned)
  • 20 grams salt and vinegar potato chips, crushed finely
  • 2 teaspoons dried oregano
  • 2 teaspoons dried parsley
  • 1 Ā½ teaspoons garlic powder
  • 2/3 all-purpose flour
  • 3 large eggs, beaten
  • 4 tablespoons butter, divided
  • 2 tablespoons olive oil, divided
  • 1 cup tomato sauce, jarred or home made
  • 2 oz low-moisture mozzarella, shredded
  • 2 oz Italian fontina, shredded
  • Chopped fresh flat-leaf parsley or basil for garnishing

Instructions

1

Cut the butterflied and pounded breasts into 6-8 even pieces.

2

Season with the salt on both sides and place on a rack inside a sheet pan. Cover and refrigerate for 30 minutes.

3

Combine the breadcrumbs, potato chips, oregano, parsley, and garlic powder in a gallon zip-top bag and crush.

4

Set up breading station. Put the flour in one pan, the eggs in the next, and the breadcrumb mix in the third pan. Also have a wire rack over a sheet pan to put the breaded pieces as you work.

5

Get the chicken from the fridge and pat it dry with paper towels.

6

Dredge the chicken in the flour, shake off excess flour, then dip into the eggs and drain the excess.

7

Finally, coat with the breadcrumbs and then place on the rack.

8

Pre-heat the broiler on high.

9

Pre-heat a large pan over medium heat with 1 tablespoon of the olive oil and 2 tablespoon of butter.

10

When the butter foams, add about half the chicken ā€“ donā€™t crowd the pan, leave room between the pieces.

11

Cook until golden brown, about 2 minutes on each side. Try not to move it around as it cooks but you can peak at about a minute and 30 seconds to make sure the breading isnā€™t burning.

12

Repeat on the other side.

13

After you have removed all the chicken, wipe the pan clean with paper towels and repeat cooking process for the remaining chicken.

14

Spread about a cup of the sauce on the bottom of a 13x9 baking dish and broil until the sauce bubbles and begins to caramelize. Time will depend on your oven and how far the dish is from the burner. Donā€™t walk away, watch it.

15

Remove the dish from the oven and arrange the chicken pieces in a single layer.

16

Put a dollup of sauce on each piece of chicken. Donā€™t completely cover the chicken with sauce. You took the time to make a nice crispy crust, donā€™t make it soggy now.

17

Spread the shredded cheeses over the sauce and chicken.

18

Put the pan under the broiler until the cheese is bubbly and brown.

19

Once finished, garnish with the parsley or basil. (Note, if you use basil serve it quickly as the heat will discolor the basil)

Seafood

Grilled Shrimp Scampi

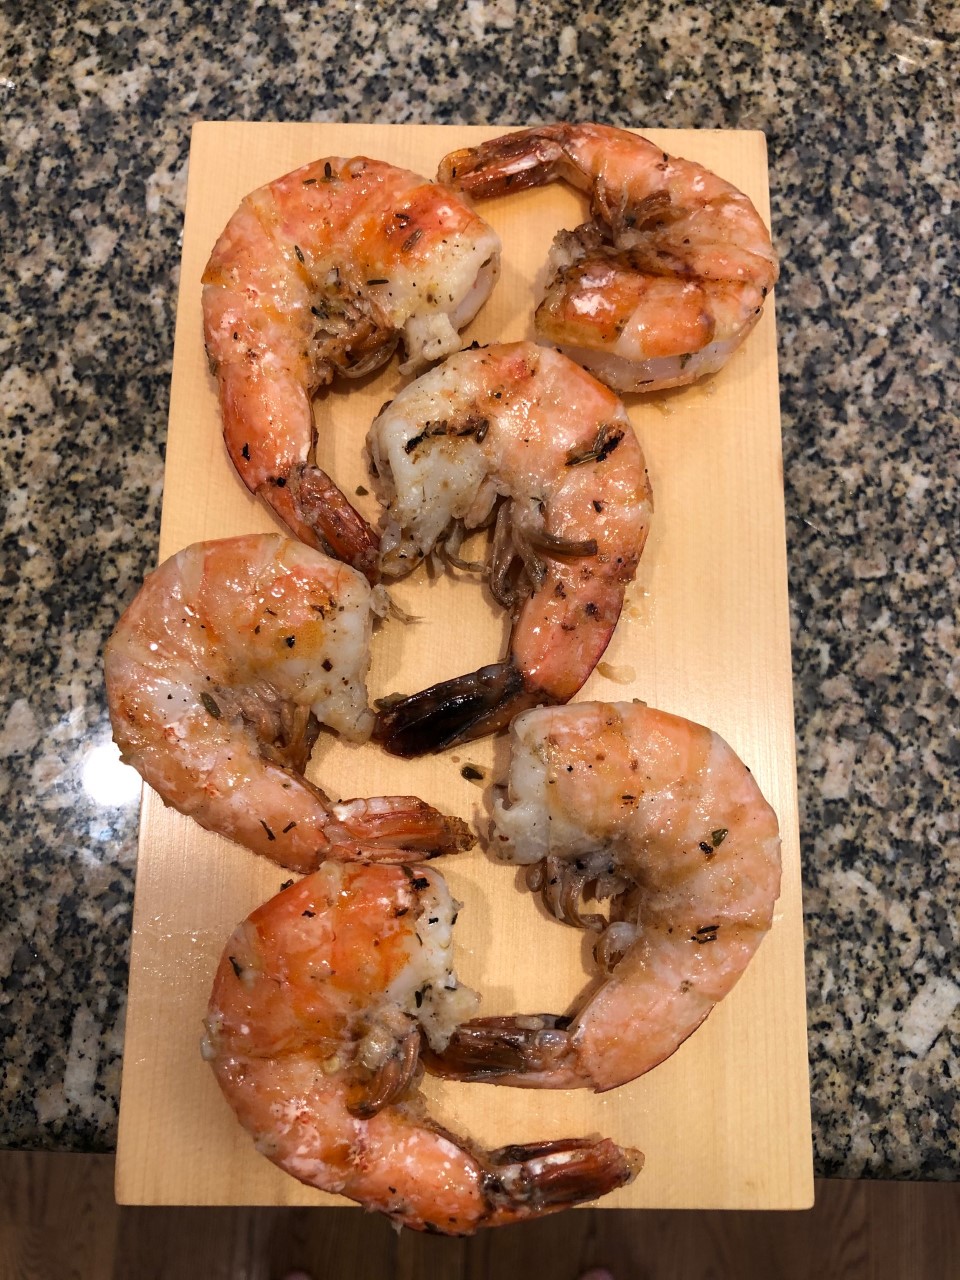
Tonight, I fired up the grill again to make Grilled Shrimp Scampi!

What’s not to like about grilled, buttery, garlic, shrimp? This dish goes together quick. The longest part is the marinade time. After the shrimp marinade for about 30 minutes, they are ready for the grill.

The next time you fire up the grill, get some shrimp and make this Grilled Shrimp Scampi!

Grilled Shrimp Scampi

1 Star2 Stars3 Stars4 Stars5 Stars (No Ratings Yet)
Loading...
By Patrick Dulmage Serves: 8-10
Prep Time: 30 minutes Cooking Time: 15 minutes Total Time: 45 minutes

Grilled Shrimp Scampi

Ingredients

  • 2 lbs large deveined shrimp
  • 1 1/2 sticks of butter
  • 15 - 20 cloves of garlic, smashed and rough chop
  • 1 tsp red pepper flakes
  • 2 tsp fennel seed
  • salt and pepper
  • 2 lemons, zested and juiced
  • 2 tsp dried thyme or 4 tsp fresh thyme
  • 1 cup of canola oil
  • 1/4 cup freshly chopped parsley

Instructions

1

Put the shrimp in a large mixing bowl.

2

In a small blender, combine the canola oil, garlic, red pepper flakes and fennel seed. Blend until the garlic is broken up.

3

Pour the mixture over the shrimp and let marinade at least 30 minutes.

4

When you're ready, pre-heat the grill on high.

5

Grill the shrimp on each side for about two minutes. If the shrimp aren't fully cooked, don't worry, they will cook a little more in the butter sauce.

6

In a large saute pan, melt the butter and add the thyme, the lemon zest and the juice, cook for about 30 seconds to a minute.

7

Add some of the garlic and spices from the marinade to the butter, then add the shrimp.

8

Work in batches, cooking the shrimp about 30 seconds to a minute on each side. Pull the shrimp and set on a platter.

9

Continue until all the shrimp are cooked.

10

Garnish the shrimp with the parsley and serve immediately.

Notes

You and your guests will be really happy if you also have some good bread to dunk in the leftover butter that the shrimp cooked in.

Beef/ Pork

Double Bacon Burger

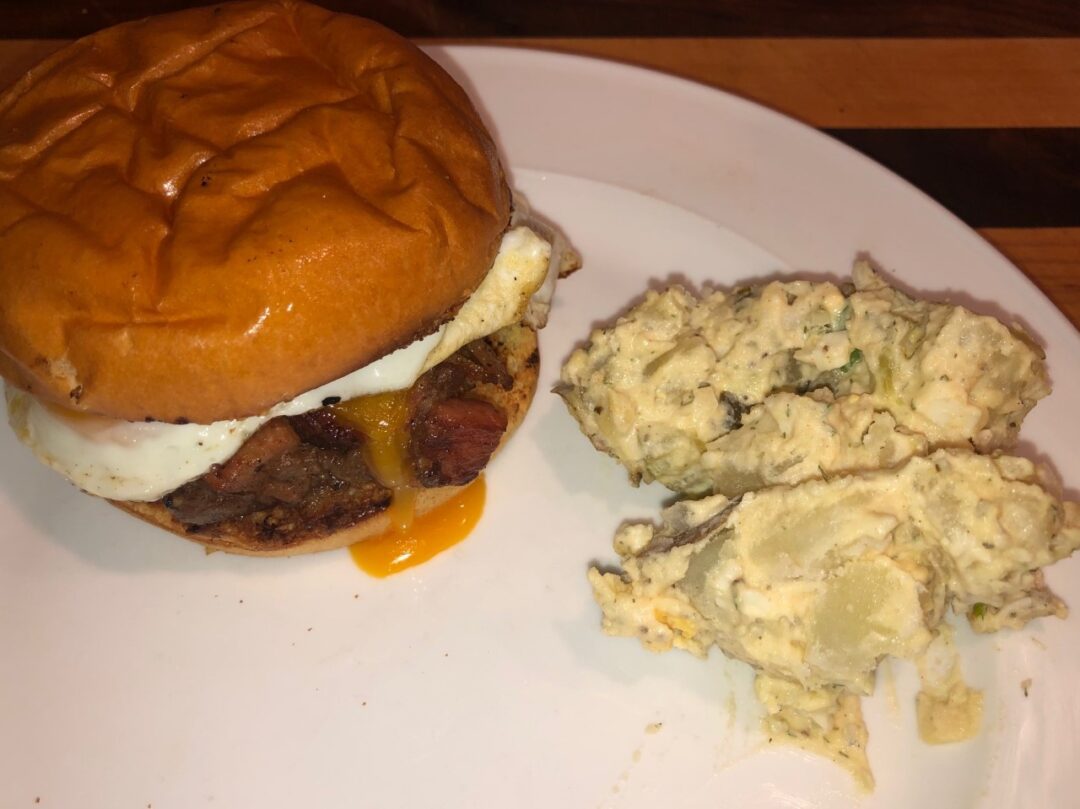
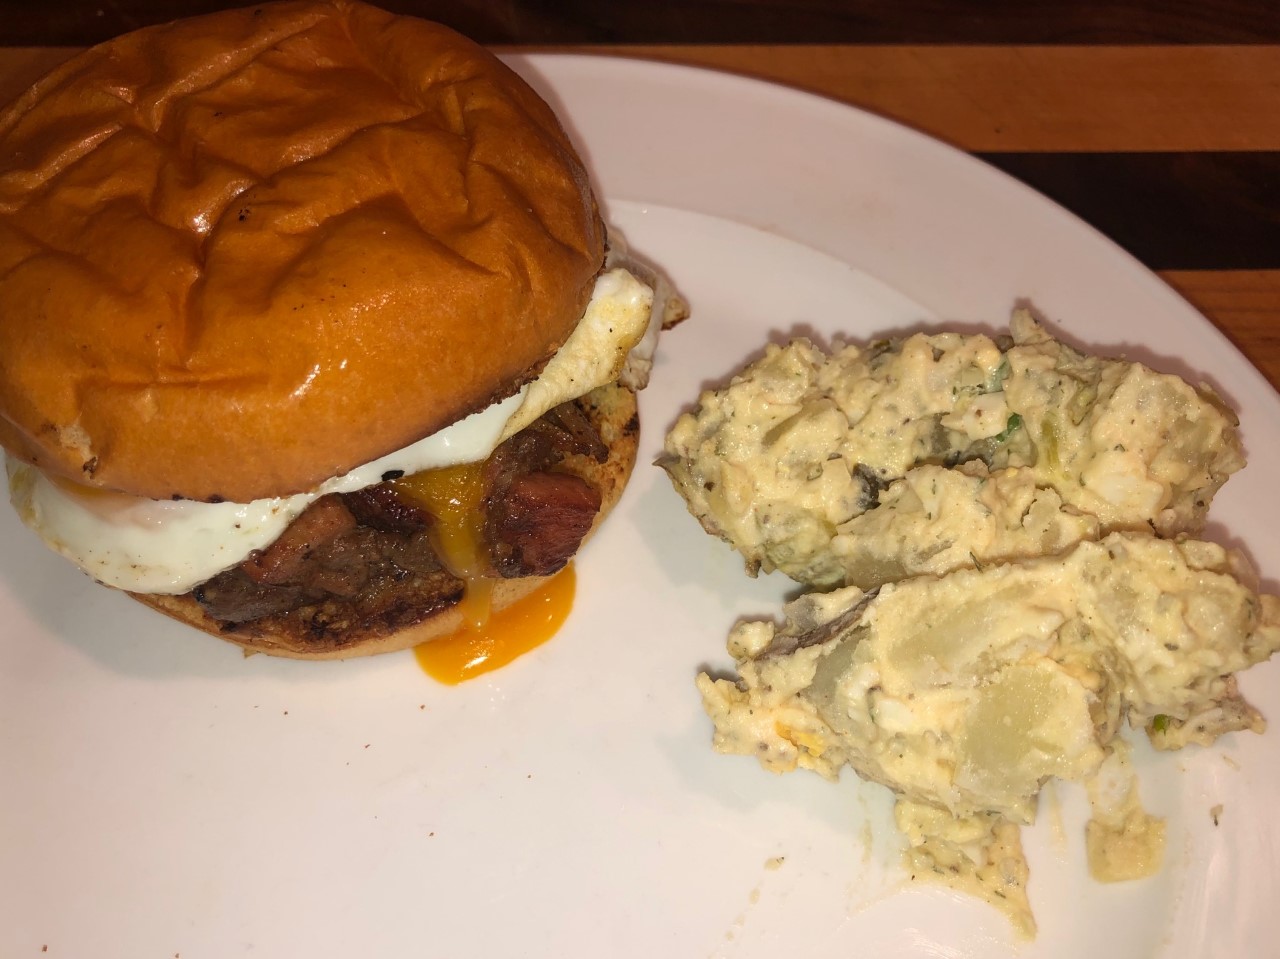
For 4th of July, grilling out is a given. I knew I was going to make hamburgers, but I wanted something a little different, a little decadent. I remembered a burger I saw on Diner’s Drive In’s and Dives. Guy was at place that served a burger with Spam in it. Give me a minute… They sliced the Spam into slabs, browned it on each side, diced it, and mixed it in with the ground beef. It looked pretty good, so I thought I would give it a try.

For the ground beef, I used a combination of ground chuck and grass-fed beef. I used Bacon flavored Spam. (You would be amazed how many varieties of Spam there are). But I took it step further. I wanted bacon on the burger. Rather than put slices of bacon on top, I decided to pre-cook the bacon and mix it in with the ground beef as well.

After mixing the different meats together with the seasoning, I put the patties back in the fridge for about a half hour to avoid the patties from falling apart on the grill.

Once grilled, I decided to guild the Lilly and put a fried egg on top. Holy smokes that was a good burger! The Spam chunks and the pieces of bacon were little surprises of happiness – kind of like the bits of candy in ice cream. The yolk from the fried egg provided a nice little sauce. It was fantastic! No cheese, ketchup, mustard, or mayonnaise required, though I wouldn’t fault you for adding any of those ingredients.

The next time you grill out, try making my double bacon burger. You’re welcome.

1 Star2 Stars3 Stars4 Stars5 Stars (No Ratings Yet)
Loading...
Side Dishes/ Vegetarian

Potato Salad

As part of my 4th of July cookout, I made a batch of potato salad. This version of potato salad uses Russet potatoes, but you can use whatever type you like. The dressing is a mayonnaise base with a little mustard powder, pickles, some of the pickle juice, along with a few other ingredients.

If you are looking for a great potato salad recipe for your next cookout or potluck, look no further. Let me know how your version turns out!

Potato Salad

1 Star2 Stars3 Stars4 Stars5 Stars (No Ratings Yet)
Loading...
Side Dishes
By Patrick Dulmage Serves: 4
Prep Time: 10 minutes Cooking Time: 15 minutes Total Time: 25 minutes

Homemade potato salad.

Ingredients

  • 3-4 Russet potatoes, approx 3lbs
  • 1 cup mayonnaise
  • 1 tsp mustard powder
  • 1 stalk celery, finely diced
  • 2tbsp pickle juice
  • 1-2 dill pickles, chopped
  • 2 hard boiled eggs, diced
  • 2 tsp onion powder
  • 5 green onions, use the white portion of the onion
  • 1 tsp paprika
  • salt and pepper to taste

Instructions

1

Wash and dry the potatoes

2

Cut the potato into bite size pieces

3

Put the potato into a pot of water and bring to a boil

4

Boil until fork tender, about 15 minutes

5

When fork tender, drain the potatoes in a colander and rinse with cold water

6

Once fully drained transfer to a large mixing bowl

7

Fold in the mayonnaise and other ingredients

8

Adjust seasonings to taste

Seafood

Crab and Ricotta Cannelloni

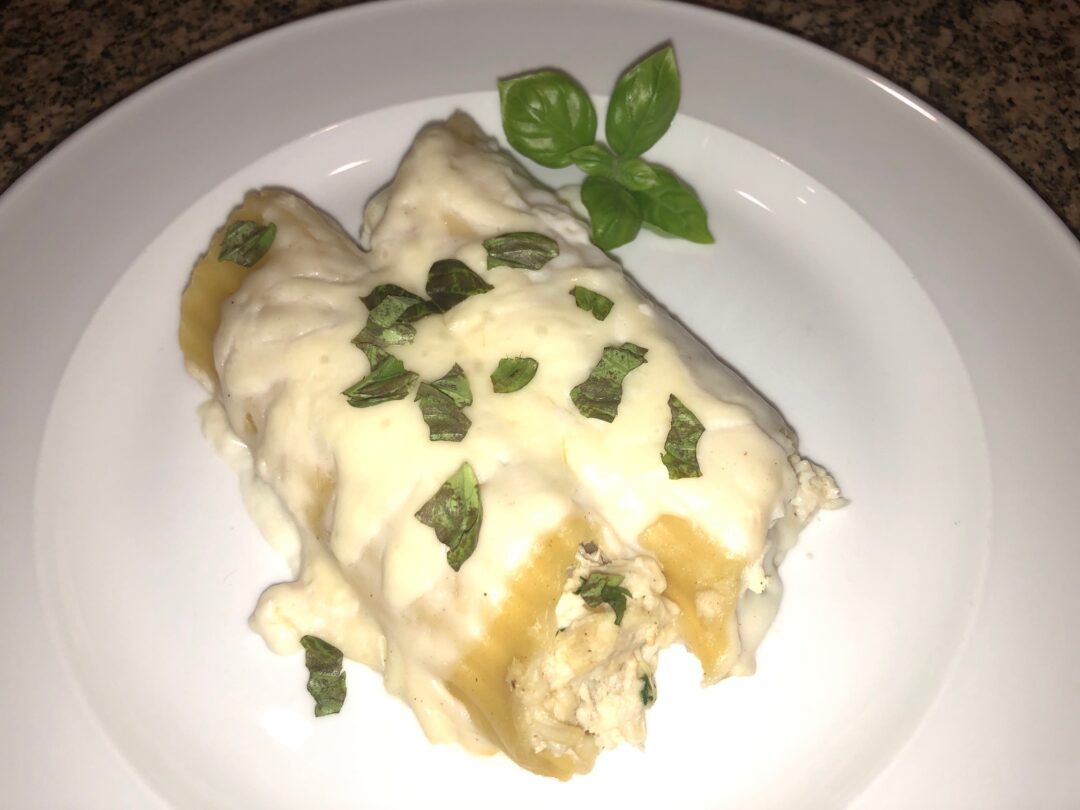
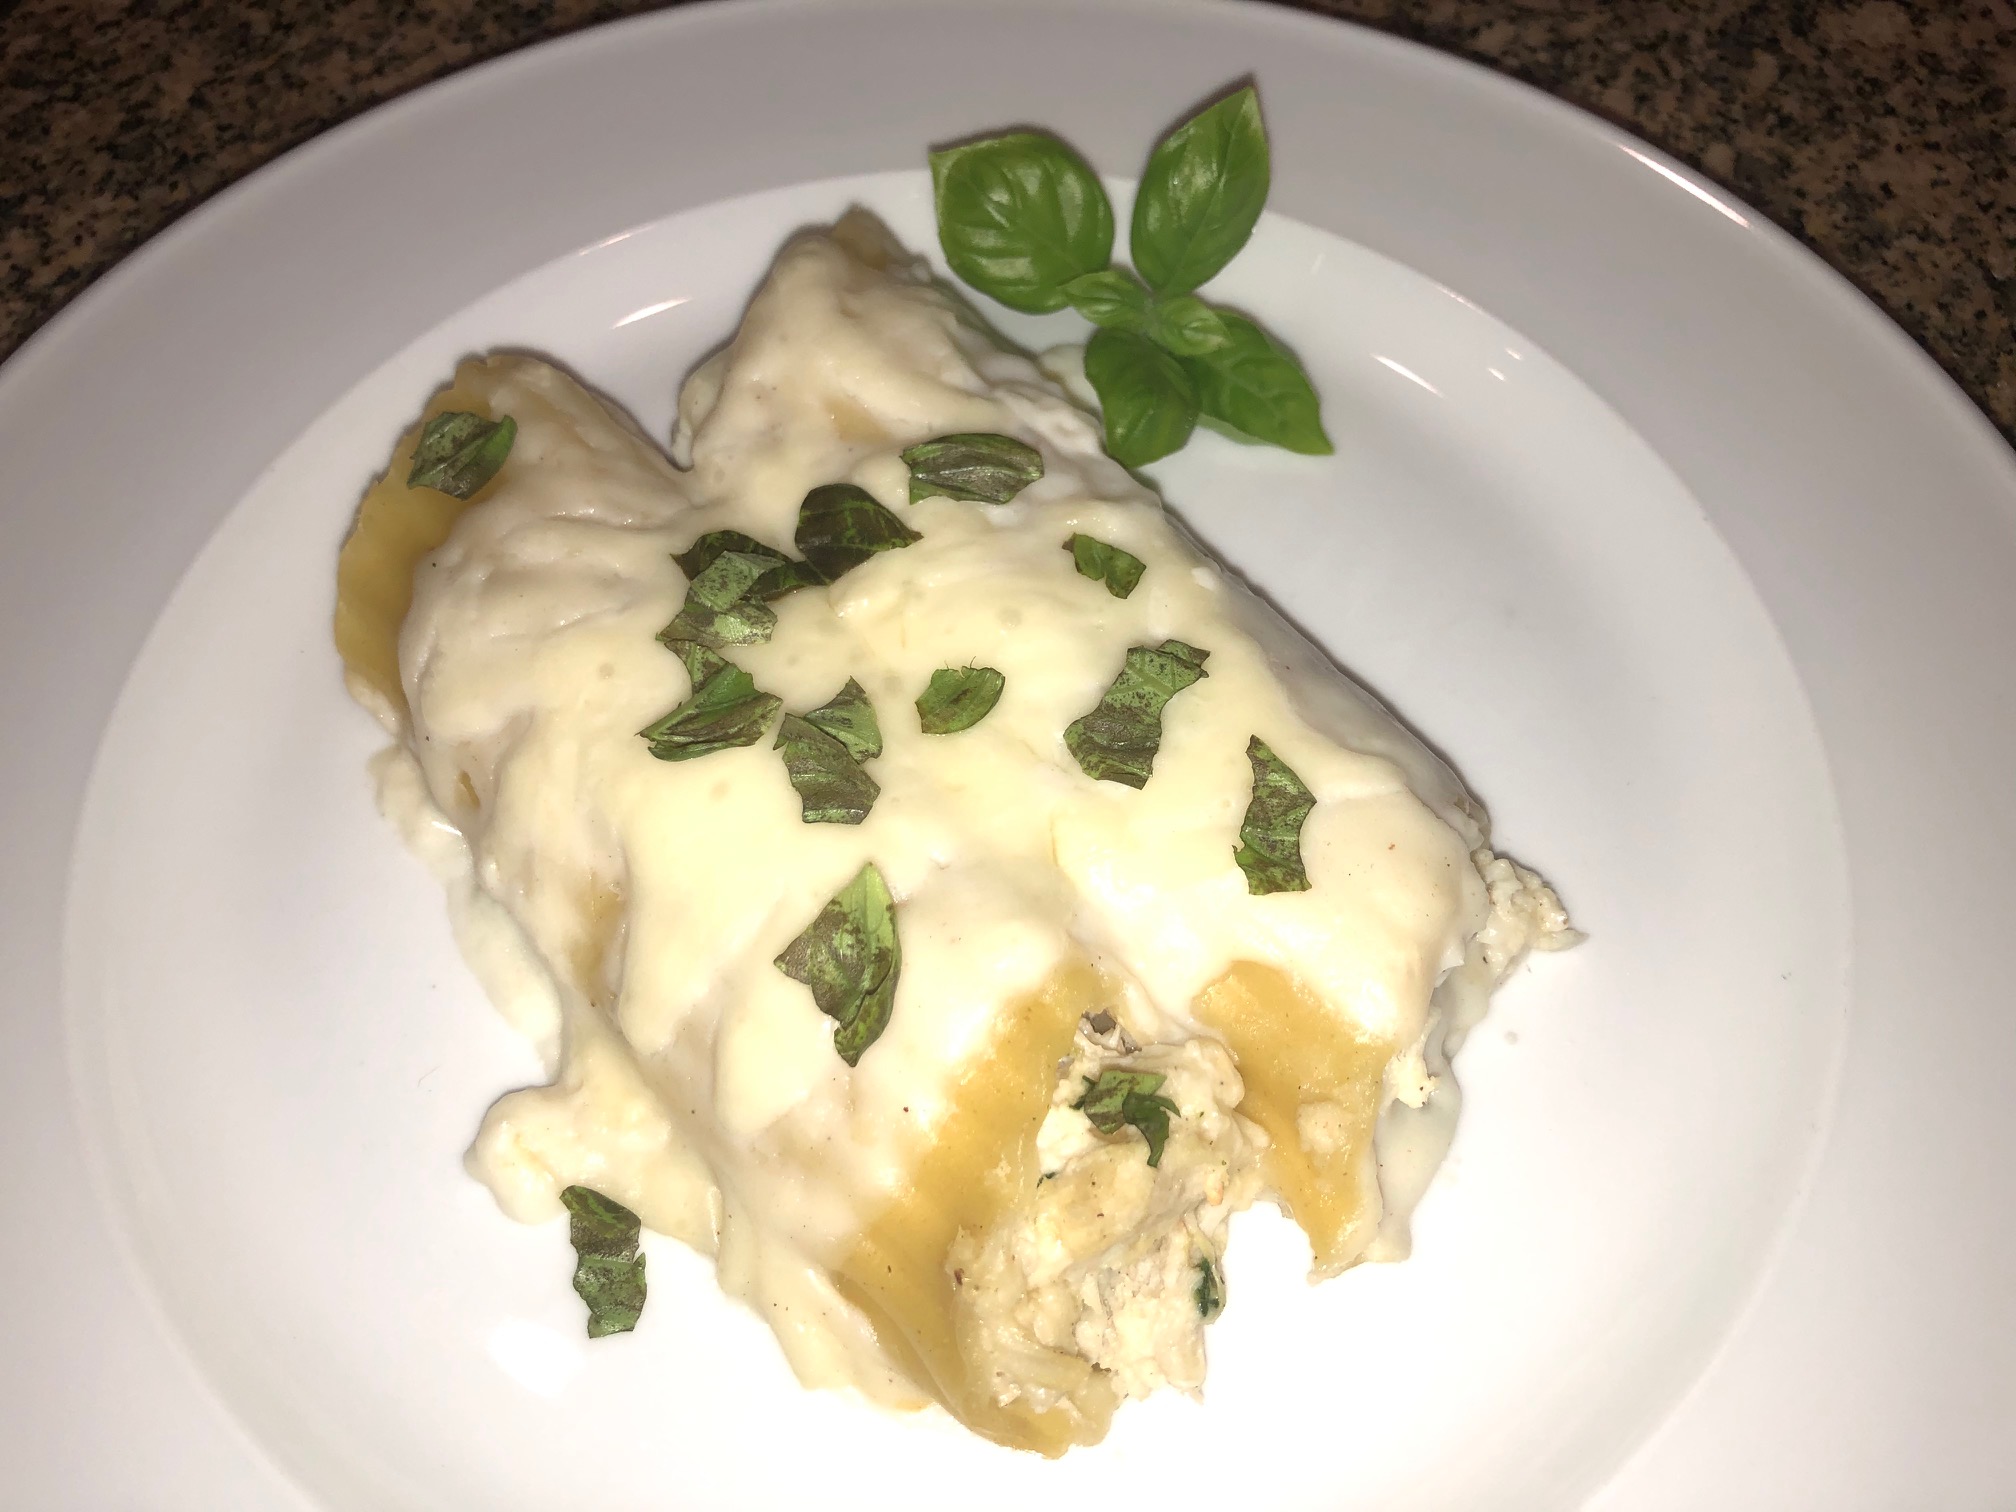
While I was working on the recipe for the Spinach and Ricotta Cannelloni, I came across a recipe for Crab and Ricotta Cannelloni. It sounded so good, I decided to make it too.

I wanted to make something special tonight and I hope this hits the mark. The cannelloni are topped with a creamy bechamel sauce and a little Parmesan. The crab meat and bechamel are a fantastic combination.

The next time you are in the mood for seafood, I hope you’ll try this dish.

Crab and Ricotta Cannelloni

1 Star2 Stars3 Stars4 Stars5 Stars (No Ratings Yet)
Loading...
By Patrick Dulmage Serves: 8
Prep Time: 10 minutes Cooking Time: 30 minutes Total Time: 40 minutes

Crab and Ricotta Cannelloni

Ingredients

  • 1 box of 8 oz cannelloni shells (manicotti shells will also work well)
  • 1 cup whole milk ricotta cheese
  • 3/4 cup grated Parmesan cheese, plus more for topping
  • 1 egg yolk
  • 1/2 cup chopped fresh basil leaves
  • 1 lb lump crab meat
  • 1/4 tsp sea salt
  • 1/4 tsp freshly ground pepper
  • 1 lemon
  • Bechamel Sauce:
  • 5 tbsp unsalted butter
  • 1/2 cup flour
  • 4 cups whole milk
  • 1/2 tsp salt
  • 1/4 freshly ground pepper
  • Pinch of freshly grated nutmeg

Instructions

1

Bring a large pot of salted water to a boil

2

Add the pasta and cook to package instructions, between 7-10 minutes

3

Drain pasta

4

In a large bowl, mix together ricotta, 3/4 cup Parmesan, egg yolk, basil, crab, salt and pepper

5

Pre-heat oven to 350 degrees

6

Put a few spoonfuls of Bechamel in the bottom of the baking dish

7

Fill the cannelloni with the crab mixture and put in the baking dish

8

Top the filled cannelloni with the rest of the Bechamel sauce

9

Sprinkle the top with the rest of the Parmesan cheese

10

Bake 20 minutes. If the top of the dish isn't golden brown, put under the broiler for a few minutes

11

Serve immediately and squeeze a little lemon juice on the cannelloni

12

Bechamel Sauce:

13

In a medium saucepan, melt the butter over medium heat

14

Add the flour and whisk until smooth

15

Gradually add the milk, continually whisking until the sauce is thick and creamy - don't let the sauce boil

16

Once it is the consistency you want, remove from the heat

17

Whisk in the salt, pepper, and nutmeg