All Posts By:

patrickdulmage

Casserole/ Chicken

One-Pan Chicken Tortellini Alfredo

On the menu tonight – Chicken Tortellini Alfredo!

If you are looking for something that doesn’t take too long to make AND doesn’t dirty too many pots and pans this is it! You probably already have some tortellini and chicken in your freezer. If the chicken is thawed, you can make this meal in about 30 minutes.

The chicken is tender and juicy. The combination of the chicken, cheese sauce, and tortellini is fantastic. Whatever you do, don’t leave out the nutmeg, it adds that little extra layer of flavor making people wonder what that flavor is.

Keep this recipe handy for your quick, week-night dinners. I hope you will try it and let me know how it turns out for you.

One-Pan Chicken Tortellini Alfredo

1 Star2 Stars3 Stars4 Stars5 Stars (No Ratings Yet)
Loading...
By Patrick Dulmage Serves: 6-8
Prep Time: 15 minutes Cooking Time: 15 minutes Total Time: 30 minutes

One-Pan Chicken Tortellini Alfredo

Ingredients

  • 1 1/2 cups heavy cream (half and half would work too)
  • 4 tablespoons butter
  • 1 1/2 cups grated Parmesan cheese
  • 2 pinches nutmeg (freshly grated is preferred)
  • Kosher salt
  • Freshly ground black pepper
  • 18 oz pkg cheese tortellini (you could also use other varieties like mushroom or spinach)
  • 2 boneless skinless chicken breast, cut into bite sized pieces (chicken thighs would also be great)
  • 1/2 - 1 shallot, finely chopped
  • 1/4 cup chopped fresh parsley

Instructions

1

Pre-heat the oven to 425 degrees

2

Heat the heavy cream, butter, nutmeg, shallot, and one cup of the Parmesan cheese in a large cast iron skillet

3

Whisk until the butter and cheese are melted, about 4 minutes

4

Add the tortellini and simmer until they are cooked through, about 5 minutes

5

Add the chicken and mix to combine

6

Add the rest of the Parmesan cheese on top and then put in the oven

7

Bake until the chicken is cooked through and the top starts to get browned, about 12 minutes

8

Once baked, let it rest about 10 minutes before serving

9

Garnish with the fresh parsley or green onions

Beef/ Side Dishes

Classic Pigs in a Blanket

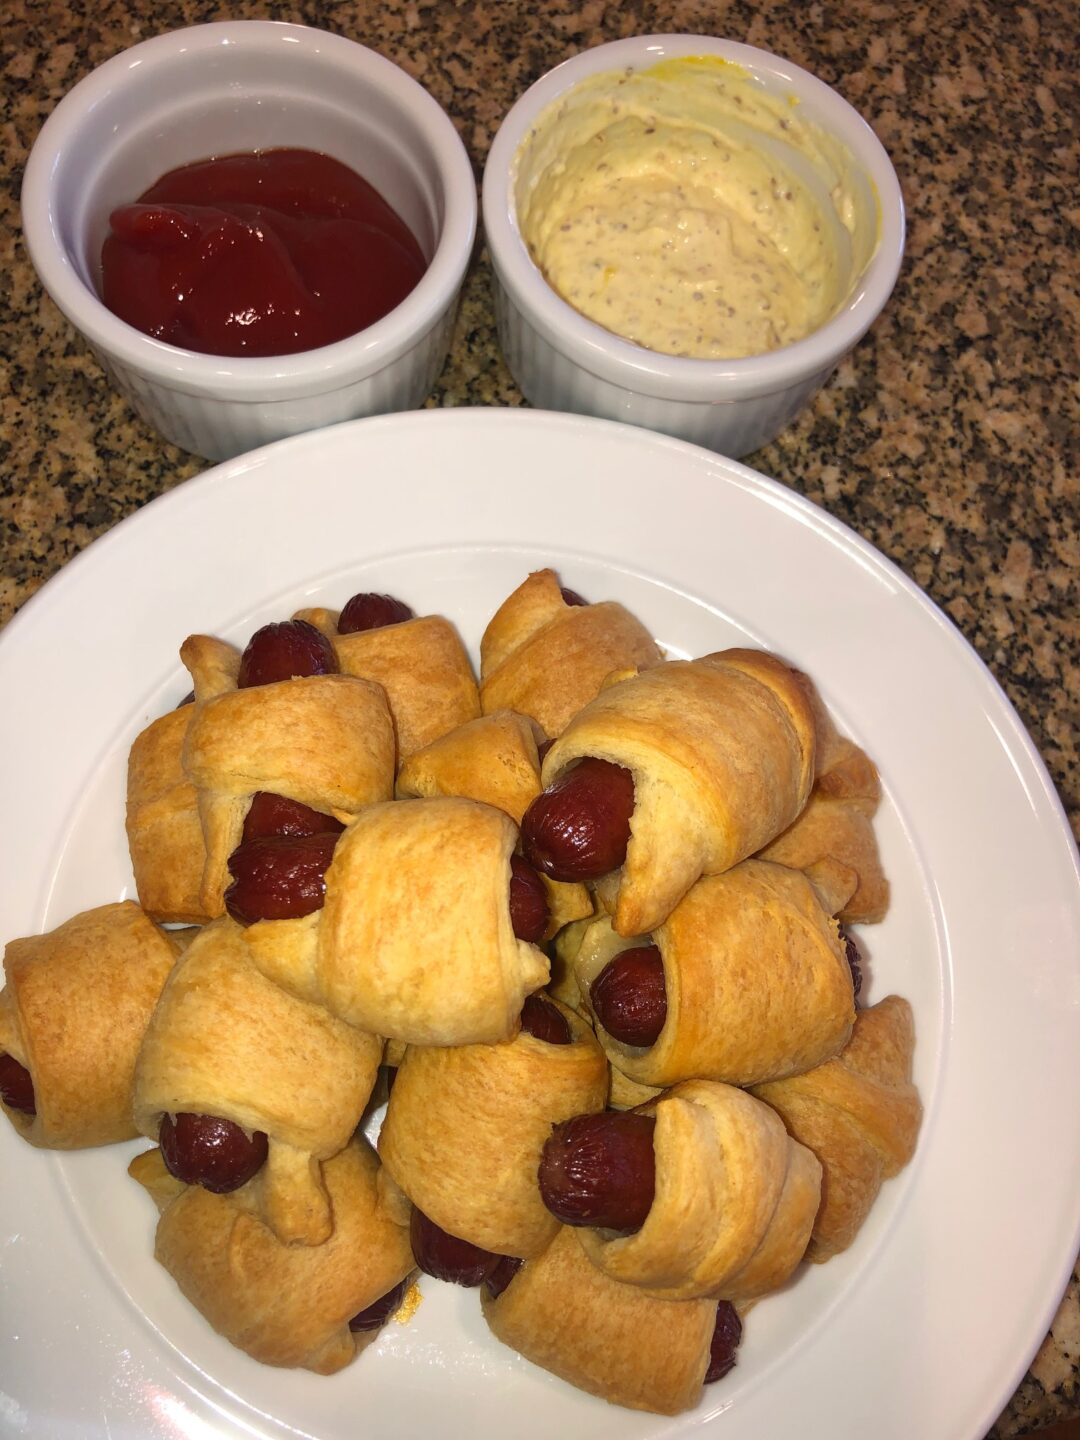
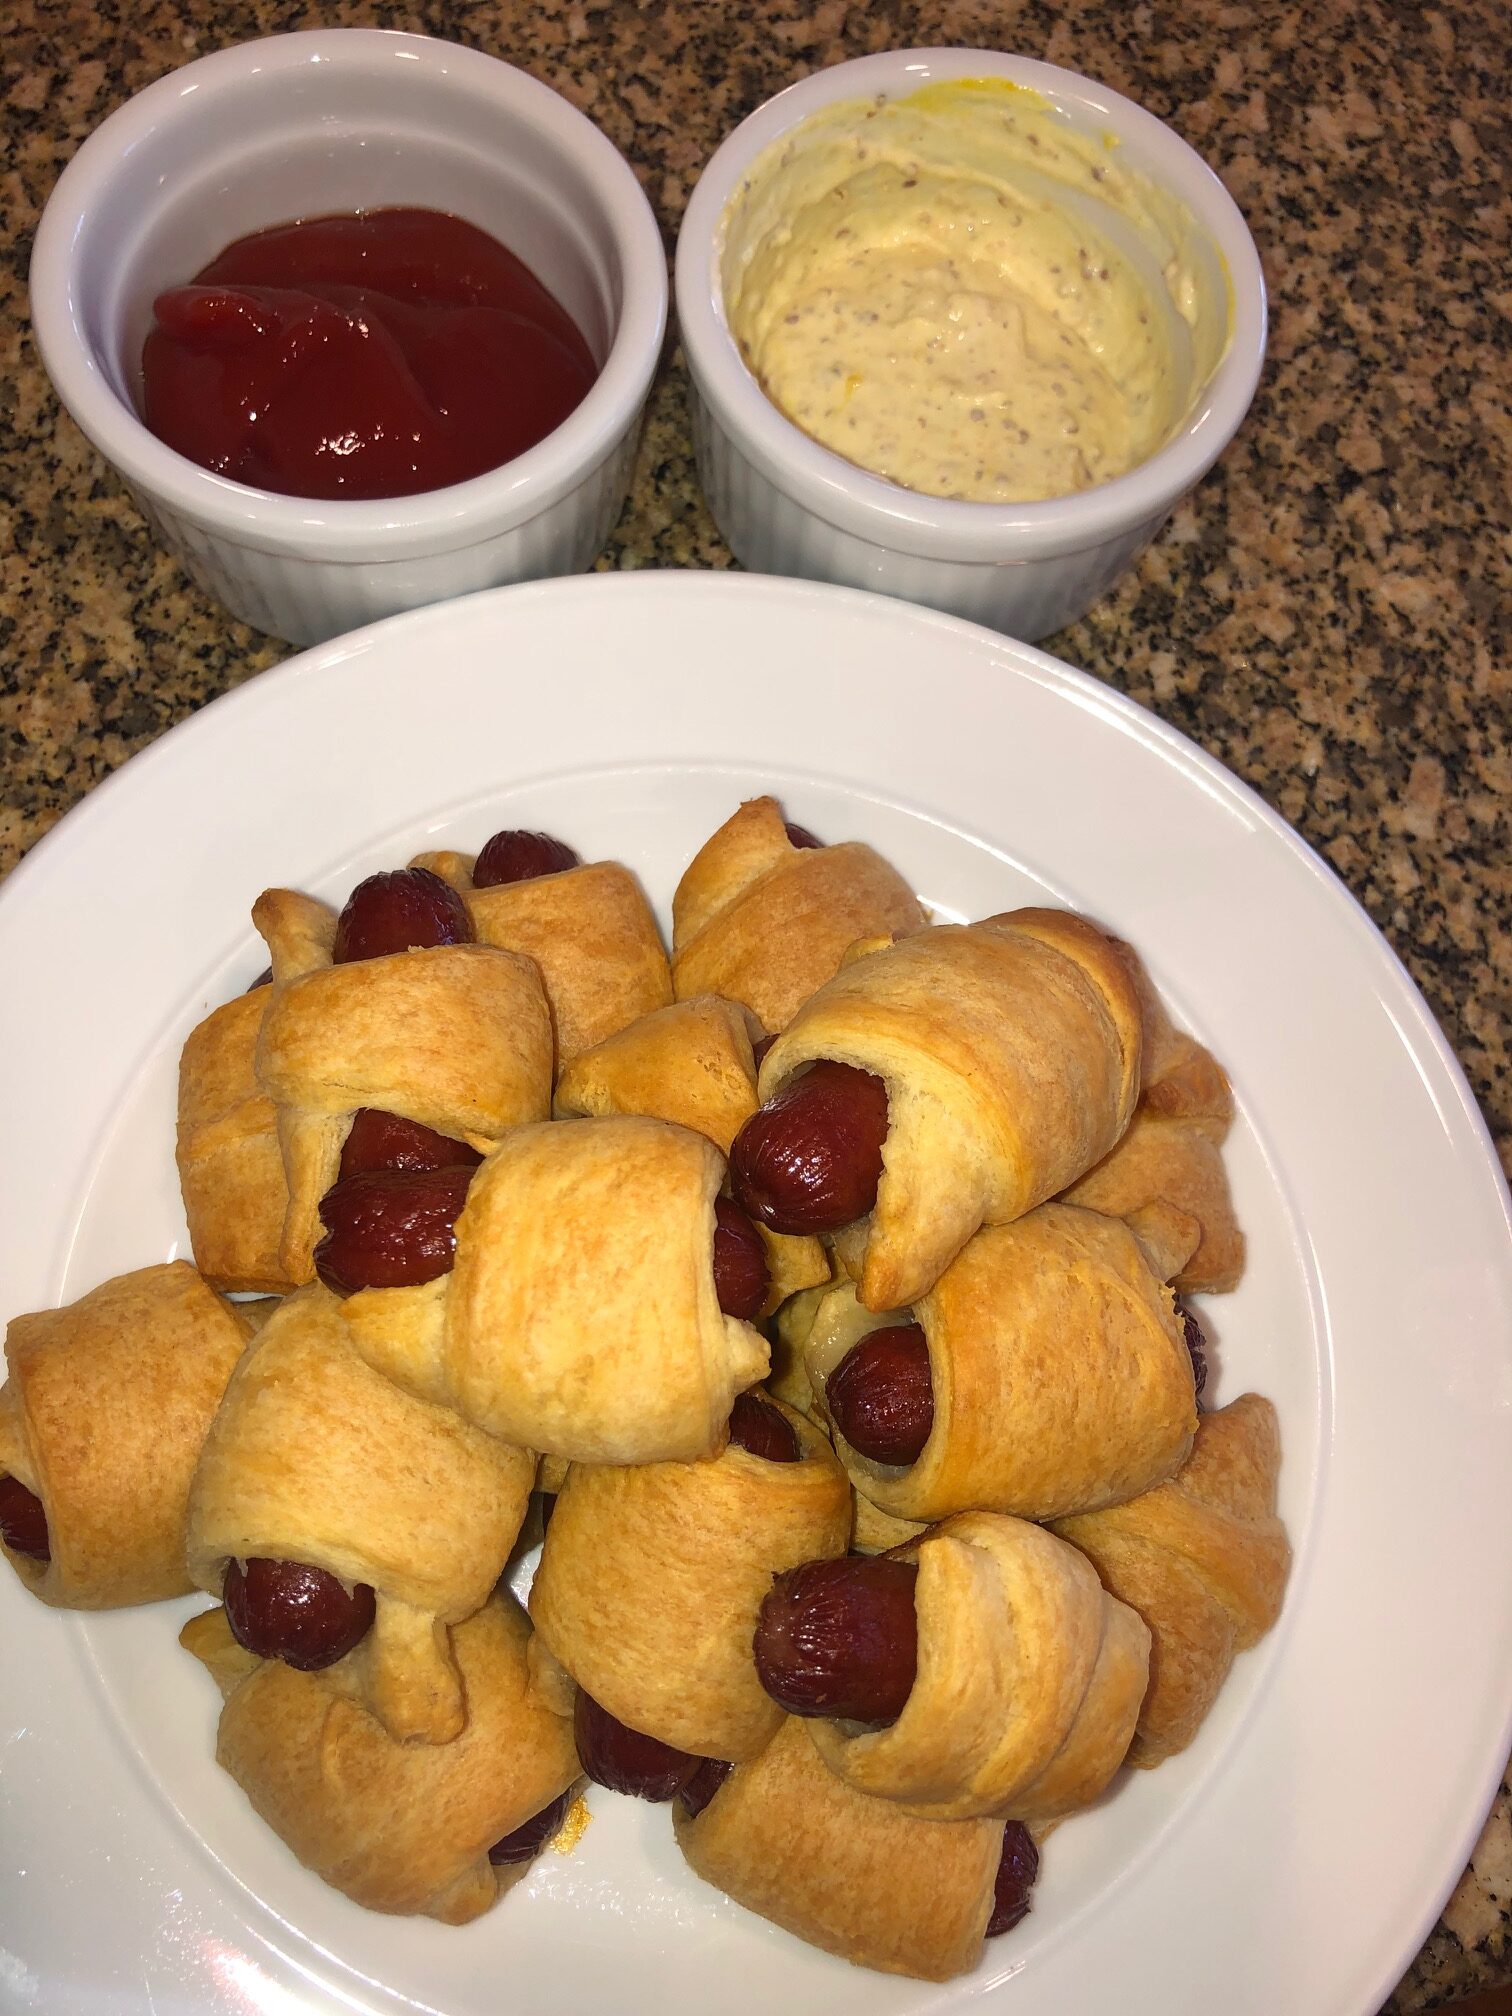
It’s Super Bowl Sunday and I wanted to put out some great snacks for game day. I don’t recall going to a Super Bowl party that DIDN’T have pigs in a blanket, so I’m keeping up the tradition.

There are only a few ingredients for this dish – lil smokies, crescent roll dough, and… that’s it! OK, if you want to dip them in something, ketchup, mustard, and a few other ingredients.

Whenever there are so few ingredients, I try to use the best I can find. Lil smokies aren’t exactly gourmet food, but there are the beef and pork or all beef. I chose all beef.

For assembly, open the crescent roll tube and separate the triangles. Cut each one into thirds and use those pieces to wrap the lil smokies.

Put them on a baking sheet and bake at 350 for about 20 minutes.

For the dipping sauces, I put out ketchup and a mustard sauce. The mustard sauce is one part sour cream and one part mustard. I did a half yellow mustard and half grainy mustard mix – it was pretty fantastic.

I hope you’ll make these the next time you need a side dish for your party.

Classic Pigs In a Blanket

1 Star2 Stars3 Stars4 Stars5 Stars (No Ratings Yet)
Loading...
By Unknown Serves: 4-6
Prep Time: 5 minutes Cooking Time: 20 minutes Total Time: 25 minutes

Classic Pigs In a Blanket

Ingredients

  • 1 package Lil smokies
  • 1 tube crescent roll dough
  • Dipping sauces:
  • Ketchup
  • Yellow Mustard
  • Grainy Mustard
  • Sour cream

Instructions

1

Pre-heat oven to 350 degrees

2

Open crescent roll dough and separate the triangles

3

Cut the triangles into thirds

4

Open the lil smokies package and wrap each one with dough

5

Put the wrapped smokies in the oven and bake for about 20 minutes

6

For the Mustard Sauce:

7

Combine one part sour cream and one part part mustard

Pork

Oven-Baked Baby Back Ribs

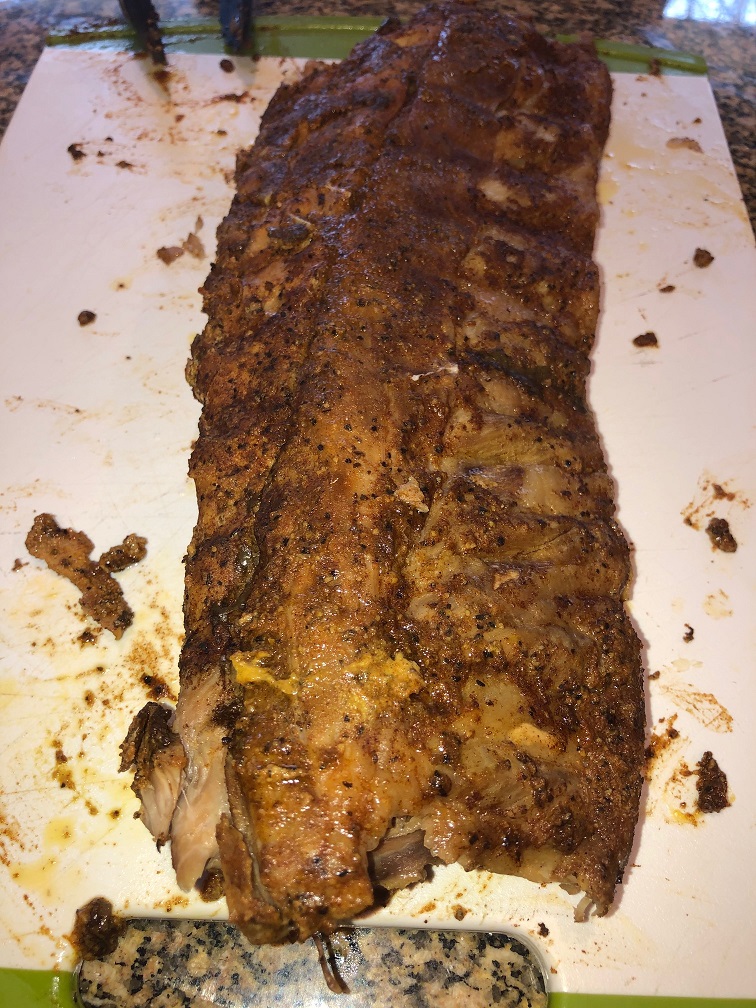
For Super Bowl Sunday, I decided to make some Baby Back Ribs. The last time I made these, I did a dry rub along with a BBQ sauce. This time, I did the same dry rub and let the ribs sit overnight in the fridge, but I didn’t do a BBQ sauce. I made a braising liquid that I poured into the foil pouch I cooked the ribs in.

I cooked the ribs at 225 degrees for 4 hrs and that was the ticket for fall-off-the-bone lick your fingers goodness! If you wanted, you could take it a step further and finish these on the grill but I was really happy they looked and tasted after resting about 15 minutes.

If you want ribs but you don’t want to fire up the grill, try making my oven-baked baby back ribs!

Oven Baked Baby Back Ribs

1 Star2 Stars3 Stars4 Stars5 Stars (No Ratings Yet)
Loading...
By Patrick Dulmage Serves: 4-6
Prep Time: 24 hours Cooking Time: 4 hours Total Time: 28 hours

Oven Baked Baby Back Ribs

Ingredients

  • 1 rack babyback ribs
  • 1 cup yellow mustard
  • 1 cup of BBQ rub (see recipe)
  • BBQ Spice Rub:
  • 1/4 cup brown sugar (light or dark)
  • 1/4 cup paprika
  • 3 tbsp black pepper
  • 4 tbsp Kosher salt
  • 2 tsp garlic powder
  • 2 tsp celery seed
  • 1/4 tsp cayenne pepper
  • Braising liquid:
  • 1 cup white wine
  • 2 tbsp vinegar
  • 2 tbsp Worcestershire sauce
  • 1 tbsp honey
  • 2-3 cloves garlic, finely chopped or minced

Instructions

1

Pre-heat oven to 225 degrees

2

Remove ribs from packaging and remove the membrane on the back

3

Coat the ribs with mustard and then liberally season the ribs with your dry rub.

4

Give it a good massage and then place ribs in a foil packet - unsealed and set aside

5

Combine braising liquid ingredients in a microwave safe container and heat for one minute

6

Pour about half the liquid in the foil packet with the ribs, the tightly seal. Do a double foil pack wrap if you need to

7

Put the foil pack on a rimmed baking sheet just in case the juices leak - and they will and then put in the oven

8

Bake for two hours and then turn the foil pack over

9

Return to oven and bake another two hours

10

Once finished, pull the ribs from the oven and let rest at least 15 minutes

11

Carefully open the foil packet, trying not to let the liquid run out onto the pan

12

Transfer the liquid in the packet to a small sauce pan and cook over medium heat until the liquid has reduced by half

13

Serve the ribs with the delicious sauce you just made

Vegetarian

Impossible Gyros with Tzatziki

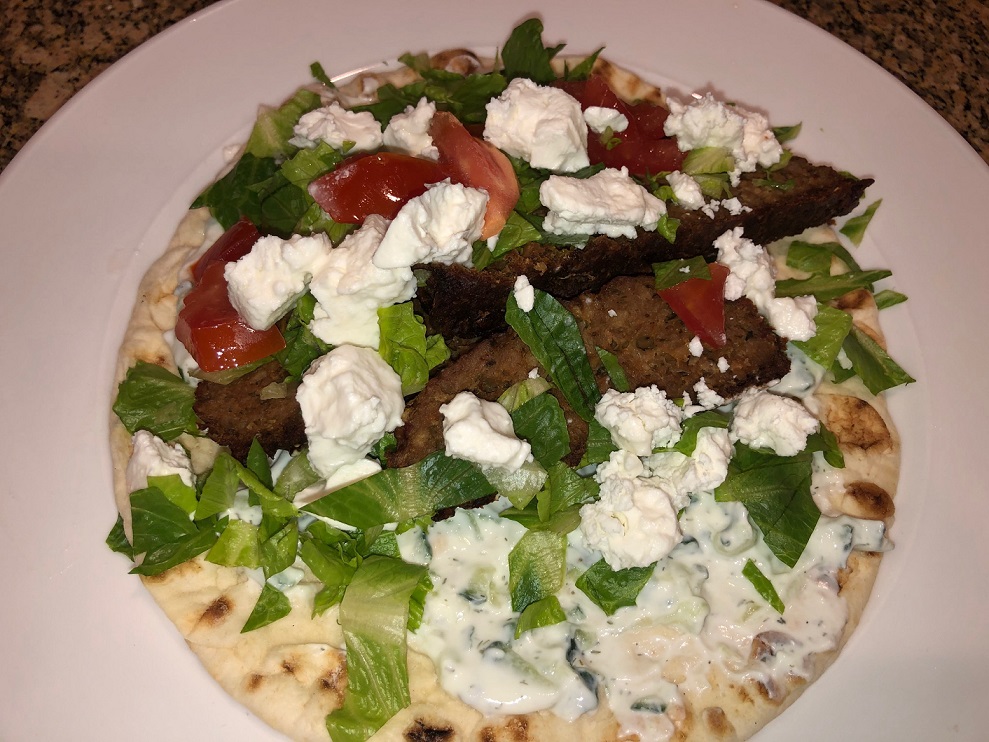
On the menu tonight – Impossible Gyros with Tzatziki! I love gyros but there aren’t a lot of places close by that do them well. So, I decided to make my own.

Since I don’t have the rotisserie they use, I made a meat loaf in the oven. Audrey doesn’t eat meat, so I decided to try using Impossible burger. It turned out really well!

I also made the tzatziki rather than buying it pre-made. These turned out great! Easily as good as any gyro I’ve bought and better than many. The best thing is it is meat free and you wouldn’t know it.

If you are in the mood for a gyro, I hope you’ll try my Impossible Gyros with Tzatziki.

Impossible Gyros with Tzatziki

1 Star2 Stars3 Stars4 Stars5 Stars (No Ratings Yet)
Loading...
By Patrick Dulmage Serves: 4-6
Prep Time: 15 minutes Cooking Time: 2 hours Total Time: 2 hrs 15 min

Impossible Gyros with Tzatziki

Ingredients

  • Gyro:
  • 2 lbs Impossible burger
  • 1/4-1/2 onion, finely chopped
  • 1/2 cup flour
  • 4 tsp oregano
  • 4 tsp sweet paparika
  • 1/8-1/4 tsp cayenne pepper
  • 1 tsp Kosher salt
  • 1-2 tsp freshly ground pepper
  • shredded lettuce
  • 1 diced tomato
  • 1/2 - 1 cup crumbled feta cheese
  • Tzatziki Sauce:
  • 1 pint Plain Greek Yogurt
  • 1 English cucumber, seeded and finely chopped
  • 1 tbsp Kosher salt
  • 1/2 cup sour cream
  • 1 tbsp vinegar, Champagne or white
  • 2 tbsp lemon juice
  • 1 tbsp olive oil
  • 2-3 cloves minced garlic
  • 1 1/2 tsp dill
  • pinch of fresh black pepper

Instructions

1

Gyro:

2

Pre-heat oven to 300 degrees

3

Mix the Impossible burger and other ingredients in a large bowl, then transfer to a rimmed baking sheet

4

Form the mixture into a loaf and bake for 2 hours

5

When done, let it rest for 10-15 minutes before slicing

6

Tzatziki Sauce:

7

Put the yogurt in a small colander lined with a tea towel or paper towel over another bowl and let the yogurt give off some moisture. Put in the fridge for 3-4 hours

8

Assembly:

9

On the flat bread, spread tzatziki sauce, then a few slices of the "meat", add the lettuce, tomato, and feta cheese

Notes

Serve with curly fries sprinkled with seasoned salt - YUM!

Breakfast

Challah French Toast with Powdered Sugar

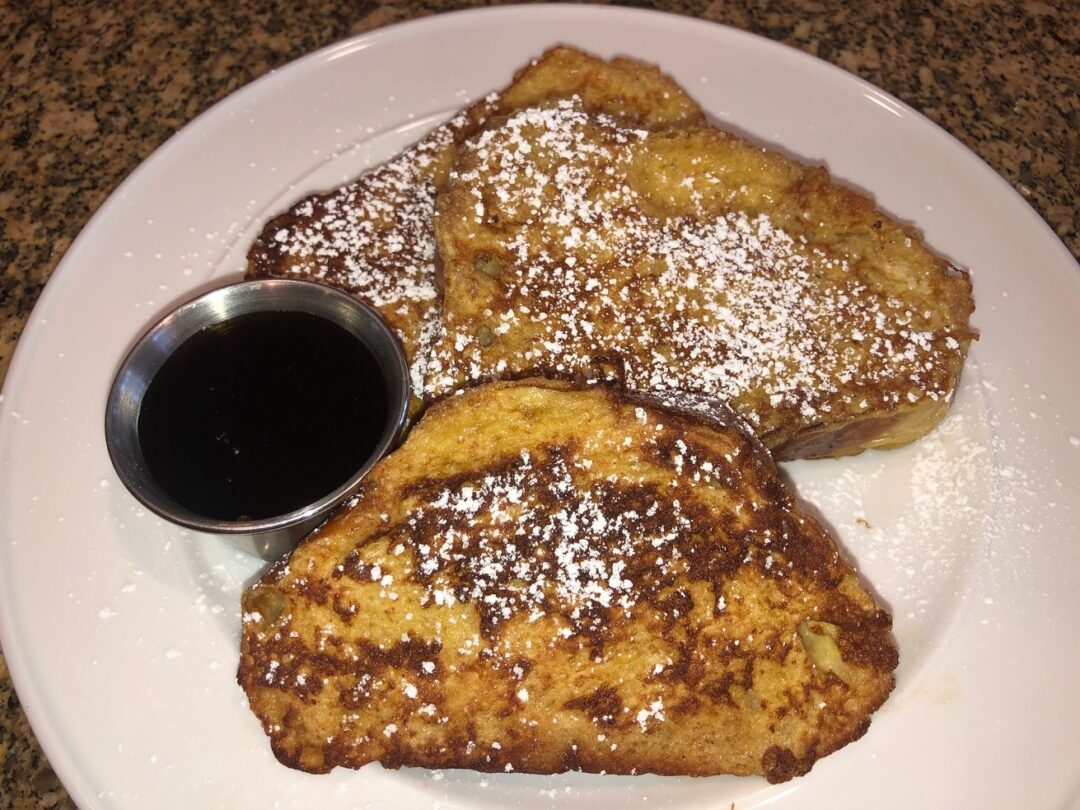
French toast isn’t difficult to make, but it’s also easy to mess up. The trick? Have everything in place before starting, Mise en place – everything in its place.

The version I made is relatively simple but done well it’s perfect. I used a loaf of challah bread that was a few days old, sliced about 3/4 of an inch. The eggs were mixed with heavy cream, cinnamon, nutmeg, and vanilla extract.

I soaked each slice about a minute before putting in a non-stick pan over medium heat – you don’t want the butter to burn or the egg mixture on the bread to cook too fast. After each side is browned to your liking put the cooked toast in a pre-heated oven for about 5 minutes on a wire rack over a sheet pan. You will cook the rest of the toast as you wait on those in the oven.

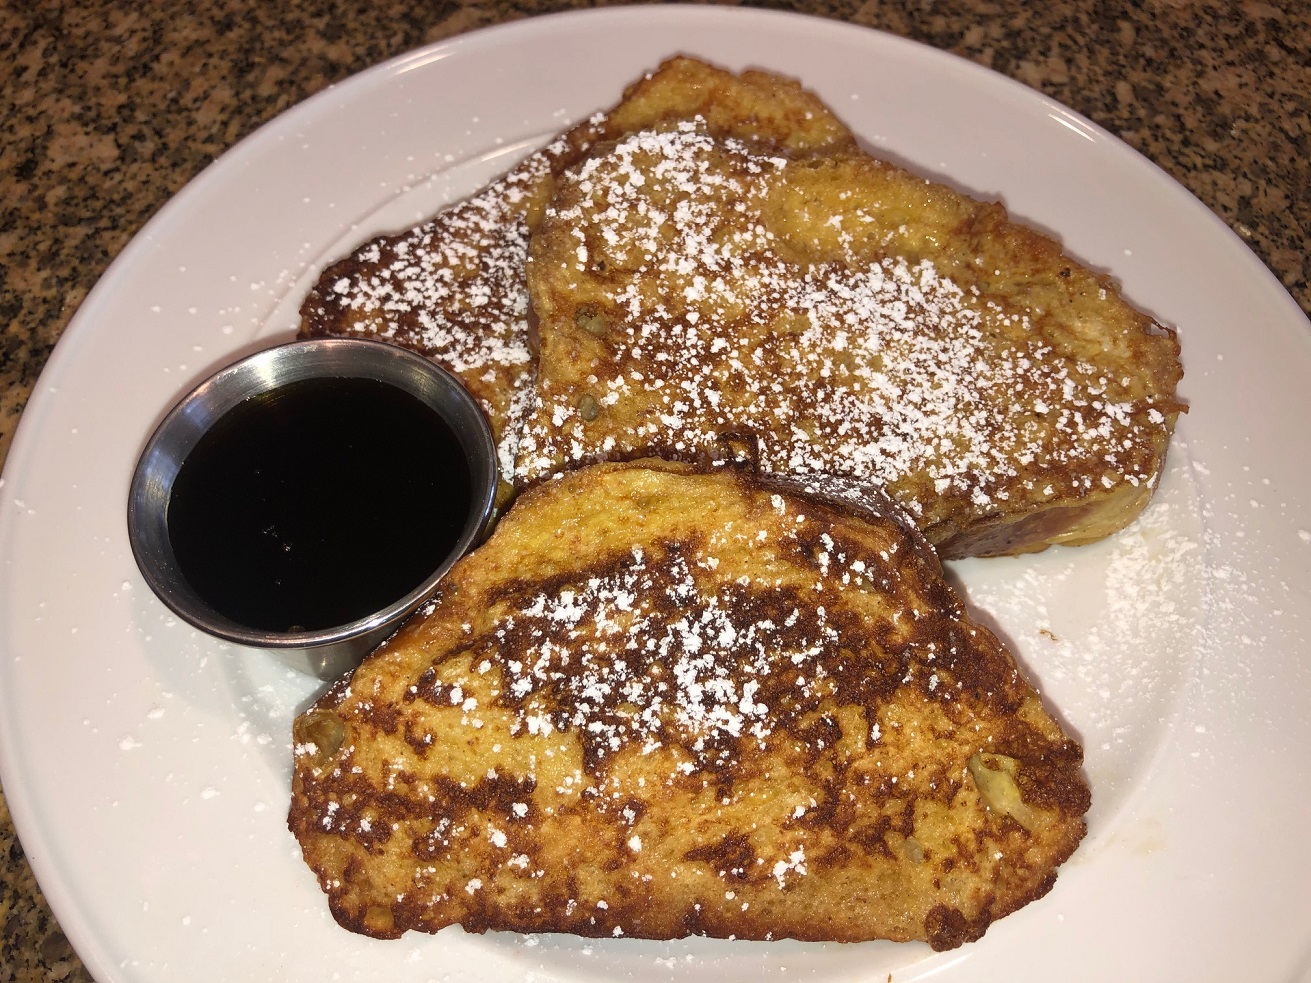
When you are ready to serve, plate the toast and dust with a light coat of powdered sugar and good maple syrup. Feel free to top with fruit, honey, whipped cream… whatever you like. The next time you want something special for breakfast, I hope you will try my Challah French Toast.

Challah French Toast with Powdered Sugar

1 Star2 Stars3 Stars4 Stars5 Stars (No Ratings Yet)
Loading...
Breakfast
By Patrick Dulmage Serves: 6-8
Prep Time: 10 minutes Cooking Time: 10 minutes Total Time: 20 minutes

Challah French Toast with Powdered Sugar

Ingredients

  • 1 loaf challah bread
  • 8 large eggs
  • 1/2 cup heavy cream
  • 1 tsp cinnamon
  • 1/4 tsp nutmeg
  • 1/2 tsp vanilla extract
  • powdered sugar for dusting
  • maple syrup

Instructions

1

Pre-heat oven to 325 degrees

2

Pre-heat a non-stick pan over medium heat

3

In a large bowl, mix the eggs, cream, cinnamon, nutmeg, and vanilla extract

4

If it isn't already, slice the challah bread to about 3/4 of an inch per slice

5

Dip a few pieces of bread in the egg mixture and let soak between a minute or two - depending how dense you want your toast

6

Place the soaked bread in the pan and lightly brown each side

7

Once each has browned to your liking, place on a wire rack over a baking sheet and put in the oven for about 5 minutes

8

Continue cooking the rest of the bread

9

When ready, lightly powder the toast with powdered sugar and serve with maple syrup

Notes

Feel free to top the French Toast with fruit and or whipped cream

Desserts

Original Gooey Cake

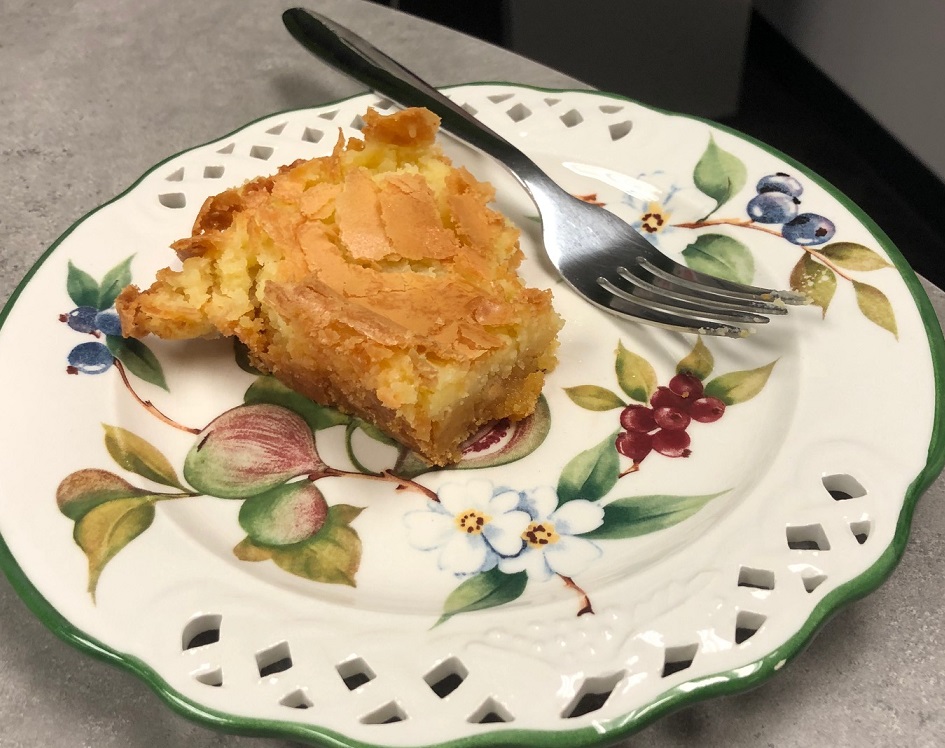
Today, I brought the Original Gooey Cake to work for my co-workers to try. They LOVED it! What’s not to love in a dessert whose main ingredients are butter and sugar?

The entire dessert can be made in about an hour. For the base, melt a stick of butter and combine with a box of yellow cake mix and one egg. Spread that in a 13×9 baking pan.

For the filling, melt another stick of butter and combine with two eggs, a block of cream cheese, vanilla extract, and confectioner’s sugar. Bake for about 45 minutes and that’s it!

Once you make this, you can also make almost infinite variations. How about a red velvet cake with cream cheese filling? You like chocolate and peanut butter? Use chocolate cake mix and mix in peanut butter to the filling. What about lemon cake mix and lemon zest to the filling? Like I said, the possibilities are limitless.

Make this once and you will be making it many more times after that.

Original Gooey Cake

1 Star2 Stars3 Stars4 Stars5 Stars (No Ratings Yet)
Loading...
dessert
By Patrick Dulmage Serves: 12
Prep Time: 15 minutes Cooking Time: 45 minutes Total Time: 1 hour

Original Gooey Cake

Ingredients

  • Base:
  • 1 box yellow cake mix
  • 1 egg
  • 1 stick melted butter
  • Filling:
  • 1 block cream cheese
  • 2 eggs
  • 1 tsp vanilla extract
  • 16 oz confectioner's sugar / powdered sugar

Instructions

1

Pre-heat oven to 350 degrees

2

For the base:

3

In a stand mixer (or large bowl if you don't have one) mix the cake mix, egg, and melted butter thoroughly

4

Spread evenly in a 13x9 baking dish and set aside

5

For the filling:

6

In a stand mixer, beat the cream cheese until smooth, then add the eggs, vanilla extract, and slowly add the powdered sugar

7

You may want to stop periodically and scrape the bowl

8

Once all the ingredients are mixed, spread evenly over the base and bake for 40-50 minutes

9

Let it cool before serving

Casserole/ Chicken

Chicken Tortilla Casserole

On the menu tonight, Chicken Tortilla Casserole!

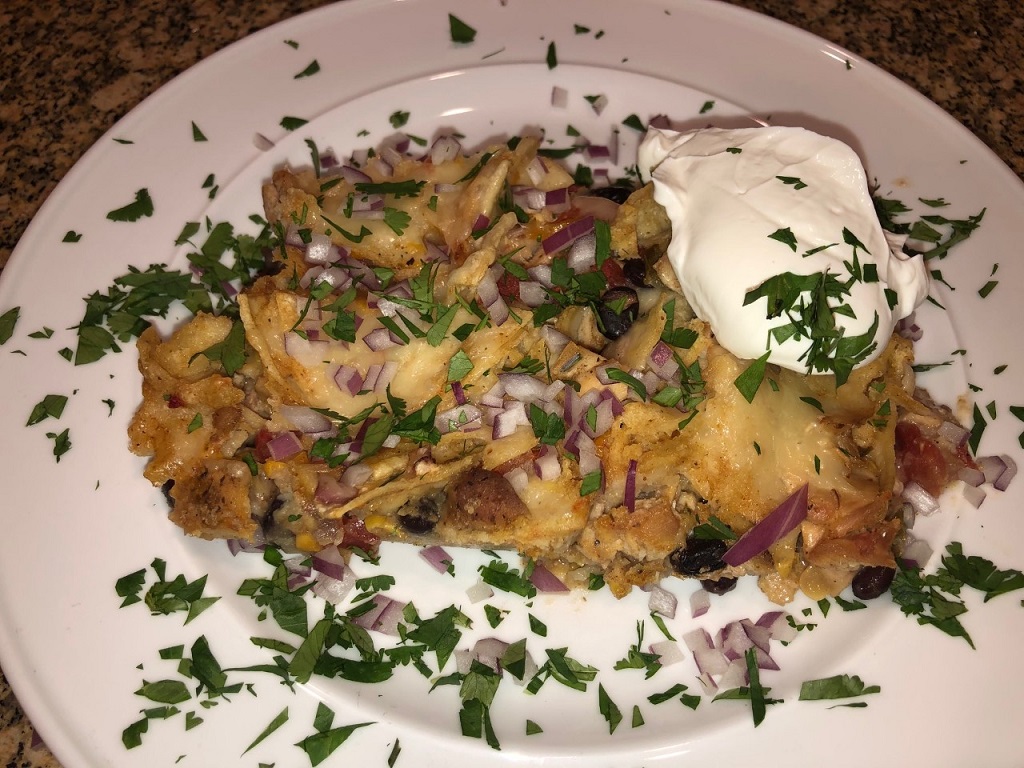
This dish couldn’t be easier. If you use a rotisserie chicken, you can have this casserole done in about 40 minutes. Simply pre-heat the oven, put all the ingredients in a large bowl, and mix to combine. Bake for about 20 minutes, then pull from the oven to top with cheese and bake another 10-15 minutes. That’s IT!

Garnish with some chopped red onion, cilantro, sour cream and you have dinner!

Chicken Tortilla Casserole

1 Star2 Stars3 Stars4 Stars5 Stars (No Ratings Yet)
Loading...
By Patrick Dulmage Serves: 10-12
Prep Time: 5 minutes Cooking Time: 30 minutes Total Time: 35 minutes

Chicken Tortilla Casserole

Ingredients

  • 5-6 cups cooked chicken (about 1 whole chicken)
  • 3/4 red onion, diced
  • 8 oz Monterey Jack Cheese, grated
  • 2 10 oz cans Rotel tomatoes
  • 1 10 oz canned or frozen corn
  • 1 15 oz can black beans
  • 12 corn tortillas (taco size), quartered
  • 1 tbsp chili powder
  • 1 tsp cumin
  • 1/2 tsp Kosher salt
  • 1/2 cup sour cream
  • 1/3 cup cilantro, finely chopped

Instructions

1

Pre-heat oven to 350 degrees

2

Add the chicken, tortillas, tomatoes, beans, corn, spices, half of the diced onions, and half of the grated cheese to a large mixing bowl.

3

Mix to combine.

4

Add to a greased 13x9 baking dish and put in the oven.

5

Bake for 20 minutes, uncovered.

6

After 20 minutes, take out of the oven, raise the temp of the oven to 400 degrees, cover with the rest of the grated cheese.

7

Bake for another 10-15 minutes.

8

Garnish with the rest of the diced onion, cilantro, and dollops of sour cream.

Seafood/ Vegetarian

Herb Crusted Baked Salmon

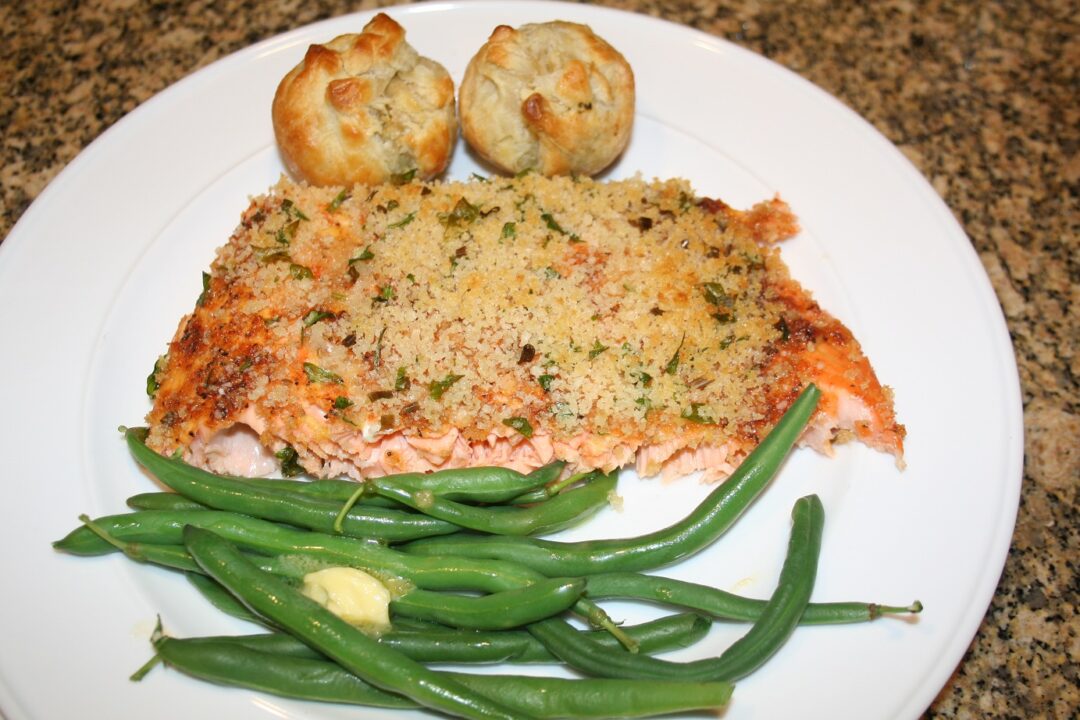
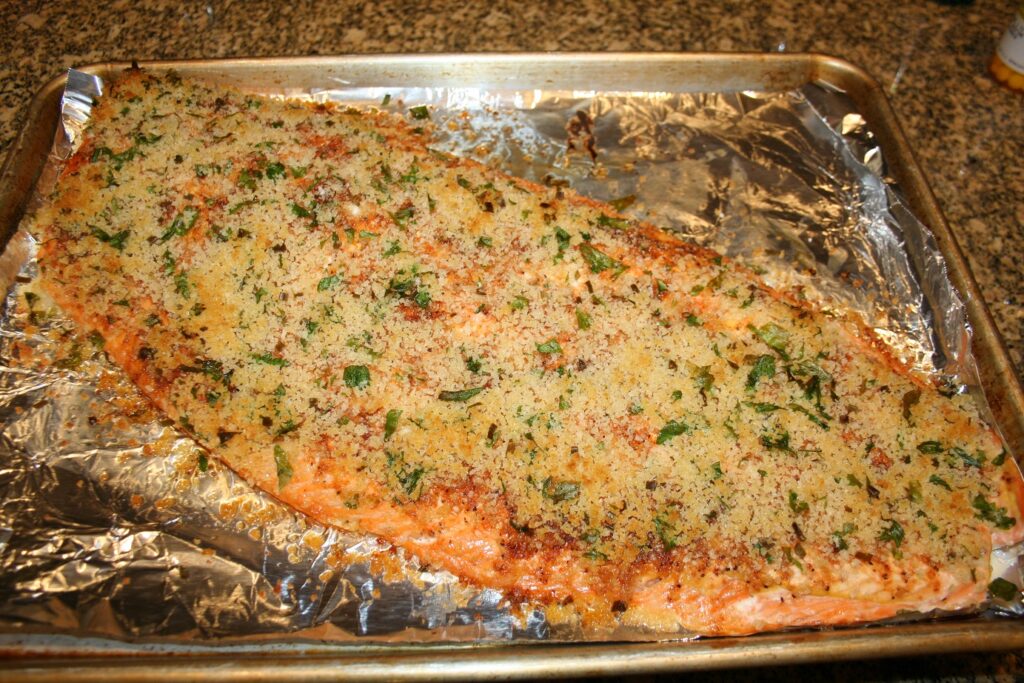
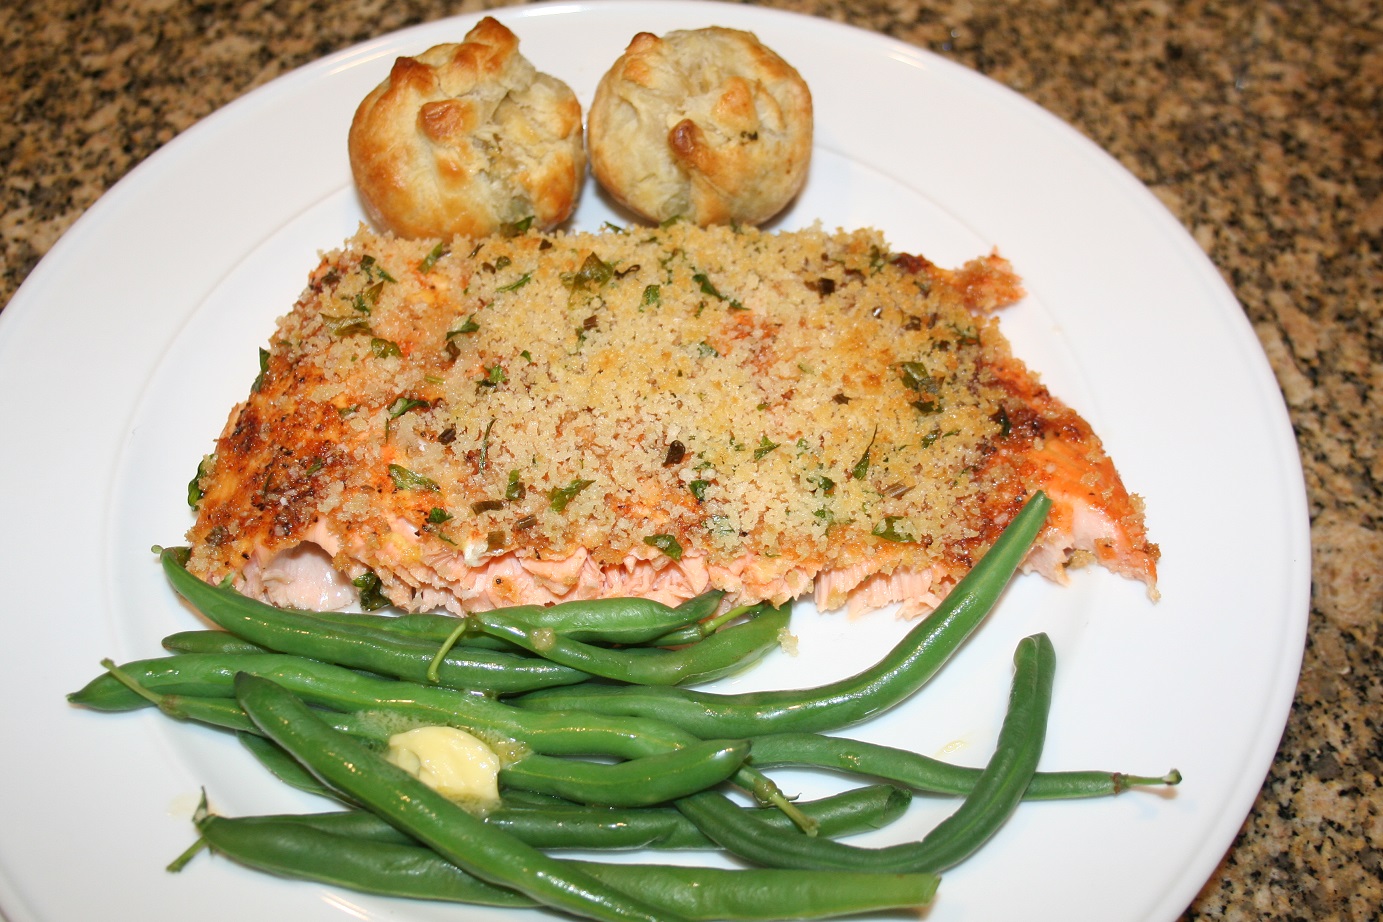
If you want a quick and easy meal that also makes you look like a rock star in the kitchen you need to try my Herb Crusted Baked Salmon.

Baked Salmon

You can have this meal done in less than 30 minutes – REALLY! There aren’t many ingredients, so use the best quality you can find. Once you lay out the salmon on a baking sheet, coat it with Dijon mustard. Then, simply spread the spice and panko mixtures over the fish and bake for about 15 minutes. That’s IT!

While the fish bakes, you can work on the side dish. I served it with steamed green beans, but you can use any vegetable or side dish you like. Mashed potatoes would be awesome with the salmon.

I hope you’ll try this dish and let me know what you think!

Herb Crusted Baked Salmon

1 Star2 Stars3 Stars4 Stars5 Stars (No Ratings Yet)
Loading...
By Patrick Dulmage Serves: 4
Prep Time: 10 minutes Cooking Time: 15-20 minutes Total Time: 25 - 30 minutes

Herb Crusted Baked Salmon

Ingredients

  • 2 Tbsp brown sugar
  • 1/2 tsp paprika
  • 1/2 tsp garlic powder
  • 1/4 tsp cayenne pepper (optional)
  • 1 tsp kosher salt
  • 1 tsp black pepper
  • 1/4 cup panko bread crumbs
  • 1/2 cup fresh parsley, chopped
  • 2 Tbsp butter, melted
  • 1 1/2 - 2 lbs salmon
  • 1-2 Tbsp Dijon mustard (enough to lightly coat the salmon)

Instructions

1

Pre-heat the oven to 425 degrees

2

Mix the brown sugar, paprika, garlic powder, cayenne pepper, salt and pepper in a bowl.

3

In another bowl, mix the panko, parsley, melted butter, and a little salt and pepper

4

Put the salmon on a baking sheet (skin side down if it has skin) and spread the Dijon mustard all over the fish

5

Sprinkle the brown sugar mixture evenly over the fish

6

Sprinkle the panko bread mixture evenly over the fish and press it into the fish

7

Bake about 15 minutes. The breadcrumbs should be golden brown.

8

Notes

Some side dish recommendations: Green beans, mashed potatoes, mac and cheese

Desserts

Blueberry Cheesecake Lush

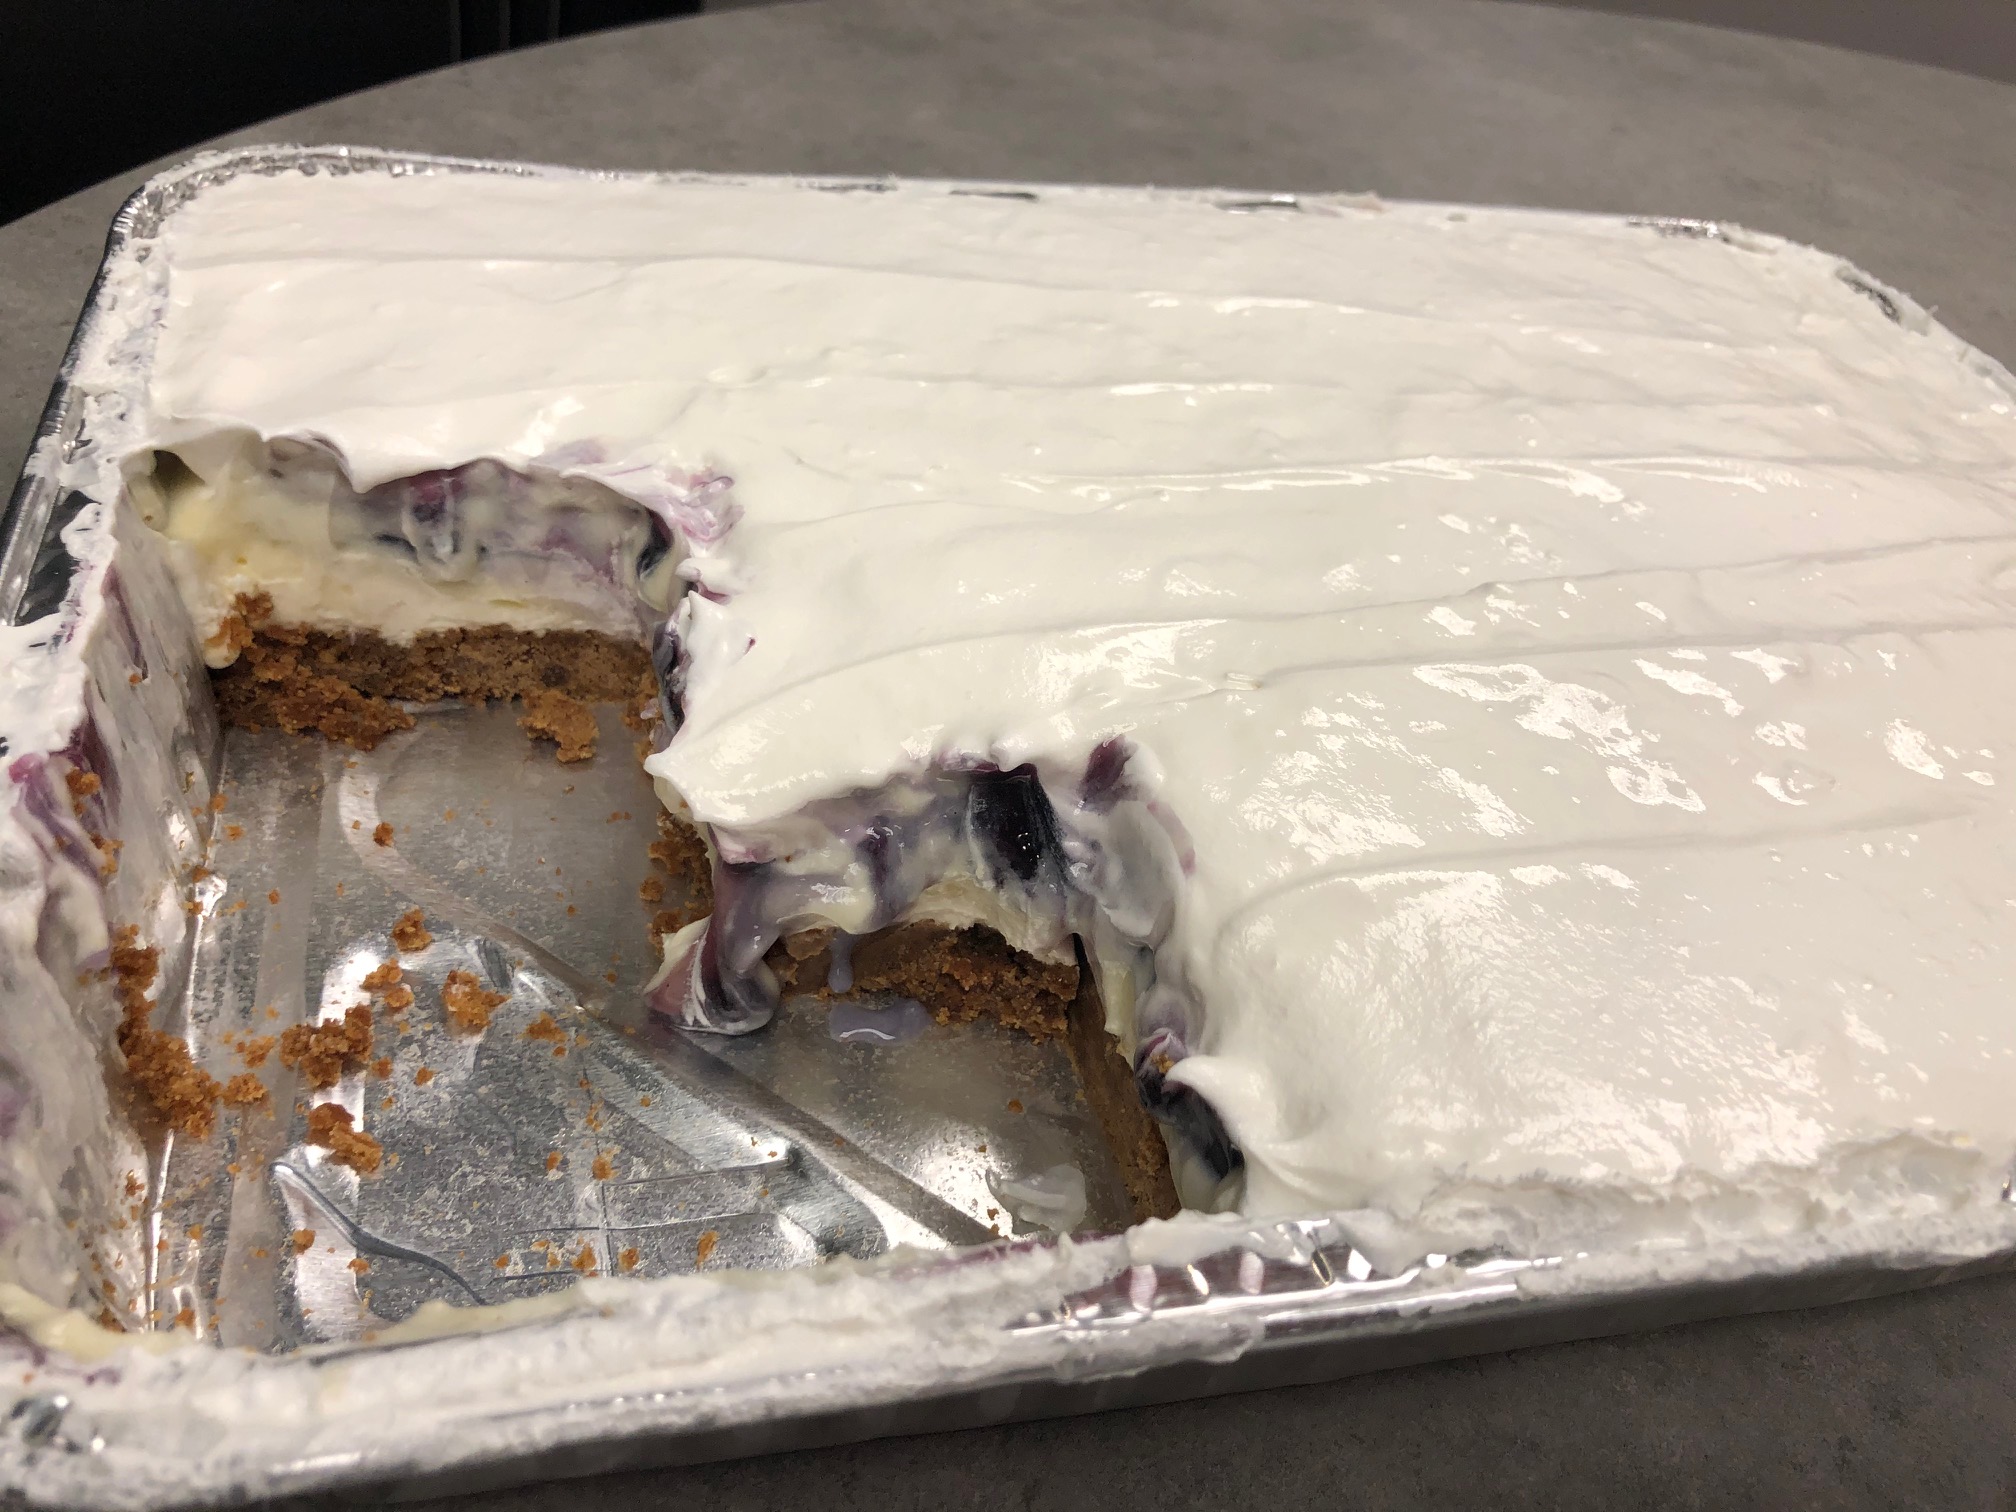
On the menu tonight – Blueberry Cheesecake Lush! When I saw a picture of a similar dish online, I knew I had to make it. I love cheese cake and I love blueberries, what’s not to love?

The crust of this dish is a mix of ground graham crackers and Biscoff cookies held together with butter. There is a layer of the cream cheese filling, a layer of cheese cake pudding, and a layer of blueberry filling, all topped with whipped cream!

The entire dessert comes together really quickly. You could make the crust with pecans, graham crackers, Biscoff cookies, or any combination you like. For the filling, you could use whatever fruit you like. It’s perfect for holiday parties, potlucks, or … cuz dessert! I hope you’ll try this dessert and let me know how your version turns out.

Blueberry Cheesecake Lush

1 Star2 Stars3 Stars4 Stars5 Stars (1 votes, average: 1.00 out of 5)
Loading...
Dessert
By Patrick Dulmage Serves: 12
Prep Time: 20 minutes Cooking Time: 15 minutes Total Time: 35 minutes

Blueberry Cheesecake Lush

Ingredients

  • 1 1/2 cup vanilla wafer crumbs
  • 1 1/2 cup biscoff cookie crumbs
  • 1 3/4 stick butter, melted
  • 8 oz cream cheese, softened
  • 1 cup powdered sugar
  • 16 oz whipped topping, divided
  • 1 small boxes cheesecake flavored pudding
  • 3 cups milk
  • 1 can blueberry pie filling

Instructions

1

In a medium mixing bowl, combine vanilla wafer crumbs, and melted butter.

2

Press into a 9x13 inch baking pan; bake at 350° for 15 minutes. Remove from oven and cool.

3

In a separate mixing bowl, combine cream cheese, powdered sugar, and 1 ½ c. whipped topping.

4

Mix until smooth; spread evenly over cooled crust.

5

Combine cheesecake pudding mix, milk, and 1 c. whipped topping and mix until smooth.

6

Spread evenly over cream cheese layer in pan.

7

Top with 1 can Lucky Leaf Cherry Pie Filling, remaining whipped topping.

8

Put the finished product in the refrigerator for 20-30 minutes before serving.

Notes

Experiment with different crusts and fruit fillings. You can serve immediately, but I like to let it set up in fridge for a bit first.

Casserole/ Leftovers/ Vegetarian

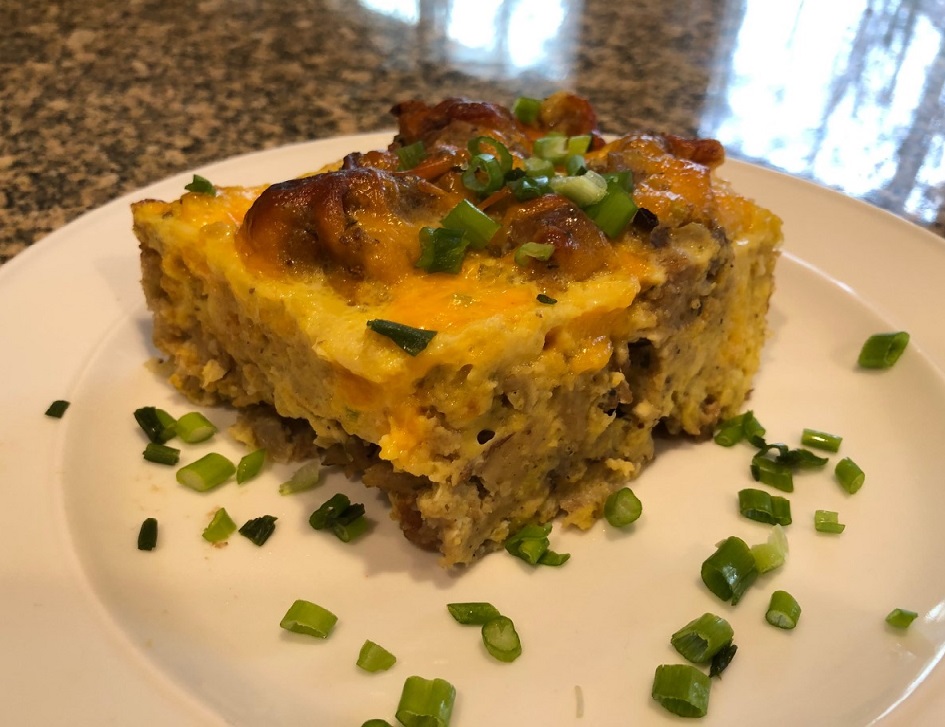
Breakfast Casserole from Leftover Stuffing

I wasn’t sure what else to do with my leftover Thanksgiving stuffing. Don’t get me wrong, I can eat leftover stuffing for a while and not get tired of it. But each year, I seem to make a few metric tons of stuffing and eventually you have to do something creative with the leftovers.

This is a great recipe to make either for a crowd and/or for some pre-made meals for the week ahead when you don’t have time to make breakfast before leaving for work. The best part about this recipe is you have already done most of the work!

The only ingredients are your leftover stuffing, eggs, a little milk (optional), cheese, and some chopped green onions. Of course, you can always add whatever else you may want. So, the next time you need to feed a crowd for breakfast, consider this breakfast casserole!

Breakfast Casserole from Leftover Stuffing

1 Star2 Stars3 Stars4 Stars5 Stars (No Ratings Yet)
Loading...
By Patrick Dulmage Serves: 10-12
Prep Time: 10 minutes Cooking Time: 40 minutes Total Time: 50 minutes

Breakfast Casserole from Leftover Stuffing

Ingredients

  • Leftover stuffing
  • 10-12 eggs
  • 1/4-1/2 cup milk
  • 6-8 oz cheddar cheese, grated
  • 4-6 green onions, chopped. I use the white part in the casserole and the green part for garnish
  • Salt and pepper to taste

Instructions

1

Pre-heat the oven to 375 degrees

2

Break up the stuffing into a baking dish

3

Scramble the eggs in a large bowl and whisk in the milk

4

Pour the eggs into the baking dish

5

Sprinkle the chopped green onions and cheese over the stuffing

6

Bake until the eggs are cooked through, about 25 -30 minutes, depending on how much leftover stuffing you had and how deep your dish is

Notes

You could also use a cupcake pan to make individual breakfast muffins